Replacing the hard disk drive, Replacing, Hard – Lenovo ThinkCentre A61 User Manual
Page 28: Disk, Drive, Battery, Installation
7.
Replace
the
computer
cover,
and
connect
the
cables.
See
Note:
When
the
computer
is
turned
on
for
the
first
time
after
battery
replacement,
an
error
message
might
be
displayed.
This
is
normal
after
replacing
the
battery.
8.
Turn
on
the
computer
and
all
attached
devices.
9.
Use
the
Setup
Utility
program
to
set
the
date
and
time
and
any
passwords.
See
ThinkCentre
User
Guide,
"Using
the
Setup
Utility."
Replacing
the
hard
disk
drive
Attention
Do
not
open
your
computer
or
attempt
any
repair
before
reading
the
“Important
safety
information”
in
the
Safety
and
Warranty
Guide
that
was
included
with
your
computer
for
the
computer.
To
obtain
copies
of
the
Safety
and
Warranty
Guide,
go
to
http://www.lenovo.com/support.
This
section
provides
instructions
on
how
to
replace
the
hard
disk
drive.
Important
When
you
receive
a
new
hard
disk
drive,
you
also
receive
a
set
of
Product
Recovery
discs.
The
set
of
Product
Recovery
discs
will
enable
you
to
restore
the
contents
of
the
hard
disk
to
the
same
state
as
when
your
computer
was
originally
shipped
from
the
factory.
For
more
information
on
recovering
factory-installed
software,
refer
to
“Recovering
software”
in
your
User
Guide.
To
replace
the
hard
disk
drive,
do
the
following:
1.
Remove
the
computer
cover.
See
2.
Remove
the
bezel
and
drive
bay
assembly.
See
3.
Disconnect
the
signal
and
power
cables
from
the
rear
of
the
hard
disk
drive.
4.
Use
the
blue
handle
to
pivot
the
hard
disk
drive
and
bracket
upward,
slide
the
hard
drive
to
the
left
until
it
is
free
of
the
retaining
clips
in
the
bottom
of
the
chassis,
and
then
completely
remove
it
from
the
chassis.
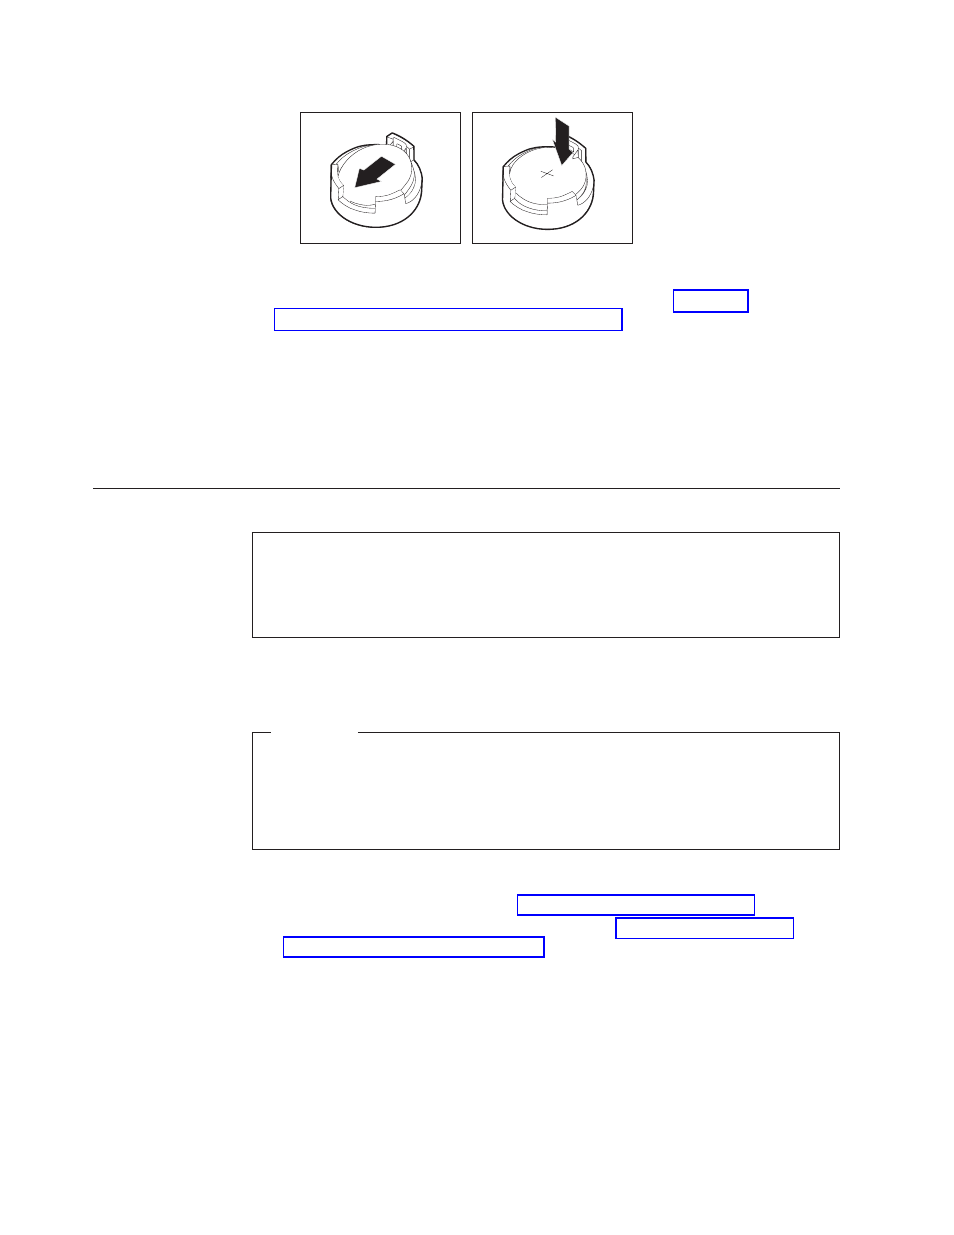
Figure
21.
Battery
installation
20
Hardware
Installation
and
Replacement
Guide