Setting the date and time – Kodak DX4330 User Manual
Page 20
8
Chapter 1
Setting the Date and Time
The Date & Time screen is displayed the first time you turn on the camera or if
the battery is removed for more than 10 minutes. If this is the first time the
camera has been turned on, go to Step 3.
To set the date and time after that:
1
Turn on the camera, then press the Menu
button.
2
Press
to highlight Setup Menu, then
press the OK button.
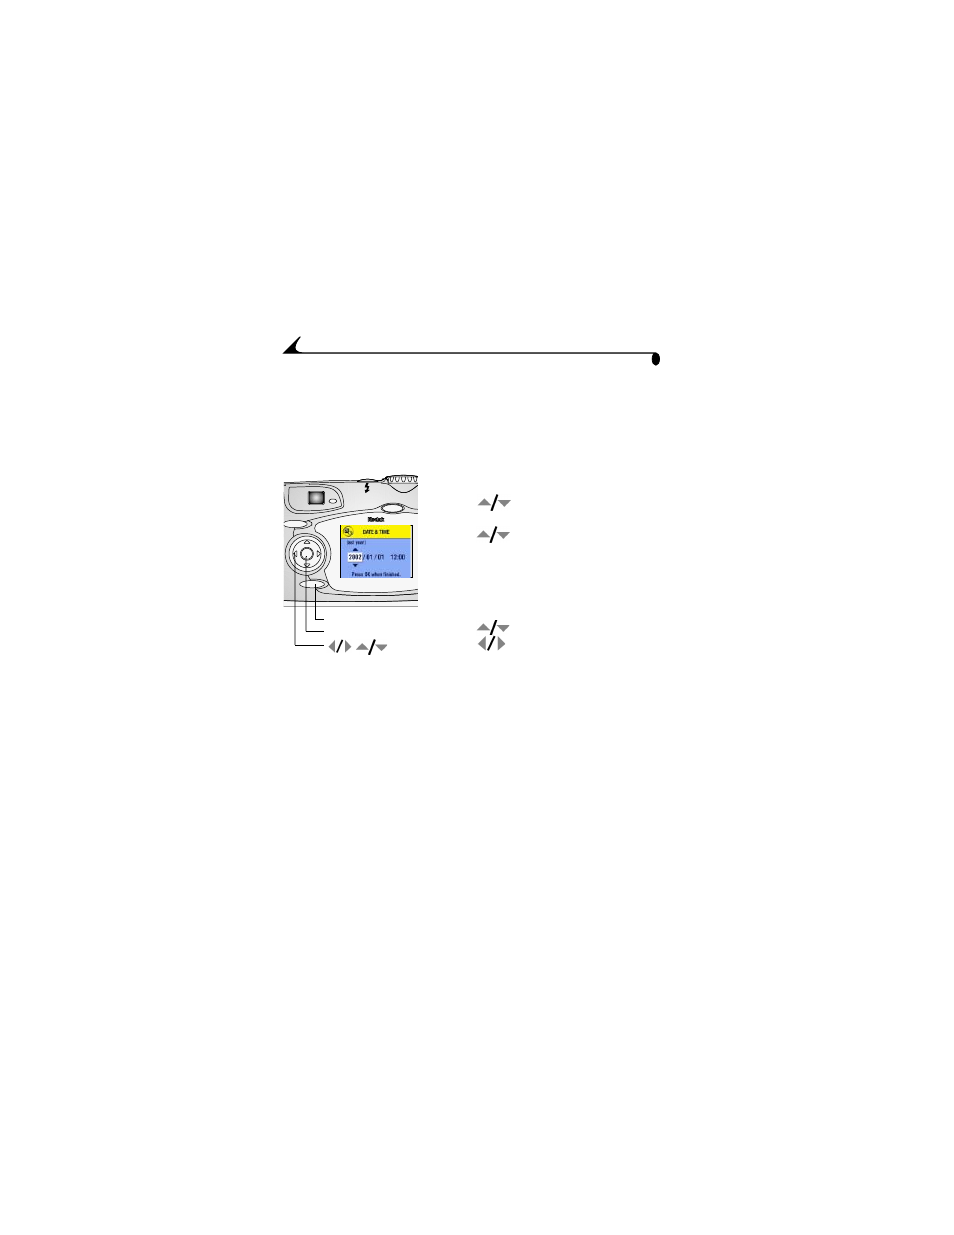
3
Press
to highlight Date & Time, then
press the OK button.
The date format is YYYY/MM/DD. The time
is displayed in a 24-hour format.
4
Press
to adjust the date and time.
Press
to move to the next setting.
5
When finished, press the OK button.
6
Press the Menu button to exit the menu.
The setting remains until you change it.
NOTE: Depending on your computer operating system, KODAK EASYSHARE
Software may allow your computer to automatically update the camera
clock when you connect the camera. See the KODAK EASYSHARE
Software Help for details.
EasyShare
MENU
DELETE
REVIE
Share
Menu
OK