Vollrath F144 User Manual
Page 12
Owner’s Manual #513677
6
F144I2, SF144I2 and SF121I2 Model Machines
Help
Pressing the Help button will display help information
dependant on the cursor’s location. Pressing the Help
button again will exit the help screen.
Selection Button (SEL)
The SEL button is used by technicians to select menu
options.
Set Button (SET)
The SET button is used by technicians to save changes
when modifying control settings.
On/Off Button
Power to the freezing cylinders can then be controlled
with the On/Off Left and On/Off Right switches.
Push to Freeze Button
Pressing the PUSH TO FREEZE button initiates “Serve
Mode”.
Clean Button
The CLEAN button initiates “Clean Mode”.
Arrow Buttons (
)
The arrow buttons are used by technicians to navigate
through the control readings and settings.
B. SPIGOT SWITCH
The spigot switch is mounted to the spigot cam assembly
behind the header panel. When the spigot is opened to
dispense product, the spigot switch opens and the “Serve
Mode” begins.
C. DISPENSE RATE ADJUSTOR
The dispense rate adjustor is located under the header
panel, to the immediate right of the spigot handles. Turning
the knob counterclockwise will decrease the dispense rate.
D. BLENDER POWER SWITCH (SF144 MODELS ONLY)
The blender power switch is a two position toggle switch
used to supply power to the blender. When the switch is
in the OFF position, the agitator will not turn. When the
switch is in the ON position, the agitator will be activated
every time the blender activation switch is pressed.
E. BLENDER ACTIVATION SWITCH
The blender activation switch is a two speed, momentary
contact switch that will activate the agitator to blend prod-
uct when pressed and held. The HIGH speed position is
used when blending product. The LOW speed position
is used during cleaning procedures.
F. USB ACCESS PORT
The USB access port is located on the right side panel
of the machine. The port is used by technicians to import
fi rmware and export machine statistics.
3.3 DISASSEMBLY OF MACHINE PARTS
Before using the machine for the fi rst time, complete
machine disassembly, cleaning and sanitizing proce-
dures need to be followed. Routine cleaning intervals
and procedures must comply with the local and state
health codes. Inspection for worn or broken parts should
be made at every disassembly of the machine. All worn
or broken parts should be replaced to ensure safety to
both the operator and the customer and to maintain good
machine performance and a quality product. Check the
wear line on the auger fl ights on a regular basis (Fig.
3-3) and replace as needed. Frequency of cleaning must
comply with the local health regulations.
To disassemble the machine, refer to the following steps:
A. REMOVING MIX
For the fi rst time cleaning the machine, skip to part
B. Disassembly of Front Door.
1.
Press the Clean button. After mix has melted
(about 5 minutes) open the spigot to drain the
mix.
2
Fill the hopper with 2 gallons (8 liters) of cool tap
water.
3.
Press the Clean button to run the machine. After
30 seconds press the Clean button again to stop
the auger.
Figure 3-2 IntelliTec2™ Control
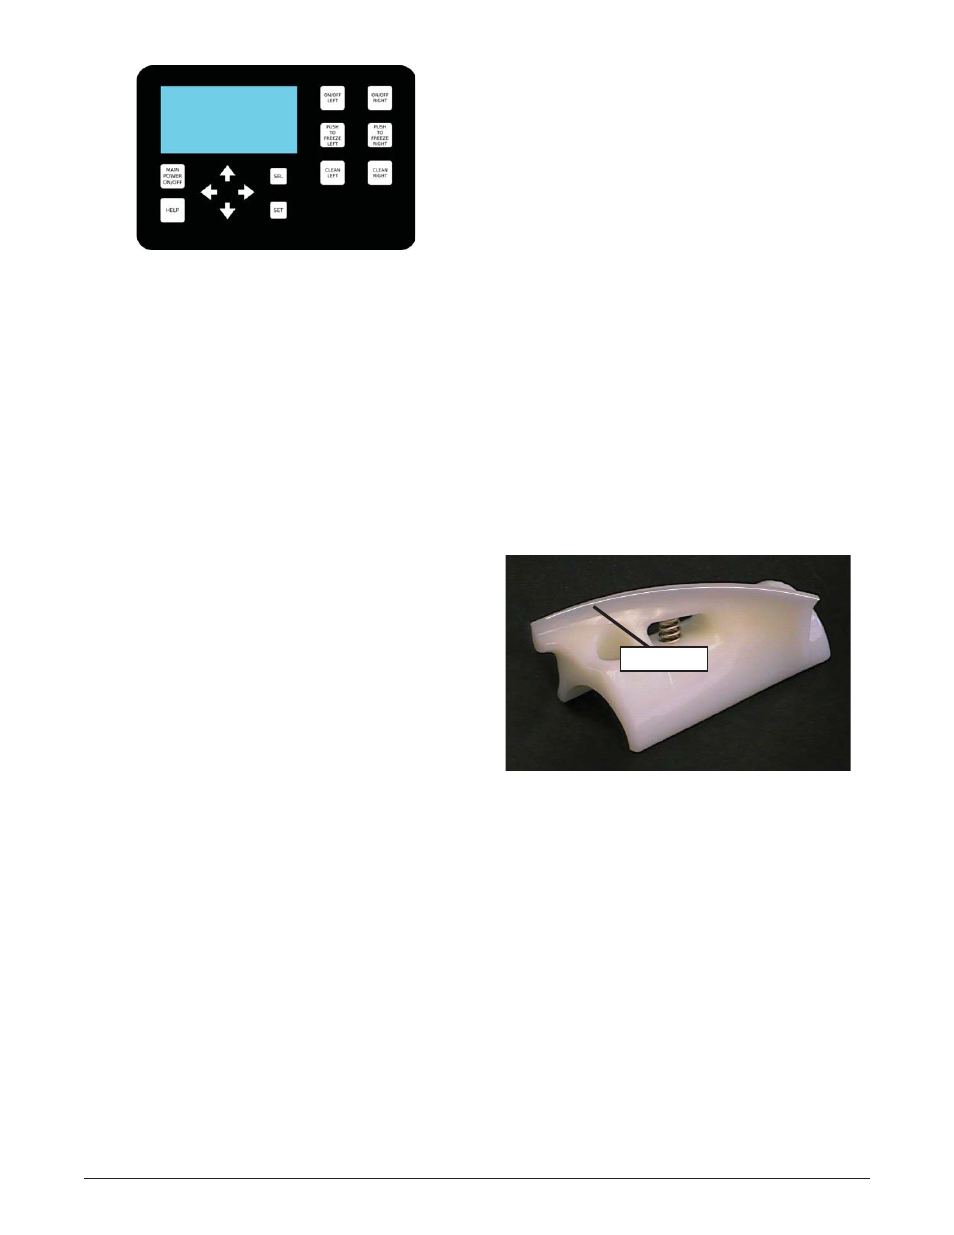
Wear Line
Figure 3-3 Auger Flight Wear