Commissioning, operation – WIKA 700.02 User Manual
Page 11

WIKA operating instructions differential pressure gauge with piston per ATEX
11
11025859.03 10/2013 GB/D/F/E
GB
7. Commissioning, operation
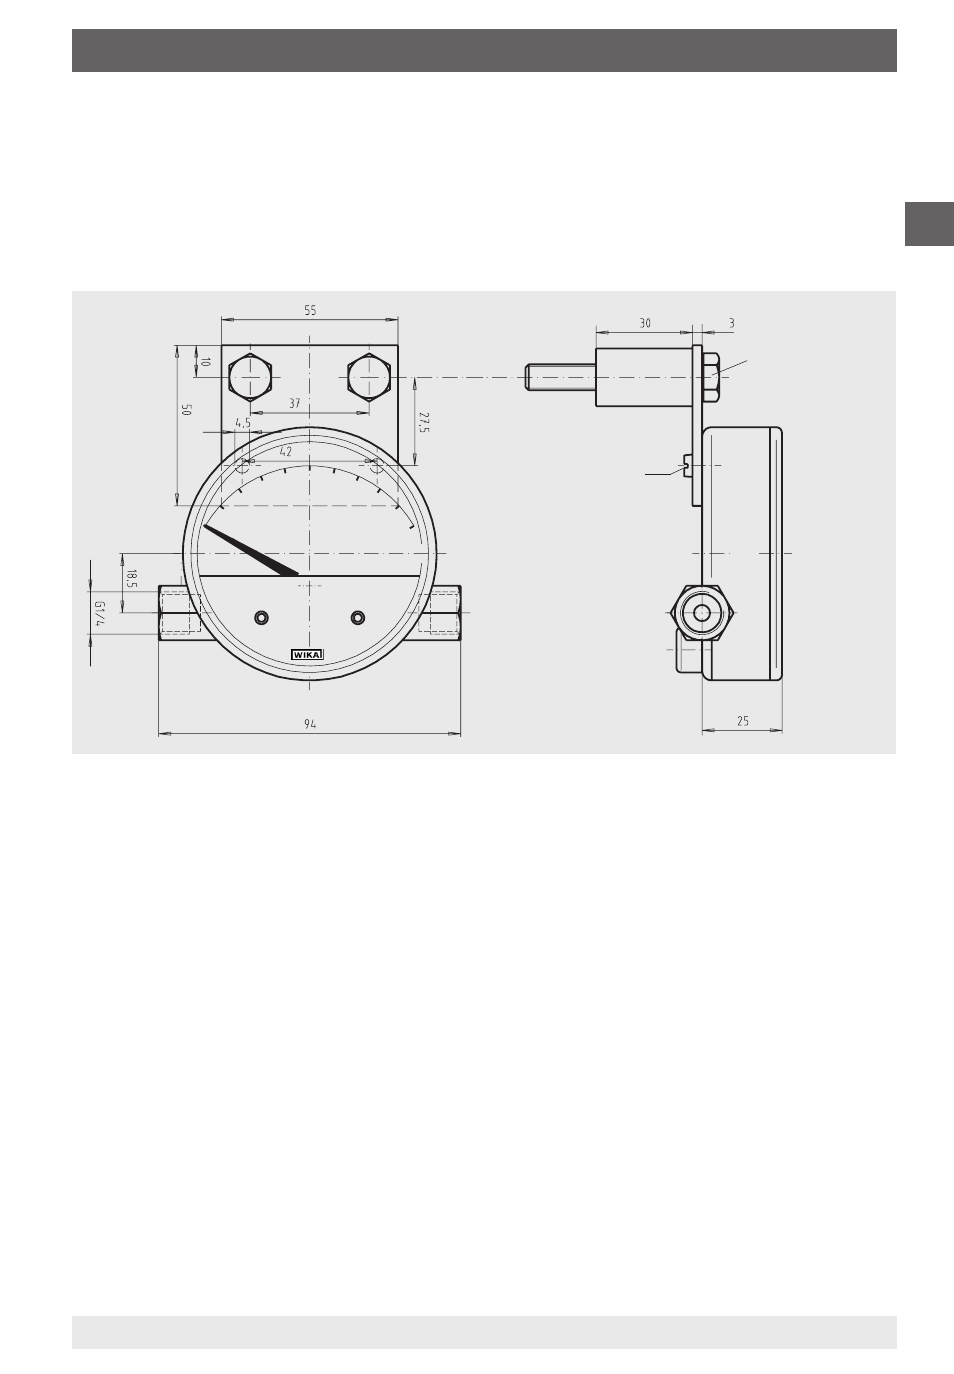
Hexagon bolt
M8 x 50
Slotted screw M4 x 10
Δp
Differential pressure
stat. pressure max. 250 bar
Overpressure limit ±250 bar
1581007x.02
If the line to the gauge is not rigid enough for a vibration-free installation, the gauge
should be mounted by means of appropriate fastening elements for wall mounting,
or, if necessary, with a capillary.
Wall mounting (see drawing)
Installation/fastening by means of mounting bracket
Zero point check
In general, the zero point should only be checked and adjusted after the system
has been depressurised. The system fastening lug on the back of the case can be
easily slackened off for zero point correction of the pressure gauge. Now the zero
point can be readjusted by moving the measuring system to the right or left. After
this has been done the measuring system is to be secured again with the mounting
screw (recommended tightening torque of the mounting screw 1.3 Nm).
