Kramer Electronics RC-80 User Manual
Page 11
KRAMER: SIMPLE CREATIVE TECHNOLOGY
Your RC-80, RC-160 and RC-160L Remote Control Machines
8
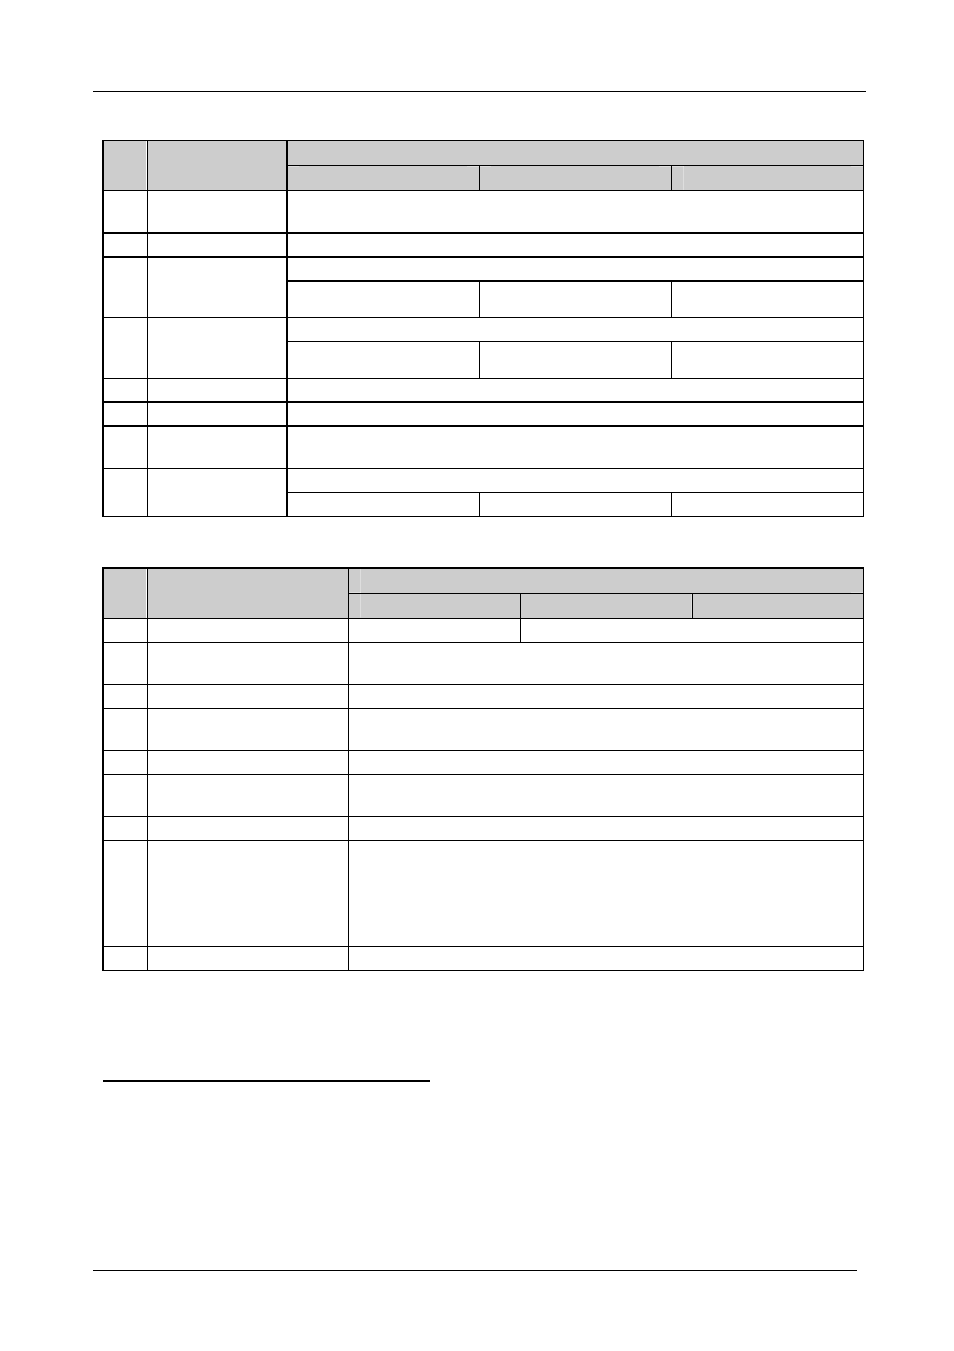
Table 2: Front Panel RC-80/RC-160/RC-160L Remote Control Features
Function
#
Feature
RC-80
RC-160
RC-160L
1 IR Receiver
The red LED is illuminated when receiving signals from the Infra-red remote
control transmitter
2
LOCK
Button
Disengages the front panel switches
Select the output to which the input is to be routed
3
OUT
/
OUTPUT
SELECTOR
Buttons
1
From 1 to 8
From 1 to 16
From 1 to 16
Select the input to switch to the output
4
IN
/
INPUT
SELECTOR
Buttons
1
From 1 to 8
From 1 to 16
From 1 to 16
5
VIDEO
Button
When button illuminates, actions relate to video
2
. Press to toggle
6
AUDIO
Button
When button illuminates, actions relate to audio
2
. Press to toggle
7
TAKE
Button
When in the Confirm mode, press to implement a single action. Press to toggle
between Confirm and At Once mode
Displays the selected input switched to the output (marked above/below each input)
8
STATUS
Display
7-segment LED
LCD
LCD
Table 3: Rear Panel RC-80/RC-160/RC-160L Remote Control Features
Function
#
Feature
RC-80
RC-160
RC-160L
9
LCD Contrast
Trimmer
Not applicable
Turn to adjust LCD contrast
3
10
RS-485
Terminal Block
Port
Pins B (-) and A (+) are for RS-485; Pin G (Ground) may be connected to
the shield of the cable if desired
11
RS-232 IN
9-pin D-sub Port Connects to the PC or to another Remote Control
12
RS-232 OUT
9-pin D-sub
Port
Connects to a Kramer switcher or another Remote Control
13
SETUP
DIP-switches
See section 6.4
14
Flash Upgrade
Button
Push in for “Program” to upgrade to the latest Kramer firmware (see
section 8), or release for “Normal” (the factory default)
15
ETHERNET
Connector
Connects to the PC through computer networking (see section 6.2)
16
Reset
Button
ETHERNET factory reset button. Press to reset to factory default
definitions
4
:
IP number 192.168.139
Mask – 255.255.255.0
Gateway – 192.168.11
17
12V DC
+12V DC connector for powering the unit
1 The RC-80 and RC-160L have large buttons, and the RC-160 has small buttons
2 Press both VIDEO and AUDIO buttons (both buttons illuminate) for the audio channels to follow the video channels (AFV,
audio-follow-video mode)
3 Insert a screwdriver into the hole and carefully rotate it, to trim the level
4 First disconnect the power adapter and then connect it again while pressing the Reset button. The unit will power up and
load its memory with the factory default definitions