Comfort-Aire PTHP15A130A User Manual
Page 10
PACKAGED TERMINAL
OWNER’S MaNual
Heat Controller
9
COOL / FAN / HEAT MODE
OPERATION PROCEDURE
Control panel:
• Press the ON/OFF button.
• Press the HEAT/COOL/FAN button, select the
operation mode: heat/cool/fan.
• Press + or - button, to set your desired temperature.
The setting temperature range is 60-90°F (16-32°C).
• Press the FAN SPEED button, to set your desired
air flow rate: high/low/auto.
TIMER PROCEDURE
(Remote controller)
When batteries are inserted, the present time Is
automatically set to AM 0:00.E.X.:set to AM10:30.
• Open the back cover,push the CLK button .The time
Indicator is flickering and can set the present time.
• Press the HOUR button.(set to AM 10:00)
• Press the MIN button. (set to 30)
• Press the CLK button again, and then close the back cover.
SET UP OPERATION
1) Temperature shift key: Press + and - button at the
same time for 3 seconds, the temperature is shifted
between Fahrenheit and centigrade.
2) Temperature setting limiting: Press + and SPEED
button at the same time to enter the maximum
and minimum temperature setting. R1~R8 will be
displayed every 3 seconds. Release the two keys
to ensure the setting is effective and the figures will
last for 5 seconds. The temperature setting range
is between so 60°F ~90°F as factory default.
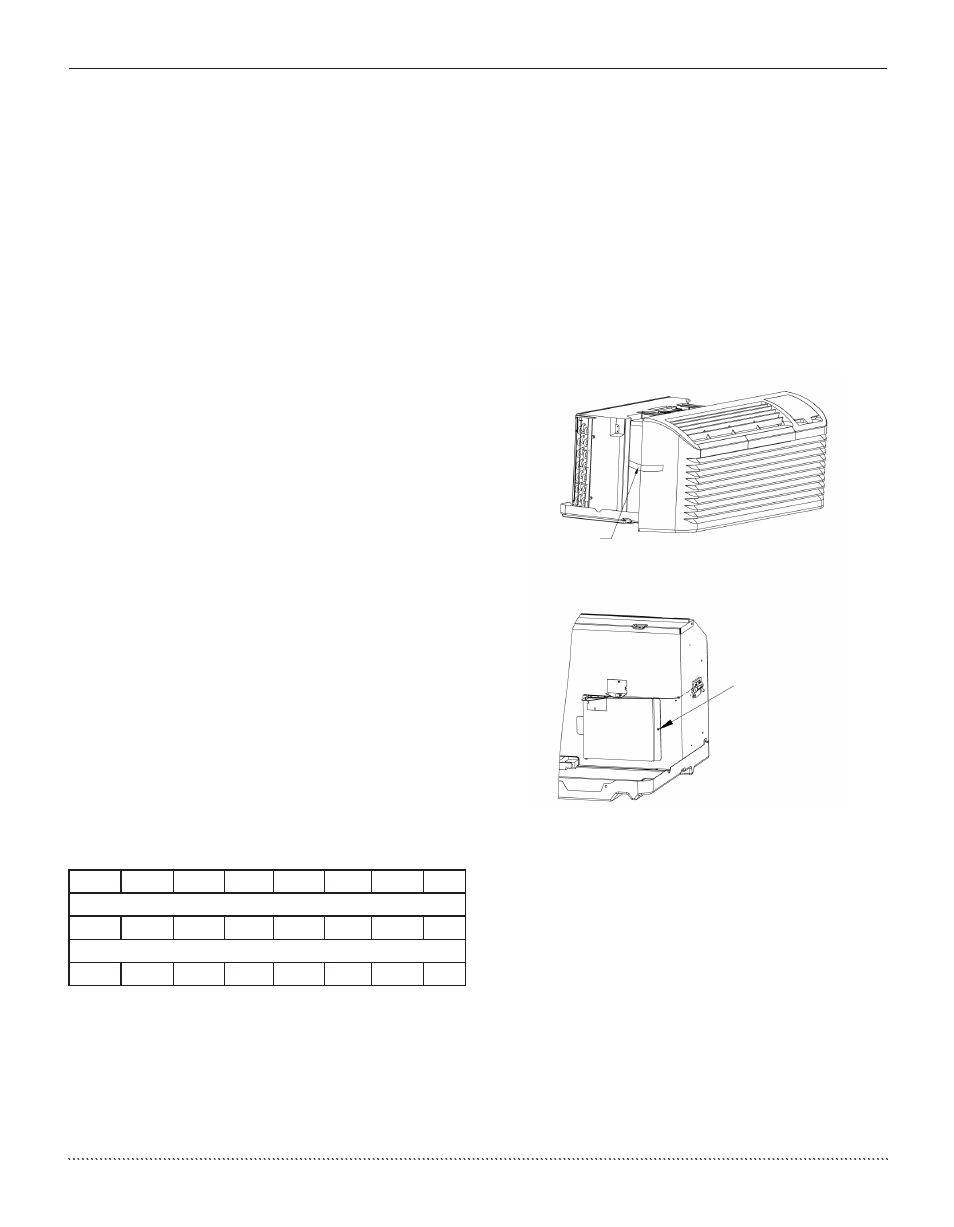
VENTILATION CONTROL
The ventilation control lever is located at left side of
unit, behind front panel.
NOTE: The vent door shipping tape must be removed
before using vent control lever. See Fig. 9 and Fig. 10.
When set to closed, only the air Inside the room is
circulated and filtered;
When set to open, some outdoor air will be drawn into
room, this will reduce heating or cooling efficiency.
3)
Remote thermostat change: In standby off
mode, press HEAT and+ button, for 3 seconds,
the buzzer will chime and LED display will read “P”
or “R”.
P: unit control panel has control of unit.
R: wall thermostat has control of unit.
R1
R2
R3
R4
R5
R6
R7
R8
Heating Temperature Limits (°F)
86
88
90
74
92
90
72
90
Cooling Temperature Limits (°F)
63
65
72
72
67
69
68
60
Chart 4. Temperature setting limiting
Fig. 10 Shipping Screw Location
Fig. 9 Shipping Tape Location
The vent control allows outside air to be drawn into the
conditioned area. This outside air can provide ventilation
when the blower Is operating, but it will increase the
heating or cooling load and operating costs.
To obtain access to the vent control
1. Remove the cabinet front (see Front Removal).
2. Remove the shipping screw (if installed) from the
vent door.
3. Remove the label (if present) from over the vent
control lever on the left side of the chassis. Remove
the vent door shipping screw.
4. Rotate the vent control lever to either open or close
the damper.
Shipping tape
Remove shipping
screw if present