Panasonic SCPMX9EG User Manual
Page 7
7
7
E
NGLISH
VQT4
Z21
• If you want to perform wireless setting with your
Mac/PC, or you want to apply the advanced setting,
try “Method 4” on page 8.
• To cancel this setting in the middle, press [Í] to turn off this
system.
• Simultaneous use with other 2.4 GHz devices, such as
microwaves, cordless telephones, etc., may result in
connection interruptions.
• For up to date compatibility information on your wireless
network router refer to
http://panasonic.jp/support/global/cs/
(This site is in English only.)
∫ Using the WPS Push Button Configuration
(PBC)
1
Press [SETUP] on the remote control repeatedly
to select “Net Setup” and then press [OK]. *1
“With iPod” is indicated on the display.
2
Press [SETUP] on the remote control repeatedly
to select “WPS Push” and then press [OK]. *1
“WPS” flashes on the display.
• Complete step 3 within 2 mins.
3
After “WPS” is indicated, press the WPS button
on the wireless network router.
4
The settings are completed when “Success” is
displayed.
“
” is indicated on the display.
5
Press [OK] on the remote control to exit the
setting.
• This system can also be set using the WPS PIN code.
(Before starting, refer to the wireless network router’s operating
instructions for details on how to enter the PIN code.)
1 Press [SETUP] on the remote control repeatedly to
select “Net Setup” and then press [OK]. *2
2 Press [SETUP] on the remote control repeatedly to
select “WPS PIN” and then press [OK]. *2
3 Enter the PIN code into the wireless network router.
*1
Replace with the following step.
Press and hold [D.BASS] on the main unit for 2 seconds
while pressing and holding [∫] on the main unit.
*2
Replace with the following steps.
1 Press and hold [D.BASS] on the main unit for 2 seconds
while pressing and holding [∫] on the main unit.
2 When “WPS” is indicated, press and hold [D.BASS] on
the main unit for 2 seconds while pressing and holding
[∫] on the main unit again.
With this method you will share the wireless network
settings of your iPod touch/iPhone/iPad with this system.
• The following explanations are based on an iPhone.
1
Disconnect iPod/iPhone/iPad connected to the
main unit.
2
Connect the iPhone to your home wireless
network.
3
Connect the iPhone to the main unit.
4
Press [SETUP] on the remote control repeatedly
to select “Net Setup” and then press [OK].
“With iPod” is indicated on the display.
5
Unlock your iPhone and then press [OK] on the
remote control.
“Connecting Wi-Fi” is indicated on the display.
• If “Not Supported” or “Set Wi-Fi” is displayed, check
that the iPhone is connected to the wireless network
and try again from step 1.
6
A message will pop-up on your iPhone.
Allow the iPhone to share the wireless network
settings.*
1
7
The settings are completed when “Success” is
displayed.
“
” is indicated on the display.
8
Press [OK] on the remote control to exit the
settings.
*1: Depending on the network environment or the wireless
network router settings, it may take more than 10 mins.
to complete the settings.
You can make the wireless network settings with the
app, “Panasonic Stereo System Network Setup” (for
free).
If you’re using an Android device, download the app at
Google Play™. If you’re using an iPod touch/iPhone/
iPad, download it at the App Store.
Preparation
• Connect your smartphone to your home wireless
network.
• Check the password for your home wireless network.
1
Press [SETUP] on the remote control repeatedly
to select “Net Setup” and then press [OK].
“With iPod” is indicated on the display.
2
Press [SETUP] on the remote control repeatedly
to select “Manual” and then press [OK].
“Setting” blinks on the display.
3
Start “Panasonic Stereo System Network Setup”
on your smartphone and follow the indications.
(Continued on the next page)
Method 1
If your wireless network router supports WPS
(Wi-Fi Protected Setup
TM
).
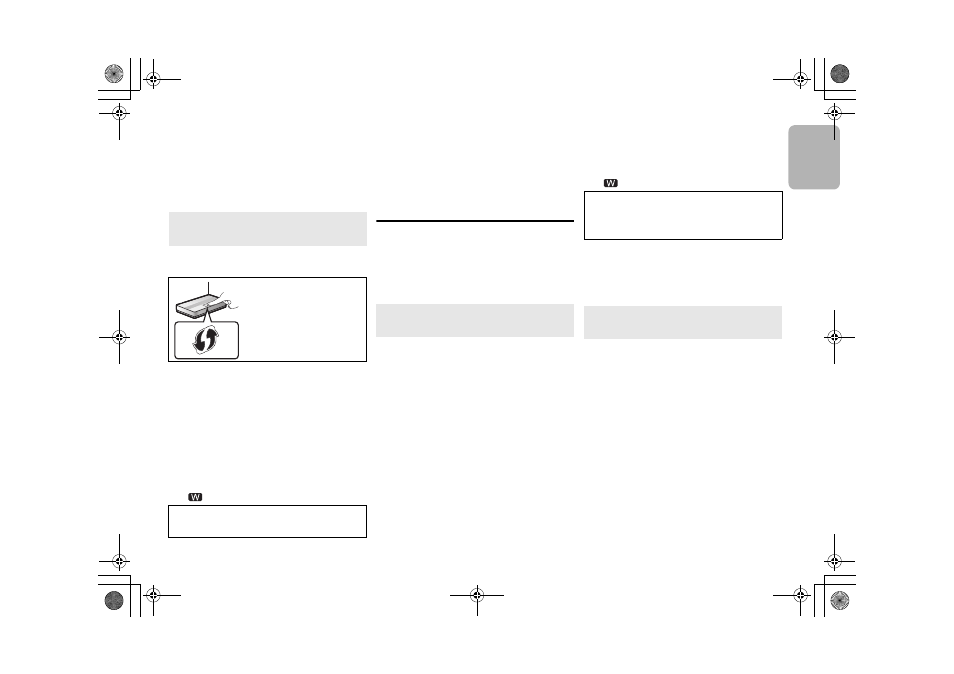
The WPS identifier mark
WPS Push Button Configuration
(PBC) compatible wireless
network router may have this
mark.
“Fail” may be displayed if the connection was not made
within the set time limit. Try the setting again. If “Fail” is
still displayed, try other methods on page 7 or 8.
Method 2
If you're using an iPod touch/iPhone/iPad.
(iOS version 5.0 or later.)
If “Fail” is displayed press [OK] and try the setting
again. If “Fail” is still displayed, try other methods on
page 7 or 8.
• If the iPhone was disconnected midway through, try
again without disconnecting it.
Method 3
Setting the network connection with the smartphone
app.
SC-PMX9EG-VQT4Z21.book 7 ページ 2013年3月22日 金曜日 午後4時54分