Sony DSC-S500 User Manual
Page 21
21
P
rin
ti
ng im
ages
1
Connect the camera to the printer.
2
Turn on your camera and the printer.
The camera is set to playback mode, then an image and the print menu appear on the
screen.
Regardless of what the mode dial is set to, the print menu appears when you complete Stage 2.
The following procedure describes how to print the image appearing on the screen after the
USB cable is connected.
1
Select [This image] with v/V on the control button, then press z.
2
Select print settings with v/V/b/B.
3
Select [OK] with V/B, then press z.
The image is printed.
• If the
(PictBridge Connecting) icon appears on the screen, do not disconnect the USB cable.
To print other images
Select [Select] in step 1.
Selects images and prints all the selected images.
1
Select the image you want to print with b/B, then press z.
The
mark appears on the selected image.
• To select other images, repeat this procedure.
2
Select [Print] with V, then press z.
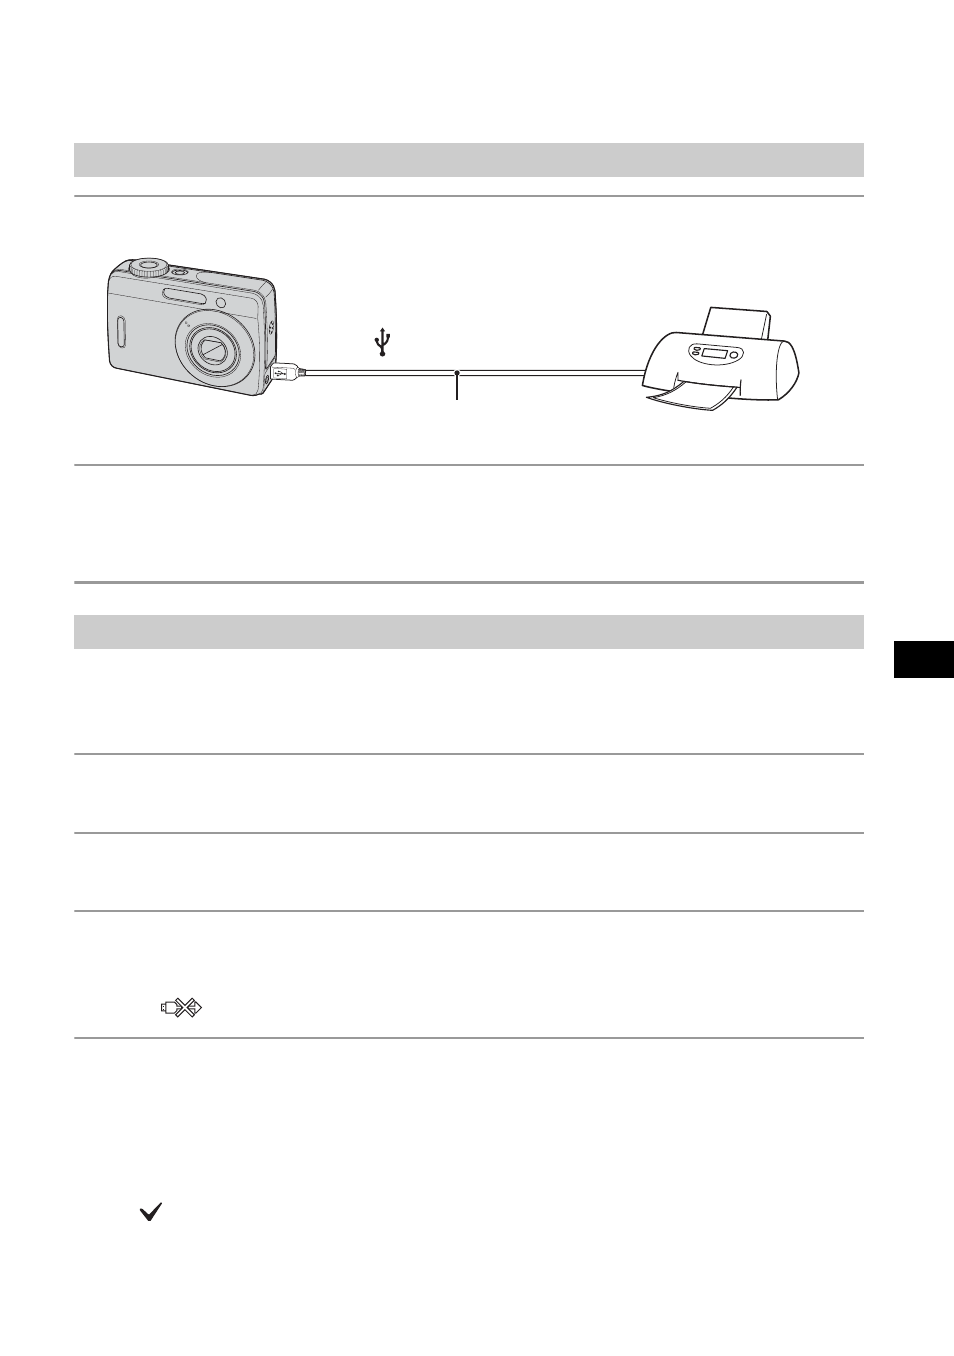
Stage 2: Connecting the camera to the printer
Stage 3: Printing
USB cable
2
To the (USB) jack
1
To the USB jack