Stage 2: preparing the camera and the computer, Stage 3: connecting the camera and your computer – Sony DSC-S40 User Manual
Page 54
54
1
Insert a “Memory Stick” with
recorded images into the camera.
• When copying images in the internal
memory, this step is unnecessary.
2
Insert batteries with enough
capacity in the camera, or
connect the camera to a wall
outlet (wall socket) with the AC
Adaptor (not supplied).
• When you copy images to your computer
using batteries, copying may fail or image
data may be corrupted if the batteries shut
off too soon.
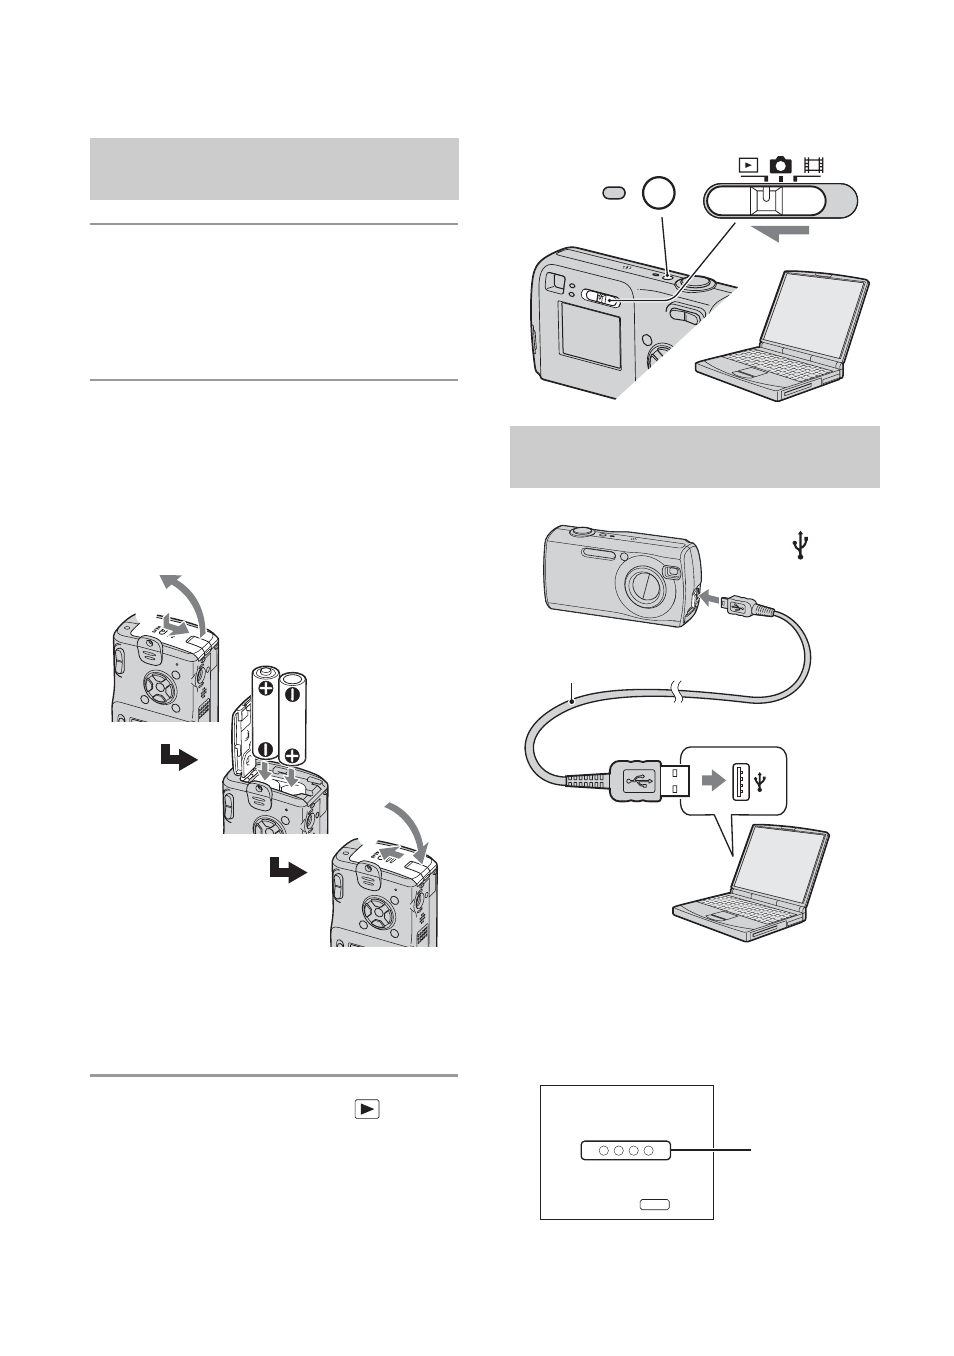
3
Set the mode switch to
, then
turn on the camera and the
computer.
• With Windows XP, the AutoPlay wizard
appears on the desktop.
“USB Mode Normal” appears on the screen
of the camera.
When a USB connection is established for
the first time, your computer automatically
Stage 2: Preparing the camera
and the computer
1
2
1
2
Stage 3: Connecting the camera
and your computer
POWER
To the
(USB) jack
USB cable
To a USB connector
USB Mode
MENU
Switch on
Normal
Memory Stick
Access
indicators*