Protect: preventing accidental erasure, Protect): preventing accidental erasure – Sony DSC-H3 User Manual
Page 58
58
Viewing menu
For details on the operation 1 page 39
Protects images against accidental erasure. The
indicator appears on a protected image.
To protect an image
1
Select the images you want to protect while displaying images in single-image or in index mode.
2
Press MENU.
3
Select [Protect] with v/V on the control button, [This Image] with b/B, and then press z.
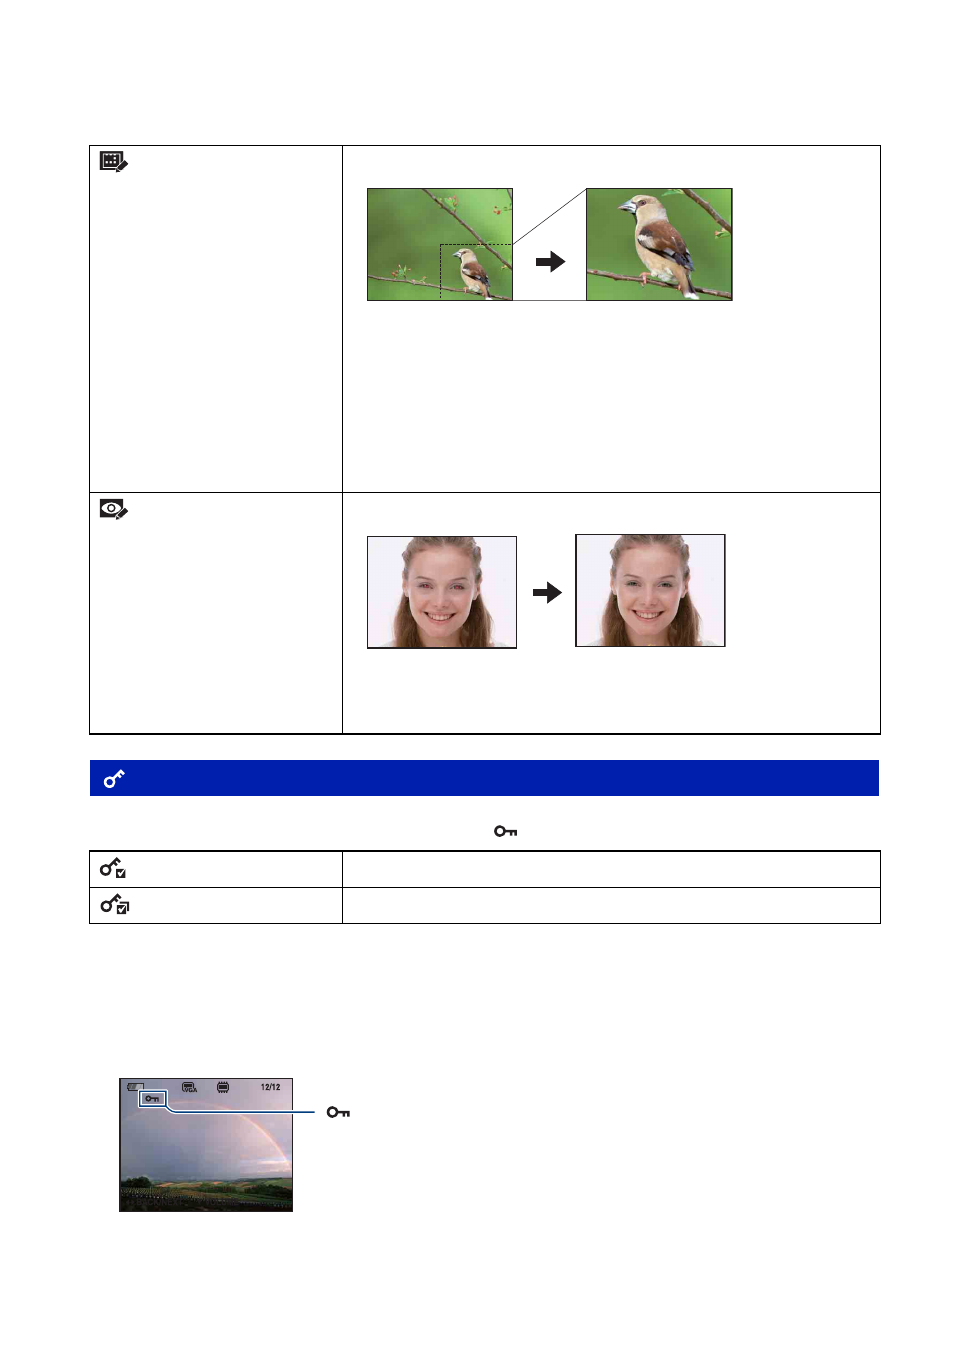
(Trimming)
Records the zoomed playback image.
1
Press W/T to zoom in on the trimming range.
2
Set the point with v/V/b/B, then press MENU.
3
Select [Image Size] with v and press z.
Select an image size to record with v/V, then press z again.
4
Select [OK] with v/V, then press z.
• The image size that you can trim may vary depending on the image.
• The quality of trimmed images may deteriorate.
(Red Eye Correction)
Corrects the red-eye phenomenon caused by flash.
Select [OK] with v/V, then press z.
• You may not be able to correct the red-eye phenomenon depending
on the image.
(Protect): Preventing accidental erasure
(This Image)
Protects/unlocks the currently selected image.
(Multiple Images)
Selects and protects/unlocks multiple images.