On the single screen – Sony DSC-P41 User Manual
Page 72
72
On the single screen
a
Display the image you want to
print with
b
/
B
.
b
Press MENU.
The menu appears.
c
Select
(Print)
with
b
/
B
, then
press
z
.
d
Select [This image] with
v
/
V
,
then press
z
.
The Print screen appears.
•
Setting items not available for a particular
printer are not displayed.
e
Select [Index] with
v
, select
[On] with
b
/
B
.
f
Select [Quantity] with
v
/
V
,
select the number of images
laid side-by-side with
b
/
B
.
You can select the number up to 20.
You can lay the specified number of
images side-by-side.
g
Select [OK] with
V
/
B
, then
press
z
.
The image is printed.
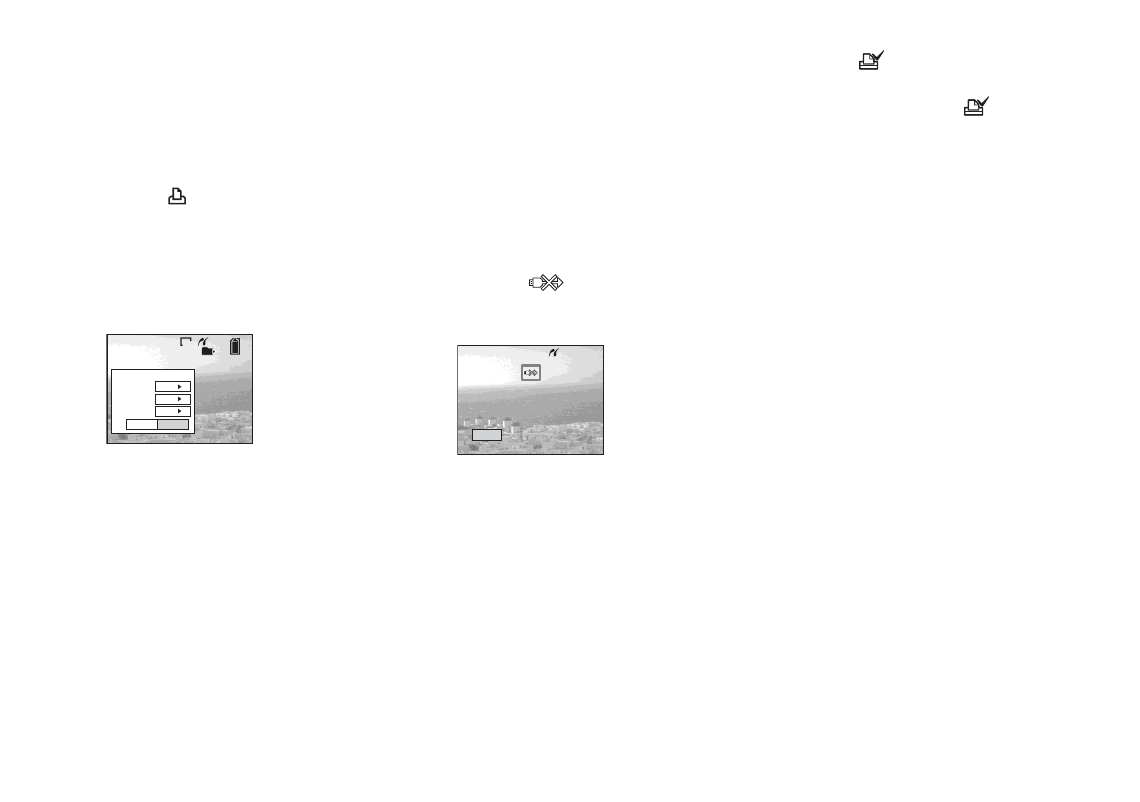
Do not disconnect the USB cable
while the
(Not disconnect USB
cable) mark is indicated on the LCD
screen.
To cancel printing
In Step
4
, select [Cancel] or in Step
7
,
select [Exit].
To print other images
After Step
7
, select another image, then
select [Print] with
v
. Then repeat from
Step
4
.
To print all the images indicated
with the
mark
In Step
4
, select [DPOF image]. All the
images indicated with the
mark are
printed, regardless of the image displayed.
To insert the date and time on
images
In Step
6
, select [Date], then select the
date format with
b
/
B
. You can select from
[Day&Time] or [Date]. When you chose
[Date], the date will be inserted in the order
set in “Setting the date and time” (page 17).
However, this function may not be provided
depending on the printer.
•
All the images may not be laid on a sheet
depending on the number of images.
2
/
9
101
VGA
Exit
OK
1
Off
Off
Quantity
Date
Index
Exit
Printing Index
1/1