Making a calendar, Calendar – Sony DPP-FP70 User Manual
Page 20
20
GB
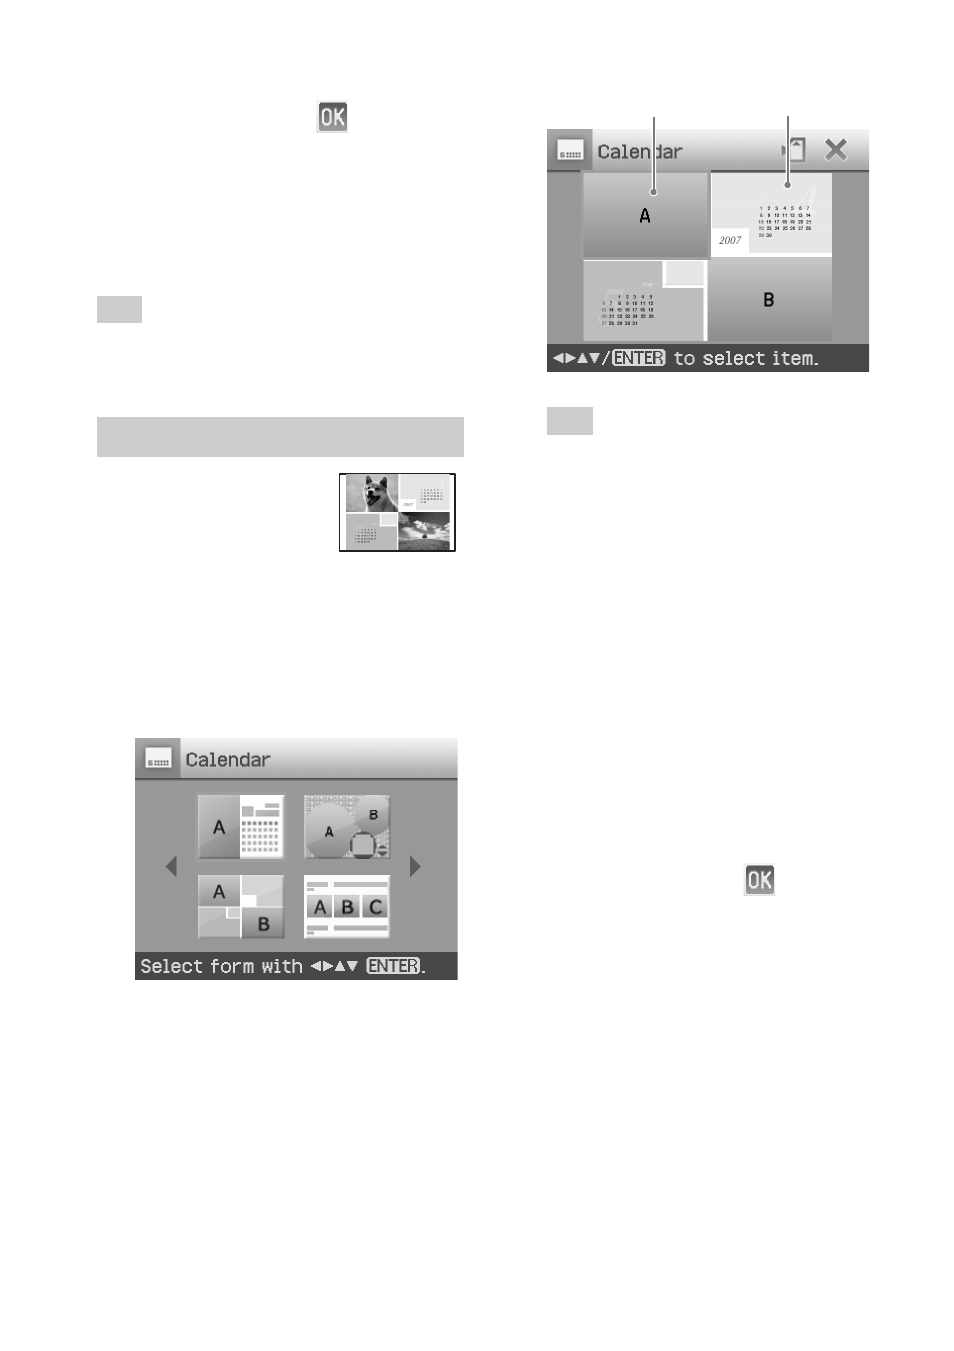
Image area Calendar area
Tip
You can select and set an image area or
calendar area in any order.
4
Select an image.
When you select a template with
multiple images, repeat the
procedures below to select an image
for each area.
1
Press g/G/f/F to select an image
area, then press ENTER.
The image list is displayed.
2
Press g/G/f/F to select the
desired image, then press ENTER.
The window used for adjusting the
image angle and position is
displayed. For information on
adjustment, see step 6 on page 19.
3
Press g/G to select
and then
press ENTER.
The image is selected and displayed
in the relevant area.
5
Set the calendar.
1
Press g/G/f/F to select the
calendar area and press ENTER to
display the calendar setting
window.
7
Press g/G to select
and press
ENTER.
The selected image is added to the
image area. When you select a
template with multiple images, repeat
the steps 4 through 7 to select an
image for each area.
Tip
To save or print the layout images previewed,
see page 17.
Making a calendar
You can make calendars
with your favorite
images.
1
Display the Creative Print menu
(page 18).
2
Press g/G/f/F to select
“Calendar”, then press ENTER.
The window used for selecting the
calendar template, is displayed.
3
Press g/G/f/F to select the desired
template, and then press ENTER.
The preview of the selected template
is displayed.