Ask Proxima Impression 860 User Manual
Page 17
USER GUIDE
LCD PROJECTOR
16
6.4
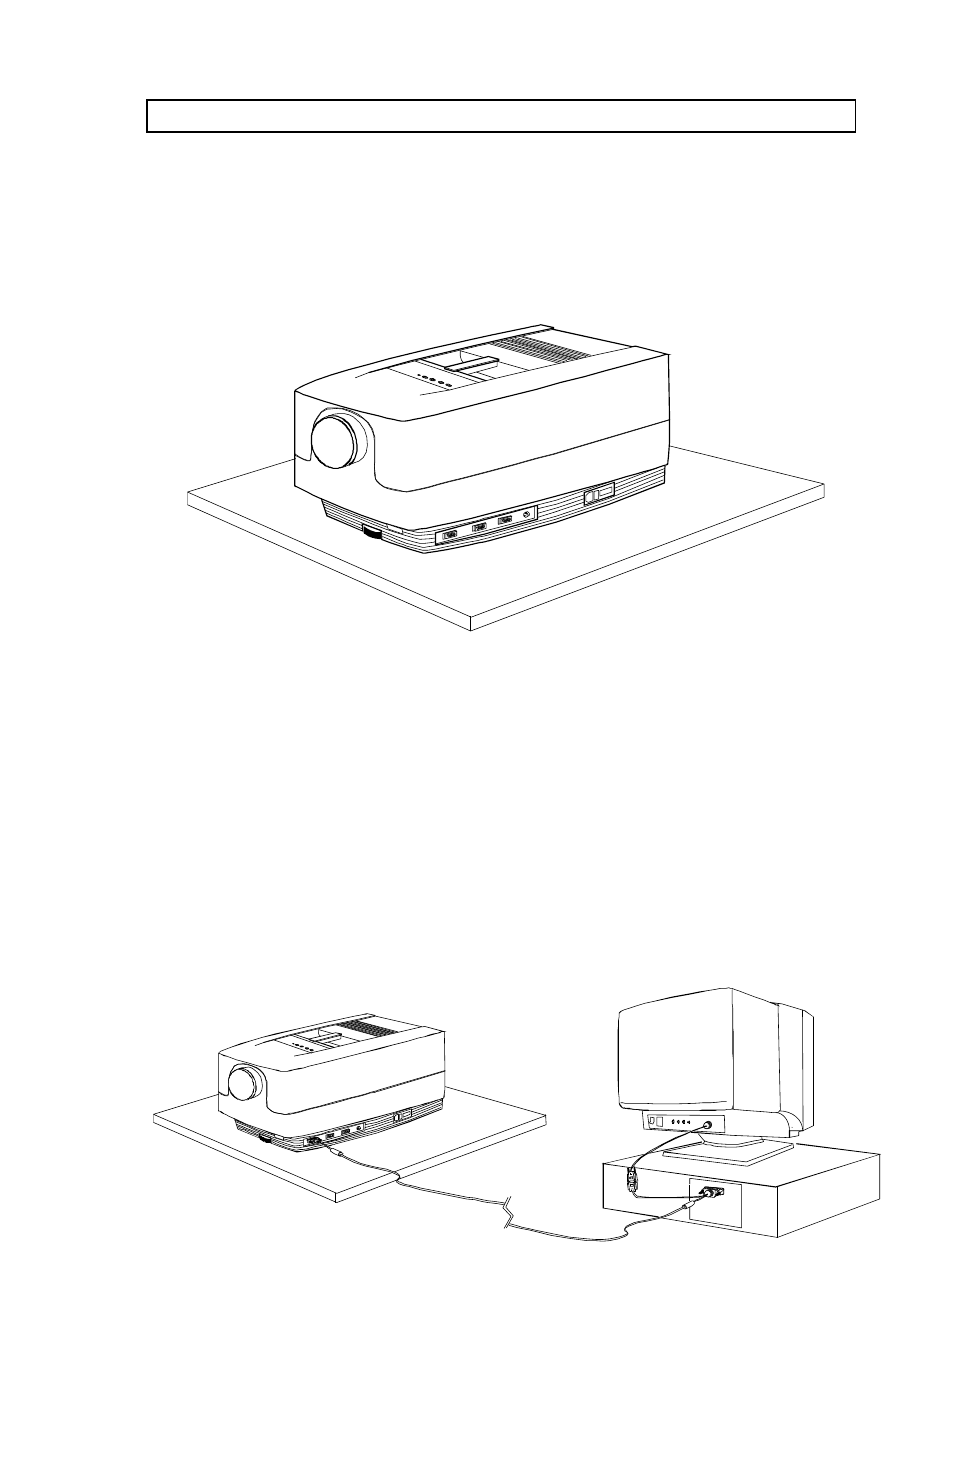
MAKING THE CABLE CONNECTIONS
1. Place the projector on a stable, hard surface, at the desired distance
from the projection screen.
2. Connect the source equipment to the connector ports of the LCD
projector, preferentially into the Source 1 connector port (This is the
default source connector port):
- PC:
Insert the end of the VGA cable marked ‘LCD’ into Source 1
connector port or the next available source port. Connect the
connector marked ‘Monitor’ onto your monitor cable, and the
connector marked ‘VGA’, into the VGA port on the PC unit. If
you do not intend to use a monitor then just leave the short
cable section unconnected.
See also other documents in the category Ask Proxima Projectors:
- Ultralight LS2 (1 page)
- C130 (50 pages)
- DP2000s (2 pages)
- DP2800 (83 pages)
- IN42 (49 pages)
- DP6810 (1 page)
- ASK M3 (32 pages)
- DP9240 (1 page)
- DP6105 (2 pages)
- C410/C420 (50 pages)
- + DP6850 (1 page)
- DP6150 (1 page)
- C420 (DP8200X) (1 page)
- C90 (11 pages)
- DP2300 (71 pages)
- 700 (29 pages)
- C440 (13 pages)
- M5 (1 page)
- Pro AV 9410 (2 pages)
- Pro AV 9310 (2 pages)
- Ultralight SV1 (19 pages)
- DP5610 (1 page)
- C105 (DP6155) (1 page)
- DP9250 (52 pages)
- Campus 300 (2 pages)
- Pro AV 9350 (2 pages)
- C300HB (3 pages)
- DP6100 (4 pages)
- DP5600 (45 pages)
- Pro AV 9300 (2 pages)
- DP9260 (1 page)
- C5 (1 page)
- DP5800 (5 pages)
- 9100 (103 pages)
- C40 (DP2000s) (3 pages)
- C420 (1 page)
- C1 (1 page)
- 21 (1 page)
- C160 (1 page)
- Ultralight DS2 (1 page)
- C440/C450 (61 pages)
- Ultralight LS1 (49 pages)
- A9+ (8 pages)
- Pro AV 9310L (49 pages)