Spektrum SPMAR6400 User Manual
Page 4
EN
Servos
The AR6400/AR6400L incorporates integrated servos; optional servos are also available through
Spektrum (SPMAS2000/SPMAS2000L). Note that using any other servo may cause damage to the
receiver and/or the servo and may void the warranty.
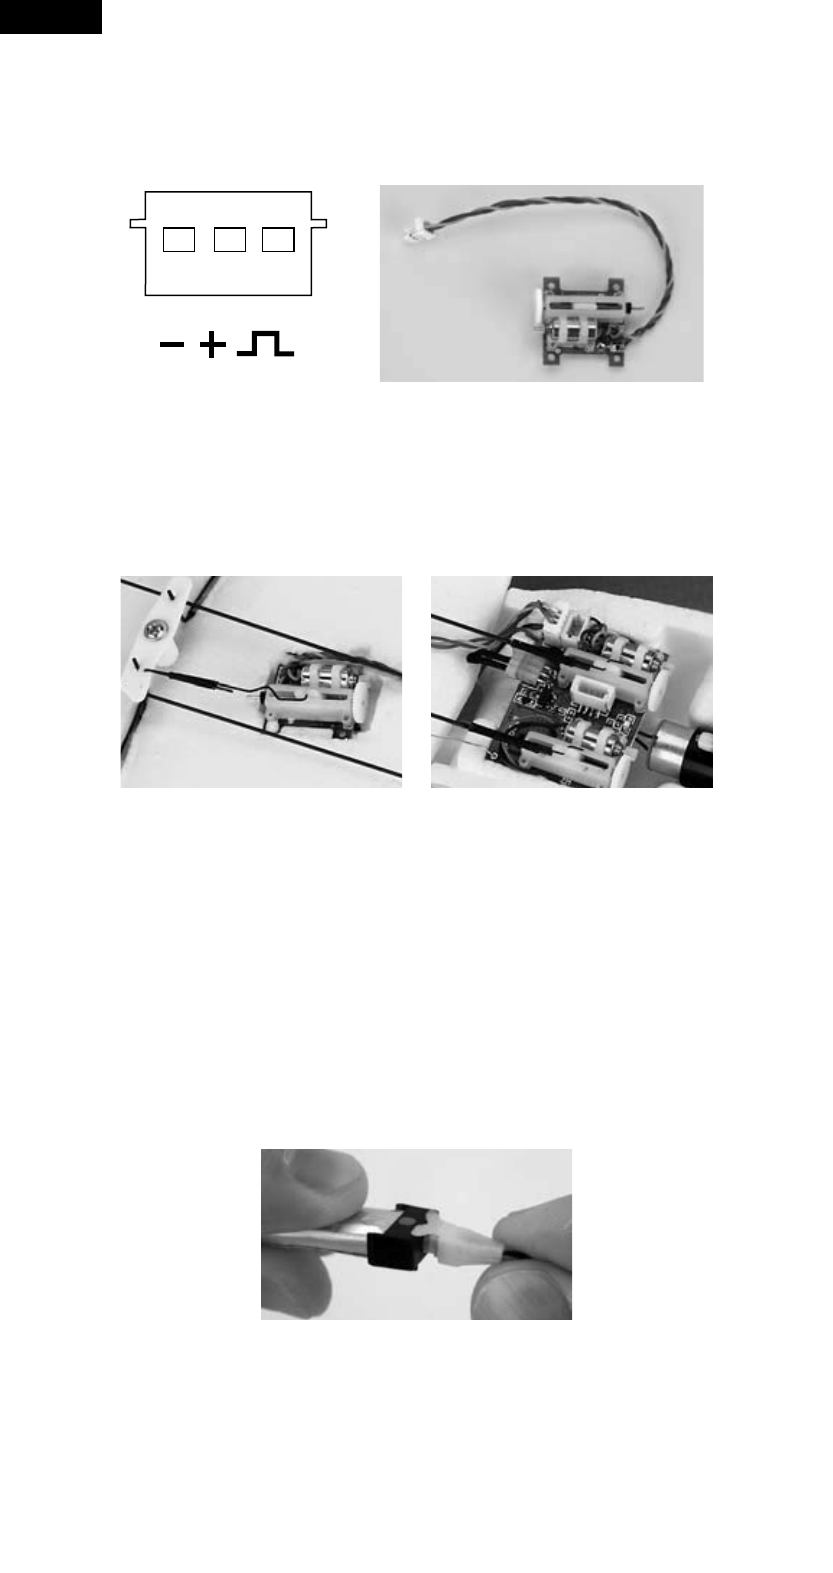
Optional Servo (SPMAS2000/SPMAS2000L)
Installing and Plugging in the Optional Servos
Use double-sided foam tape strips and/or minimal hot glue to mount the servos in place. Note that
the servos need to be in the appropriate position to attach to the corresponding pushrods. Plug the
servo leads into the appropriate servo ports in the receiver noting the polarity of the servo connector.
Note: Installation will vary depending upon application.
Smart Bind
™
The AR6400/AR6400L receiver must be bound to the transmitter before it will operate. Binding is
the process of teaching the receiver the specific code of the transmitter so it will only connect to that
specific transmitter. The AR6400/AR6400L features Smart Bind. When the receiver is first powered,
the receiver will look for the signal of its previously bound transmitter for 5 seconds. If no signal is
found the receiver will automatically go into bind mode indicated by the flashing LED.
Binding
1. Make sure the flight battery is fully charged.
2. Confirm the flight battery is disconnected from the receiver/ESC unit and the transmitter is turned
off.
3. Plug the flight battery into the receiver’s battery connector. After 5 seconds the LED on the receiver
unit will begin flashing indicating it is in bind mode.
4. After verifying the LED is flashing on the receiver, follow the steps necessary that allow your
transmitter to enter bind mode. (See your transmitter’s manual or the supplement on the following
pages.)