Allied Telesis SWITCHBLADE POWER SUPPLY UNIT User Manual
Page 5
Quick Install Guide
5
C613-04028-01 REV D
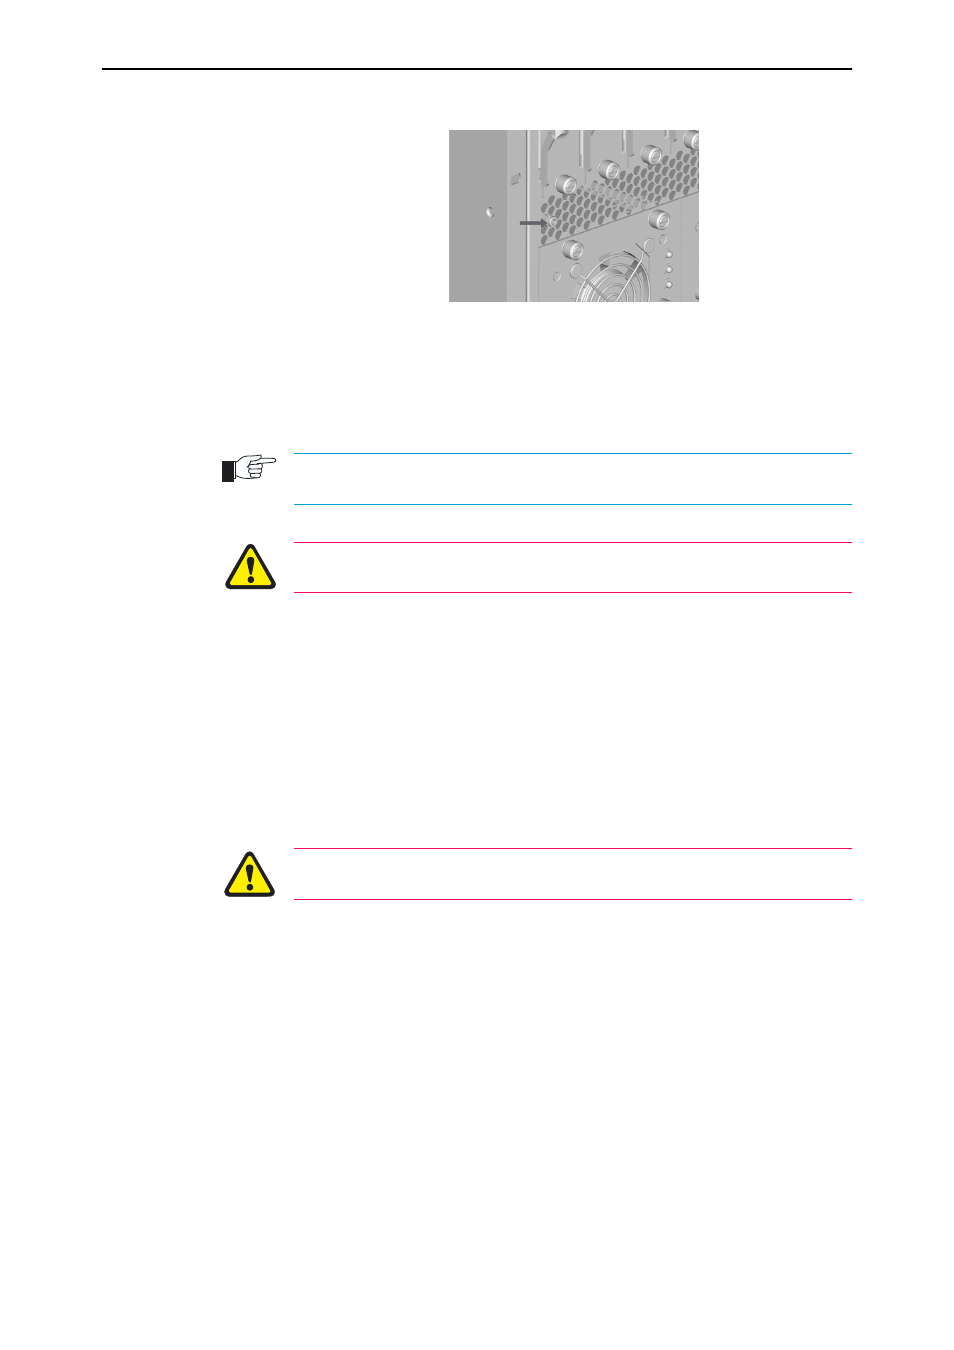
Figure 1: ESD socket on the SwitchBlade 8 chassis.
5.
Remove the PSU bay faceplate or existing PSU
To remove a blank faceplate:
Loosen the faceplate’s four Phillips mounting screws until they disengage
from the chassis, then remove the faceplate.
Keep the faceplate for future use. If you remove a PSU, replace the faceplate to prevent
dust and debris from entering the chassis and to maintain proper airflow.
The switch and PSU may overheat or be damaged by dust and debris if PSU
bays are left uncovered.
To remove an existing PSU:
Loosen the PSU’s four Phillips screws until they disengage from the chassis.
Using the PSU’s handle, pull the PSU out of the chassis.
6.
Insert the PSU
Slowly and carefully slide the PSU into the chassis (see Figure 2 on
page -6).
Firmly press the PSU home (until its front panel engages or nearly engages
the chassis).
Keep the PSU in a straight alignment and insert it slowly. Forcing a misaligned
PSU is likely to damage the chassis and PSU.
ESD socket
- AT-GS908M (54 pages)
- AT-x230-10GP (80 pages)
- AT-GS950/10PS (386 pages)
- AT-GS950/48PS (64 pages)
- AT-GS950/16PS (386 pages)
- AT-GS950/48PS (386 pages)
- AT-9000 Series (1480 pages)
- AT-9000 Series (258 pages)
- IE200 Series (70 pages)
- AT-GS950/48 (410 pages)
- AT-GS950/8 (52 pages)
- AT-GS950/48 (378 pages)
- AT-GS950/48 (60 pages)
- SwitchBlade x8106 (322 pages)
- SwitchBlade x8112 (322 pages)
- SwitchBlade x8106 (240 pages)
- SwitchBlade x8112 (240 pages)
- AT-TQ Series (172 pages)
- AlliedWare Plus Operating System Version 5.4.4C (x310-26FT,x310-26FP,x310-50FT,x310-50FP) (2220 pages)
- FS970M Series (106 pages)
- 8100L Series (116 pages)
- 8100S Series (140 pages)
- x310 Series (120 pages)
- x310 Series (116 pages)
- AT-GS950/24 (404 pages)
- AT-GS950/24 (366 pages)
- AT-GS950/16 (44 pages)
- AT-GS950/16 (364 pages)
- AT-GS950/16 (404 pages)
- AT-GS950/8 (404 pages)
- AT-GS950/8 (364 pages)
- AT-GS950/8 (52 pages)
- AT-8100 Series (330 pages)
- AT-8100 Series (1962 pages)
- AT-FS970M Series (330 pages)
- AT-FS970M Series (1938 pages)
- SwitchBlade x3106 (288 pages)
- SwitchBlade x3112 (294 pages)
- SwitchBlade x3106 (260 pages)
- SwitchBlade x3112 (222 pages)
- AT-S95 CLI (AT-8000GS Series) (397 pages)
- AT-S94 CLI (AT-8000S Series) (402 pages)
- AT-IMC1000T/SFP (23 pages)
- AT-IMC1000TP/SFP (24 pages)
- AT-SBx3106WMB (44 pages)