Wall-mounting the switch, Chapter 2: installation 30, Col pow er – Allied Telesis AT-FS716L User Manual
Page 30
Chapter 2: Installation
30
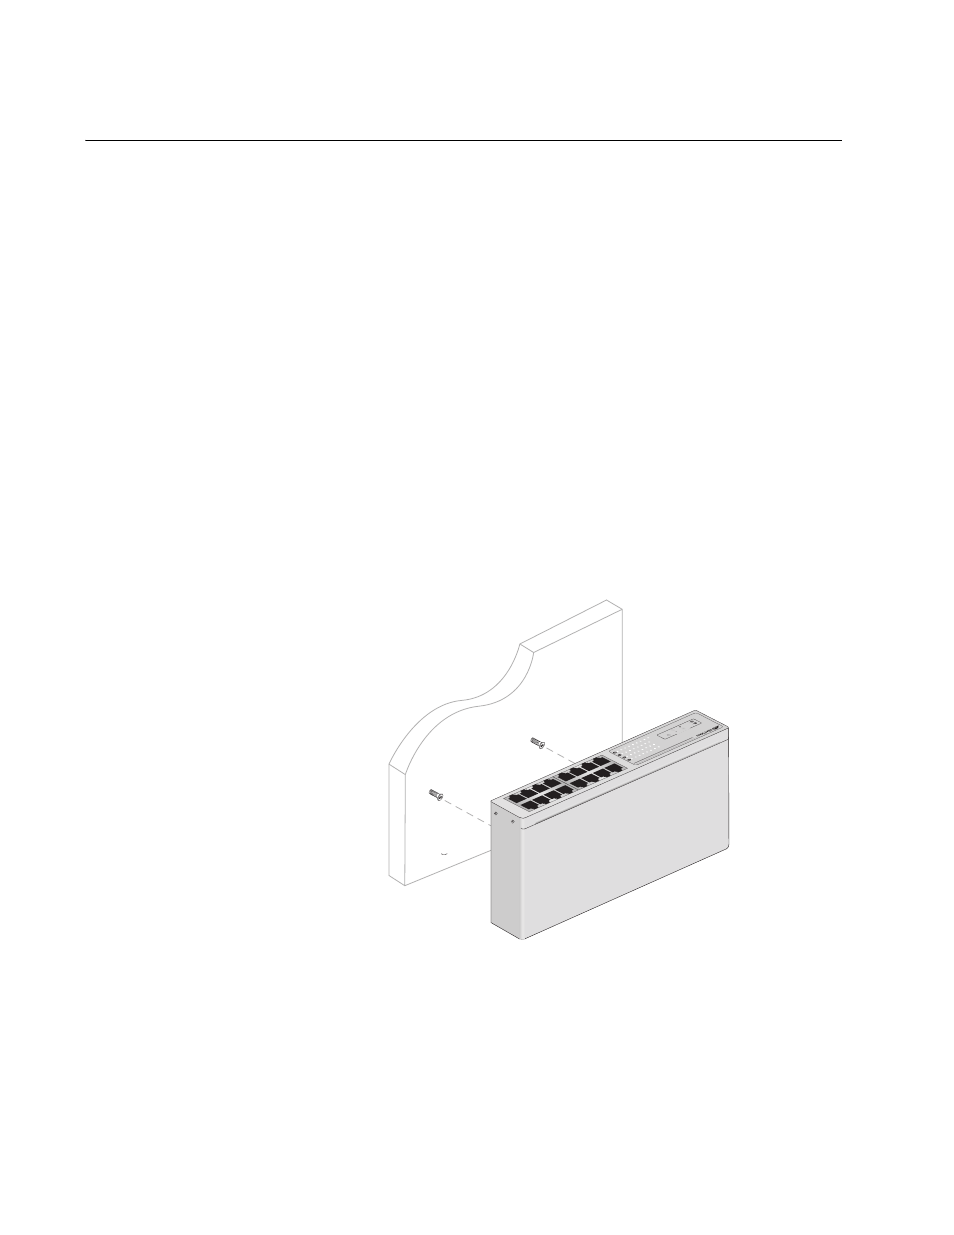
Wall-Mounting the Switch
The switch can be mounted horizontally on a wall using the two keyhole
slots in the bottom of the switch.
To mount an AT-FS716L switch onto a wall, perform the following
procedure:
1. Remove all equipment from the package and store the packaging
material in a safe place.
2. If attached, remove the rubber feet, data cables, and power cord from
the switch.
3. Select a wall location for the switch.
4. Mark two hole locations on the wall.
5. At the marked locations for the holes, pre-drill for the drywall anchors
and drive the screws through the holes.
6. Align the switch horizontally, as illustrated in Figure 8..
Figure 8. Aligning an AT-FS716L for Wallmount Installation
1017
1
3
5
7
9
11
13
15
2
4
6
8
10
12
14
16
AT -F
S71
6L
16 P
ort 1
0/100 M
bps
Fas
t Eth
ern
et Switch
10 L
IN
K
ACT
100
LIN
K
ACT
FDX
HDX
PO
RT A
CTIV
ITY
COL
POW
ER
1
3
5
7
9
11
13
15
2
4
6
8
10
12
14
16
- AT-GS908M (54 pages)
- AT-x230-10GP (80 pages)
- AT-GS950/48PS (64 pages)
- AT-GS950/10PS (386 pages)
- AT-GS950/16PS (386 pages)
- AT-GS950/48PS (386 pages)
- AT-9000 Series (258 pages)
- AT-9000 Series (1480 pages)
- IE200 Series (70 pages)
- AT-GS950/48 (378 pages)
- AT-GS950/48 (60 pages)
- AT-GS950/48 (410 pages)
- AT-GS950/8 (52 pages)
- SwitchBlade x8106 (322 pages)
- SwitchBlade x8112 (322 pages)
- SwitchBlade x8106 (240 pages)
- SwitchBlade x8112 (240 pages)
- AT-TQ Series (172 pages)
- AlliedWare Plus Operating System Version 5.4.4C (x310-26FT,x310-26FP,x310-50FT,x310-50FP) (2220 pages)
- FS970M Series (106 pages)
- 8100L Series (116 pages)
- 8100S Series (140 pages)
- x310 Series (116 pages)
- x310 Series (120 pages)
- AT-GS950/24 (404 pages)
- AT-GS950/24 (366 pages)
- AT-GS950/16 (44 pages)
- AT-GS950/16 (404 pages)
- AT-GS950/16 (364 pages)
- AT-GS950/8 (364 pages)
- AT-GS950/8 (52 pages)
- AT-GS950/8 (404 pages)
- AT-8100 Series (330 pages)
- AT-8100 Series (1962 pages)
- AT-FS970M Series (330 pages)
- AT-FS970M Series (1938 pages)
- SwitchBlade x3106 (288 pages)
- SwitchBlade x3112 (294 pages)
- SwitchBlade x3106 (260 pages)
- SwitchBlade x3112 (222 pages)
- AT-S95 CLI (AT-8000GS Series) (397 pages)
- AT-S94 CLI (AT-8000S Series) (402 pages)
- AT-IMC1000T/SFP (23 pages)
- AT-IMC1000TP/SFP (24 pages)
- AT-SBx3106WMB (44 pages)