Installing the at-stackxg stacking module – Allied Telesis AT-9448Ts/XP (Basic Layer 3) User Manual
Page 41
AT-9400Ts Stack Installation Guide
41
Installing the AT-StackXG Stacking Module
This procedure contains the installation instructions for the AT-StackXG
Stacking Module. The module must be installed in all of the switches of the
stack. It is generally easier to install the module before a switch is mounted
in the equipment rack.
Note
Although the stacking module can be hot-swapped, meaning that it
can be installed while the switch is powered on, Allied Telesis
recommends that the switches be powered off during the initial
installation of the stack.
Warning
The module can be damaged by static electricity. Be sure to observe
all standard electrostatic discharge (ESD) precautions, such as
wearing an antistatic wrist strap, to avoid damaging the device.
To install the AT-StackXG Stacking Module in the switch, perform the
following procedure:
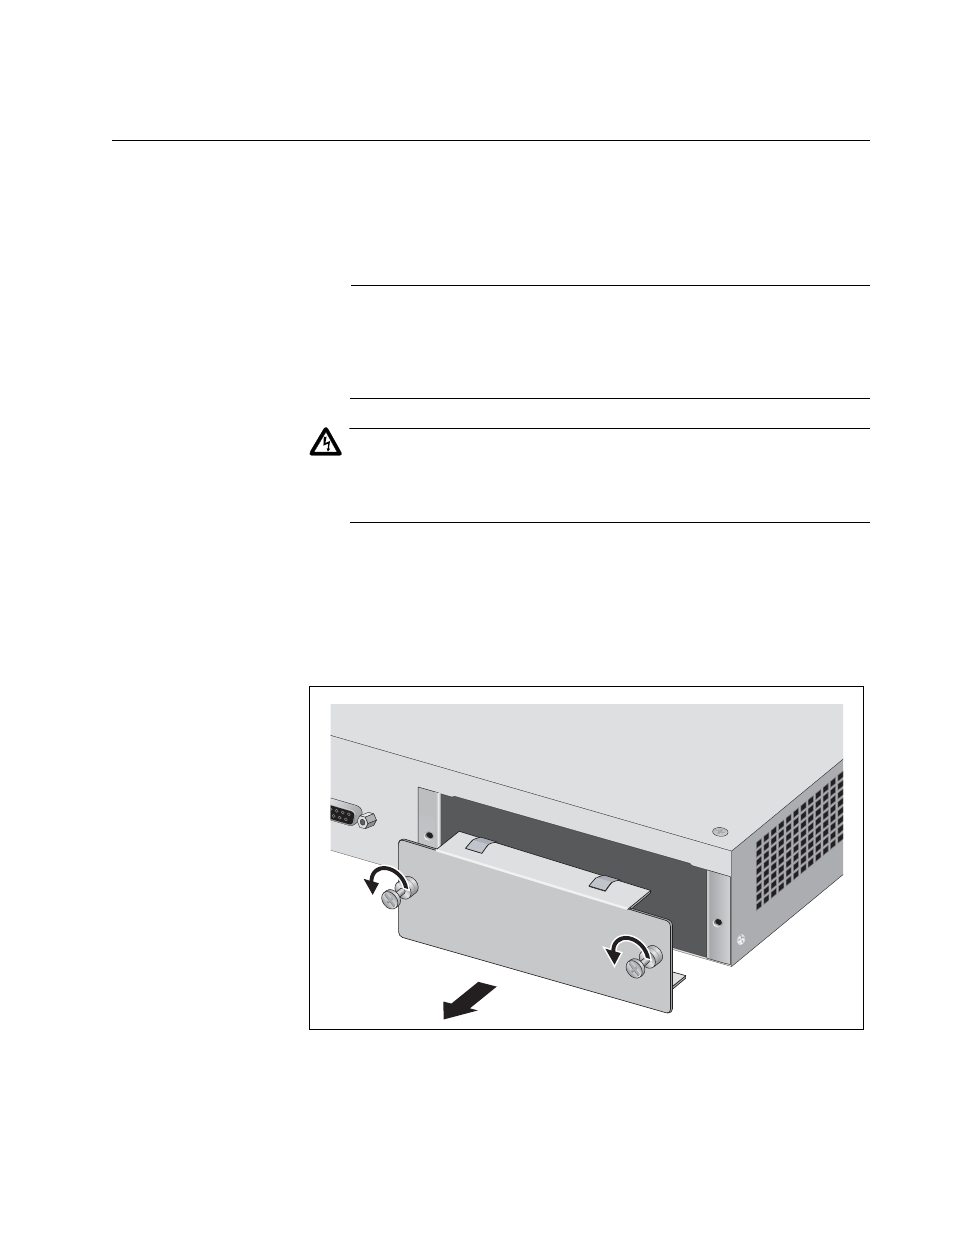
1. Remove the blank panel from the expansion slot on the back panel of
the switch by loosening the two captive screws on the panel with a
cross-head screwdriver.
Figure 9. Removing the Blank Panel from the Expansion Slot
1241
AT-LX44CPUCV
R