Campbell Scientific TB4 and TB4MM Hydrological Services Rain Gage User Manual
Page 7
TB4 and TB4MM Rain Gage
The rain gage is designed to mount on a flat surface. Three equally spaced
mounting pads are provided. The mounting pads are pre-drilled for three 3/8”
(M8) bolts on a 9.21” (234 mm) diameter bolt circle. The CM240 mounting
bracket is available from Campbell Scientific for installing the TB4. The
CM240 base helps level the rain gage, ensuring a more accurate measurement.
The base may be attached to a CM300-Series Mounting Pole or to a user-
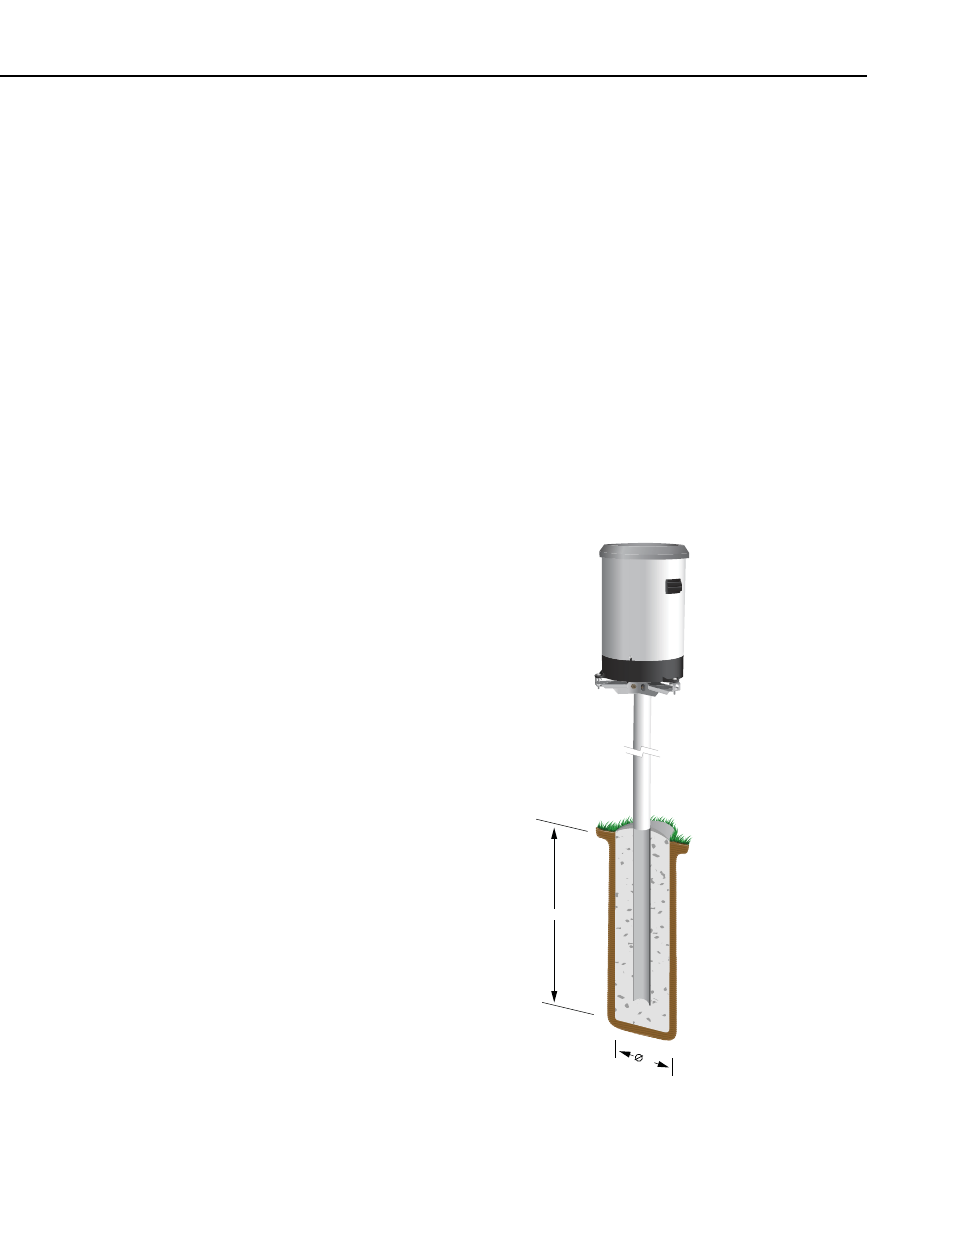
supplied 1.5 IPS (1.9” OD, unthreaded) pipe. The pipe should be long enough
to place the gage's orifice at a one-meter height. The rain gage should be high
enough to be above the average snow depth. The pole or pipe can be placed
directly into a concrete foundation, or attached to a concrete foundation using
J-bolts, or self-supporting with legs (see Figure 3-2). A concrete pad is
recommended. A typical rain gage installation is illustrated in Figure 3-1.
Remove the TB4 funnel from the base by removing the three screws and lifting
upward. Adjust the three nuts on the CM240 bracket to level the rain gage. A
bubble level is mounted on the TB4 base to facilitate leveling.
Remove the rubber shipping band and cardboard packing securing the tipping
bucket assembly. Tip the bucket several times to insure the tipping mechanism
is moving freely. Replace the housing assembly and tighten the three screws
to secure the housing to the base. Level the rain gage after mounting it.
24”
8”
FIGURE 3-1. Typical Rain Gage Installation
3