3 hook up power to datalogger, 4 turn on the charging source, 5 turn on power to the datalogger – Campbell Scientific PS150/CH150 12 V Charging Regulators User Manual
Page 16: Hook up power to datalogger, Turn on the charging source, Turn on power to the datalogger, 8. wiring harness plugged into battery connector
PS150/CH150 12 V Charging Regulators
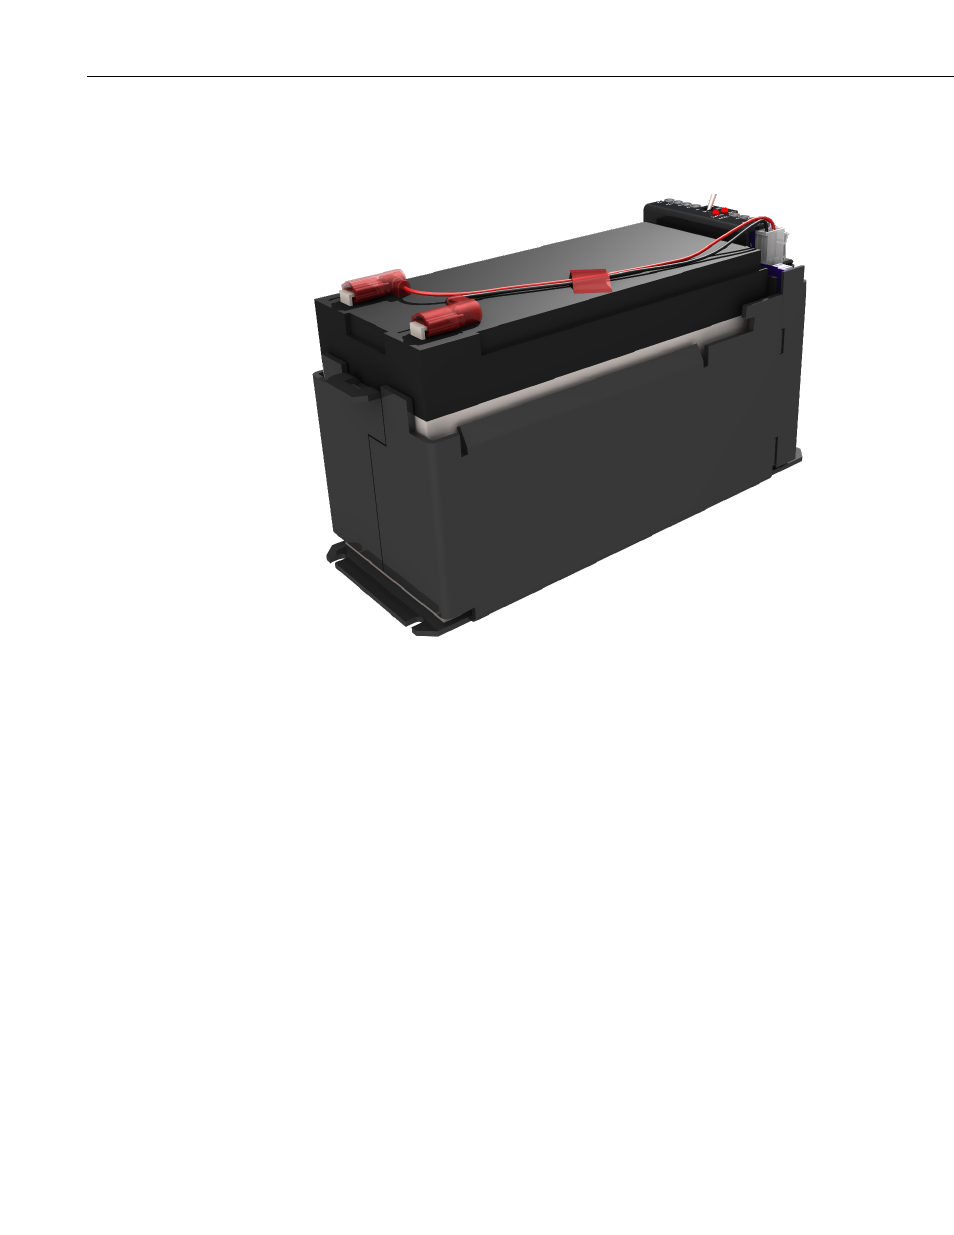
Plug the battery into the connector marked “BATT”. This connector is
polarized and will only allow the mating connector to be plugged in one way.
Push the connector all the way in until it locks in place.
FIGURE 3-8. Wiring harness plugged into battery connector
3.3 Hook Up Power to Datalogger
Both the PS150 and the CH150 come with a 1 foot black wire attached to one
of the
G terminal blocks and a 1 foot red wire attached to one of the 12V
terminal blocks. Attach the red wire from the power supply to the datalogger
Power terminal block marked 12V (Campbell Scientific part number 3768).
Attach the black wire from the power supply to the datalogger Power terminal
block marked “G”.
3.4 Turn On the Charging Source
Turn on the power going to the charging source or uncover the solar panel.
The green “Charge” LED will flash approximately once a second if all
incoming connections are correct and there is an adequate charging voltage
present.
3.5 Turn On Power to the Datalogger
Flip the switch on the PS150/CH150 supply to “On”. Verify voltage to the
datalogger with a volt meter, or use a key pad display, or connect to the
datalogger with a laptop or PDA to make sure the datalogger is running
correctly.
8