4 identification, 1 product description and type designation, 2 product markings – Videotec GEKO IRN User Manual
Page 6: 5 declaration of conformity to product standards, 6 preparing the product for use, 1 unpacking and contents, 1 unpacking, 2 contents, 2 preparatory work before installation, 1 unpacking 6.1.2 contents
EN - English - I
nstruc
tions manual
4
4 Identification
4.1 Product description and type
designation
State of the art illuminator, which provides
high reliability and excellent image quality. The
GEKO lights the entire scene evenly, eliminating
hotspots and underexposures, for unbeatable
night-time images and secure surveillance of the
area. The high efficiency heat sink body ensures
maximum LED durability and protection against
over-temperatures, whereas the front glass, made
of special technopolymer, provides high infrared
transmittance. The GEKO illuminators are protected
against electrostatic discharges.
The illuminator is available in versions 24Vac/12-
24Vdc or 90-240Vac with integrated power supply.
GEKO is supplied with a wall-mount bracket that
rotates horizontally and vertically.
4.2 Product markings
See the label attached to the outside of the package.
5 Declaration of conformity
to product standards
• Electrical safety: EN60598
• Photobiological safety of lamps and lamp systems:
EN62471
• Electromagnetic compatibility: EN55022, Class A
• Immunity: EN50130-4
• FCC Part 15, Class A
6 Preparing the product for
use
Any change that is not expressly approved
by the manufacturer will invalidate the
guarantee.
6.1 Unpacking and contents
6.1.1 Unpacking
When the product is delivered, make sure that the
package is intact and that there are no signs that it
has been dropped or scratched.
If there are obvious signs of damage, contact the
supplier immediately.
Keep the packaging in case you need to send the
product for repairs.
6.1.2 Contents
Check the contents to make sure they correspond
with the list of materials as below:
• GEKO illuminator with bracket
• Wall-fastening bracket
• Instructions manual
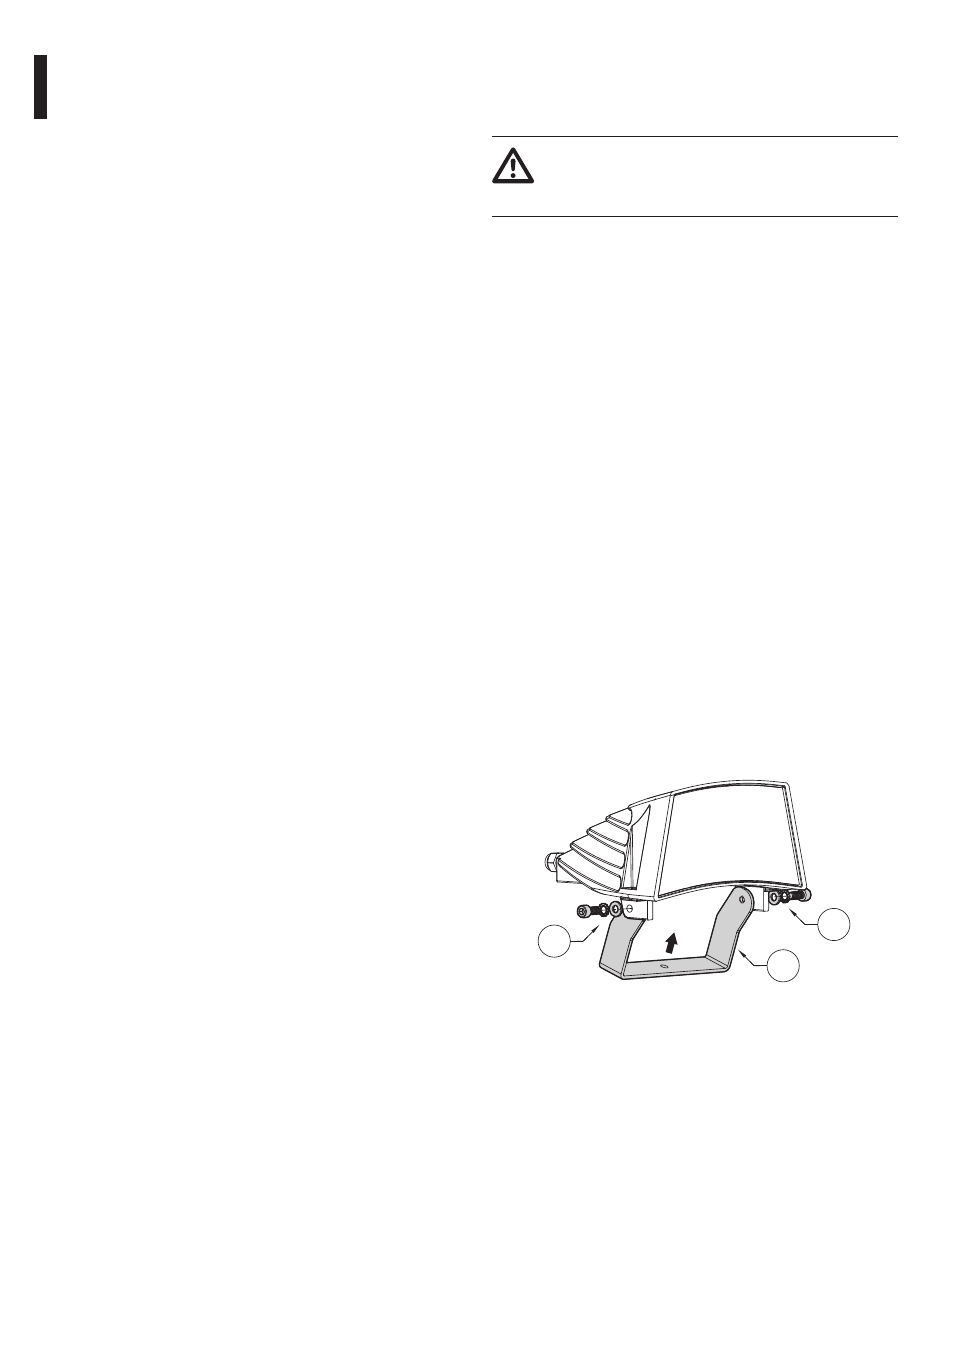
6.2 Preparatory work before
installation
Fasten the top bracket (01) to the lamp using the
screws and washers (02) supplied.
01
02
02
Fig. 1