3 – deleting arrays – HighPoint RocketRAID 2680SGL User Manual
Page 19
RocketRAID BIOS Utility
3 – Deleting Arrays
Highlight the Delete command from the toolbar, and press Enter.
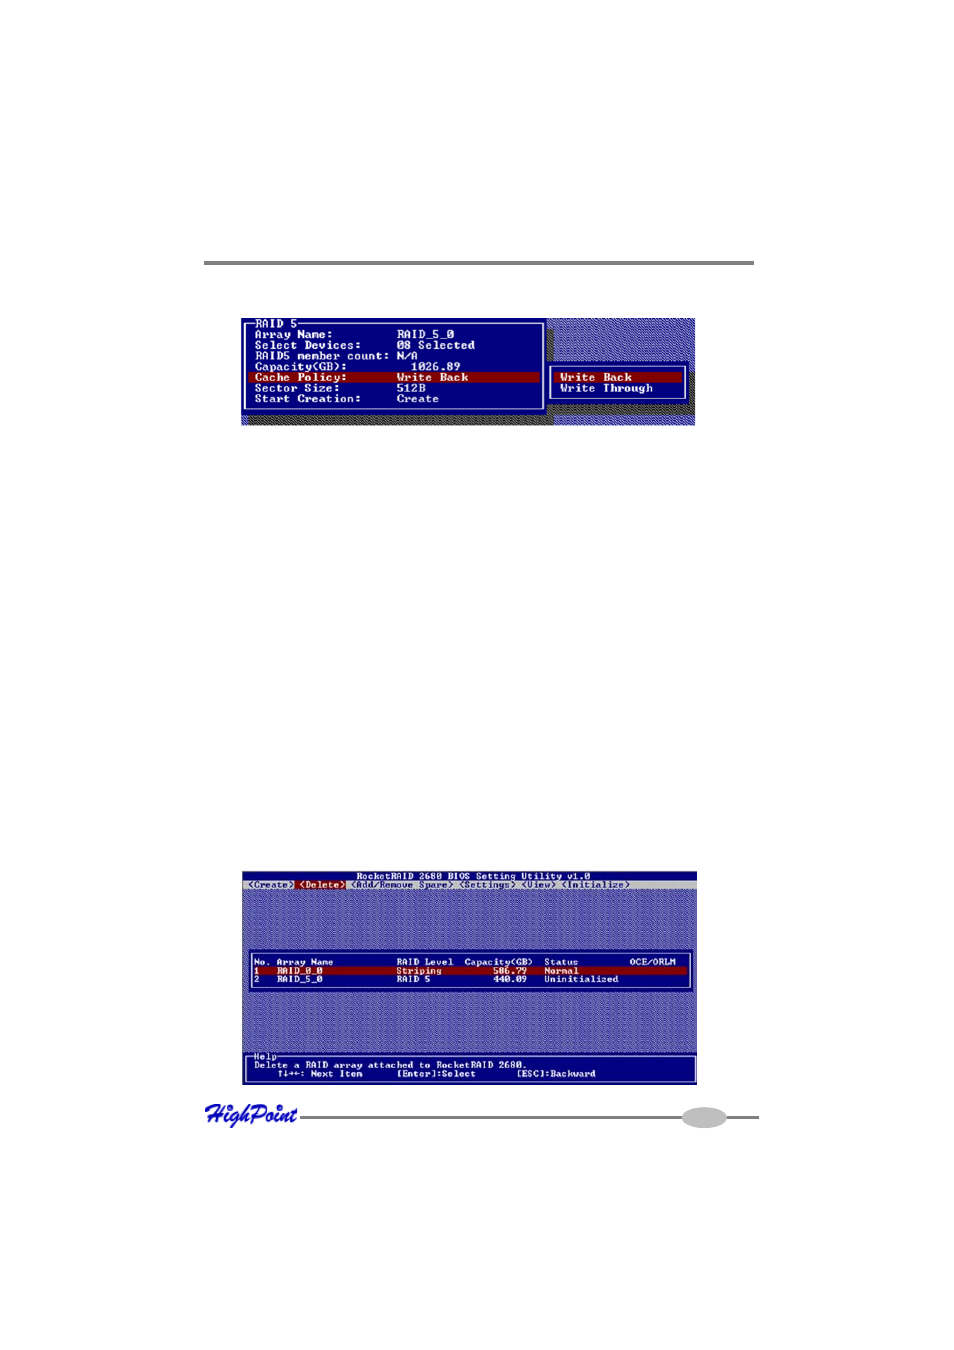
The BIOS utility will display a list of available RAID arrays. Select the array you wish
to delete, and press Enter.
Write Back – utilizes disk cache (higher performing)
Write Through – writes directly to the disks (may reduce the risk of data loss during
a critical failure, but at the cost of lower performance)
7.
Sector Size – Also known as “Variable Sector Size”. Use this option if you are
using an older 32-bit Windows operating system. This allows older operating
systems to support volumes over 2TB in size. Do not use if the operating system
already supports large volumes (such as GPT).
8. To complete the creation procedure, use the arrow key to highlight the Start
Creation item and press Enter. Press the Y (yes) key to create the array, or N (no)
key to cancel the creation process.
6. Enter. For redundant RAID arrays (RAID 1, 5, 10), select the Cache Policy:
19