Tuff Country 55900 - Toyota Tundra 99-04 4.5 kit User Manual
Page 12
72. Working on the driver side, install the tires and wheels.
Repeat procedure on passenger side.
73. Check and double check again to make sure that all
steps were performed properly. And check them again.
74. Safely lower the vehicle to the ground.
Front End Installation Complete:
Rear End Installation:
75. To begin installation, block the front tires of the vehicle so
that the vehicle is stable and can’t roll forward. Safely lift the
rear of the vehicle and support the frame with a pair of jack
stands. Place a jack stand on both the driver and passenger
side. Next, remove the rear wheels and tires from both sides.
76. Using a pair of hydraulic floor jacks, place one hydraulic
floor jack on the driver side of the rear axle and one on the
passenger side.
77. Working on the driver side, remove the shock from the
OE location and discard. Save the hardware. Repeat proce-
dure on passenger side. Special note: Once this
Suspension kit is installed, new longer rear shocks will be
needed. Rear shocks are sold seperately. If you have not
already ordered your new rear shocks, please contact
Tuff Country or your local Tuff Country dealer and order
the rear shocks. Tuff Country recommends installing a
26” fully extended shock.
78. Working on the driver side, remove the u-bolts and dis-
card the u-bolts and hardware. Set the lower u-bolt plate a
side for later re-installation. Repeat procedure on the pas-
senger side.
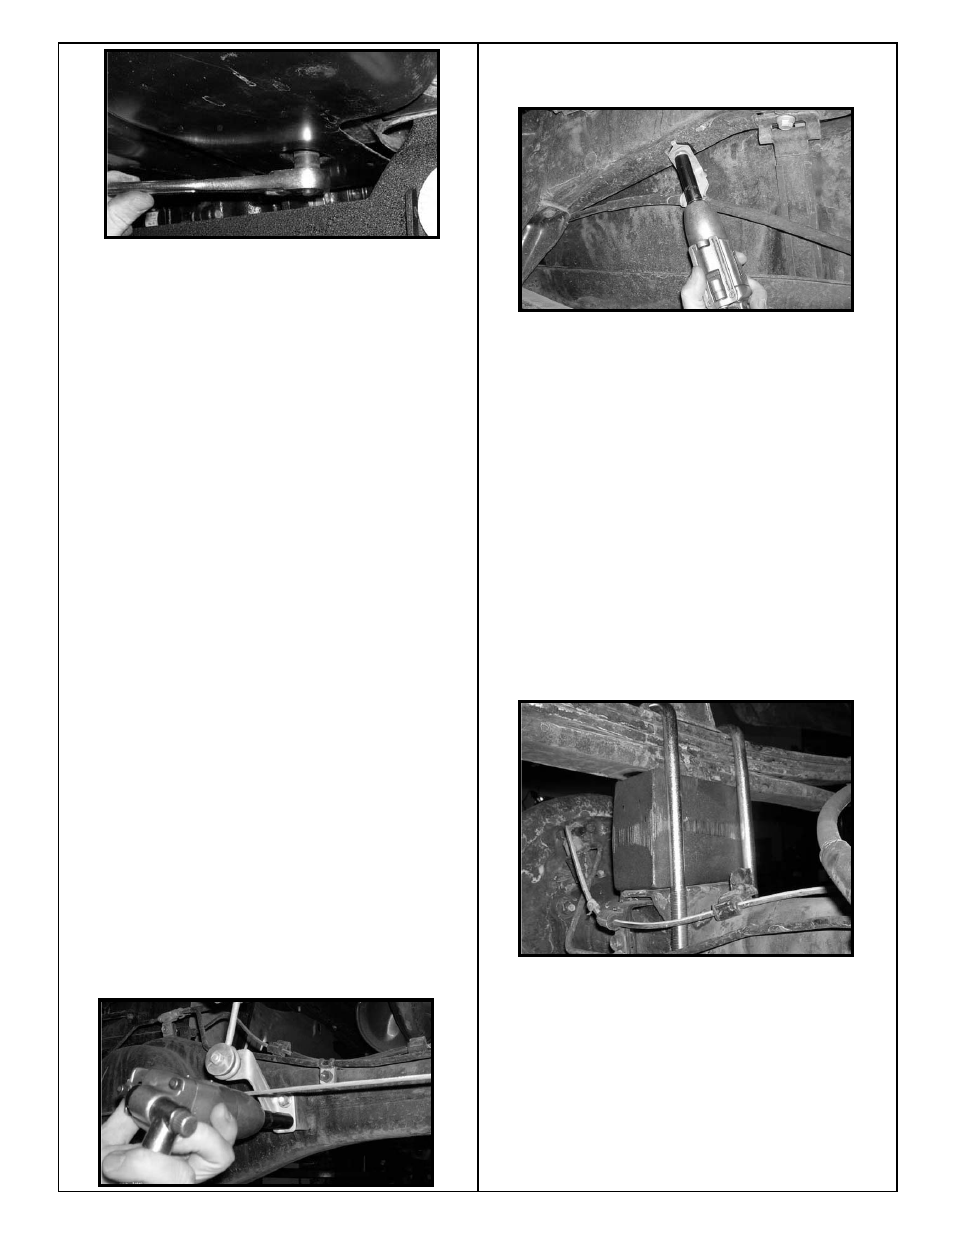
79. Working on the passenger side of the rear axle, remove
the brake proportioning valve bracket from the OE location
and save the hardware.
80. Working on the driver side, remove the emergency brake
cable bracket from the bottom of the frame rail. Save the
hardware.
81. Carefully lower down on both hydraulic floor jacks at the
same time approximately 3.5”. Take special care not to kink
or over extend any brake lines and/or hoses.
82. Locate the 3” lifted blocks. Working on the driver side,
install the new 3” lifted block between the spring assembly
and the axle. Special Note: The new 3” lifted block has a
slight taper to it, make sure that when you install the
new block that you install it with the taper going towards
the front of the vehicle. Repeat procedure on the passen-
ger side.
83. Locate (4) 9/16” x 2 1/2” x 9 5/8” square u-bolts. Also,
locate (8) 9/16” u-bolt high nuts and washers from hardware
bag 916NW. Working on the driver side, install the new u-
bolts into the OE location and secure using the new high
nuts and washers. Torque to 115 ft lbs. Special Note: Make
sure to re-install the stock upper bump stop and lower
U-bolt plate into the stock location. Repeat procedure on
the passenger side.
84. Carefully remove the hydraulic floor jacks from under the
vehicle.
85. Locate the new BLR09 and the emergency brake cable
bracket. Install the new BLR09 to the bottom side of the
stock frame rail and secure using the stock hardware. Do not
tighten at this point.
86. Locate (1) 5/16” x 1 1/4” bolt, (2) 1/4” USS flat washers
and (1) 5/16” unitorque nut from hardware bag 55900NB1.
Install the emergency brake line bracket to the newly
installed BLR09 and secure using the new 5/16” x 1 1/4” bolt