Telenav for Nextel Supported Devices: v2.2 for Motorola i730 User Manual
Page 16
© TELENAV 2003-5
PAGE 16 OF 41
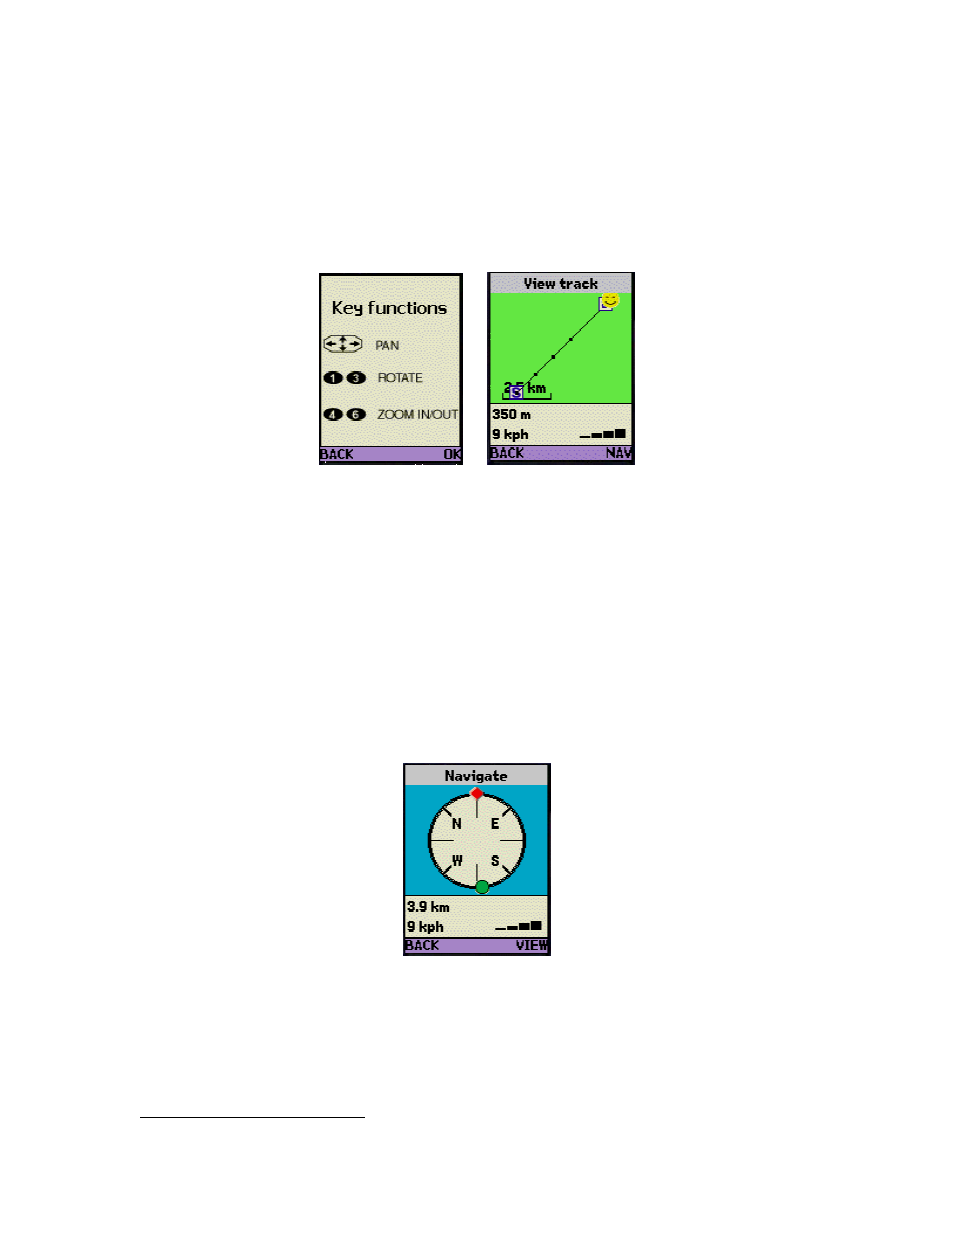
View track
Selecting View track allows you to select a previously recorded track as shown above for Waypoint
selection, and see its spatial relationship relative to your current location. If you have not previously
recorded any tracks, you will simply get a message “No tracks” and you should press OK to return to
the submenu. If you are currently recording a track, you will not be able to view it until you have
stopped recording from the prior submenu. The first display you will see after selecting a recorded
track teaches you the available control keys (the same behavior as above for viewing a waypoint).
After you have reviewed the teaching screen, press OK. On the next screen, the letter S icon shows
where the track started, the small dots show the recorded points along the track, and the letter E icon
(partially under the Smiley Face) is where the track was ended. The Smiley Face relates your current
position to the track. However, the track view is defined solely by the extent of the track, so if your
current location is not near the track, you will have to zoom out before your location will be visible.
If you press the NAV key, you will get a display similar to the NAV view for a waypoint, but with an
important difference. The green dot is the closest recorded point on the track that is in the semicircular
area from directly to the right of you, crossing through directly in front you to directly to the left of you,
unless there is none, at which point it simply becomes the closest point along the track that is “behind”
you. As you approach a point along the track in front of you, the green dot should overlay the red
diamond indicating you are approaching the recorded point. As you pass the point, it will be replaced
the next recorded point in the track list. This will allow you to retrace a track you have previously
recorded from S to E, or from E to S; and even to join the track at any intermediate recorded point.
Record Track/End Track
After you select Record Track, you will be asked to select an icon for and label the track as described
above for waypoint marking. After you press OK, the Record Track item in the submenu will become
End Track.
2
2
The drawings of the phone screens in this document are not proportional to the actual screens. Instead, they are drawn
taller or shorter to allow the presented content to be shown completely.