JELD-WEN JII028 Wood Double Hung Sash Replacement Kits User Manual
Page 2
INSTALLATION INSTRUCTIONS
for Wood Double Hung Sash Replacement Kits (JII028)
2
SaFeTy & HanDlInG
SAFETy
• Read and fully understand ALL manufacturers’ instructions before
beginning.
• Do not work alone. Two or more people are required. Use safe lifting
techniques.
• Use caution when handling glass. Broken or cracked glass can cause
serious injury.
• Wear protective gear (e.g. safety glasses, gloves, ear protection, etc.).
• Operate hand/power tools safely and follow manufacturer’s operating
instructions.
• Use caution when working at elevated heights.
• Windows in older homes may be painted with lead-based paint. Take
precautions to minimize exposure to lead-based paints if removal of
existing sashes disturbs the paint. your regional epa
(www.epa.gov/lead) or Consumer Product Safety Commission offices
provide information regarding regulations and lead protection.
mATERIALS AND WINDOW HANDLING
• Heed material manufacturers’ handling and application instructions.
• Handle in vertical position; do not carry flat or drag on floor.
• Store window in dry, well-ventilated area in vertical, leaning position
to allow air circulation; do not stack horizontally.
• Protect from exposure to direct sunlight during storage.
IF INJURy OCCURS, ImmEDIATELy SEEK mEDICAL ATTENTION!
REmOVE PACKAGING
Remove shipping materials such as corner covers, shipping blocks or
pads. If there is a protective film on the glass, do not remove it until
installation and construction are complete.
INSPECT WINDOW
• Cosmetic damage
1
Remove paCKaGInG & InSpeCT WInDoW paRTS
• Included parts
• Correct product (size, color, grid pattern, handing, glazing, energy-
efficiency requirements, etc.)
If any of the above represents a concern, BEFORE installing, contact
your dealer or distributor for recommendations.
REMOVE EXISTING SASH & PREPARE OPENING
2
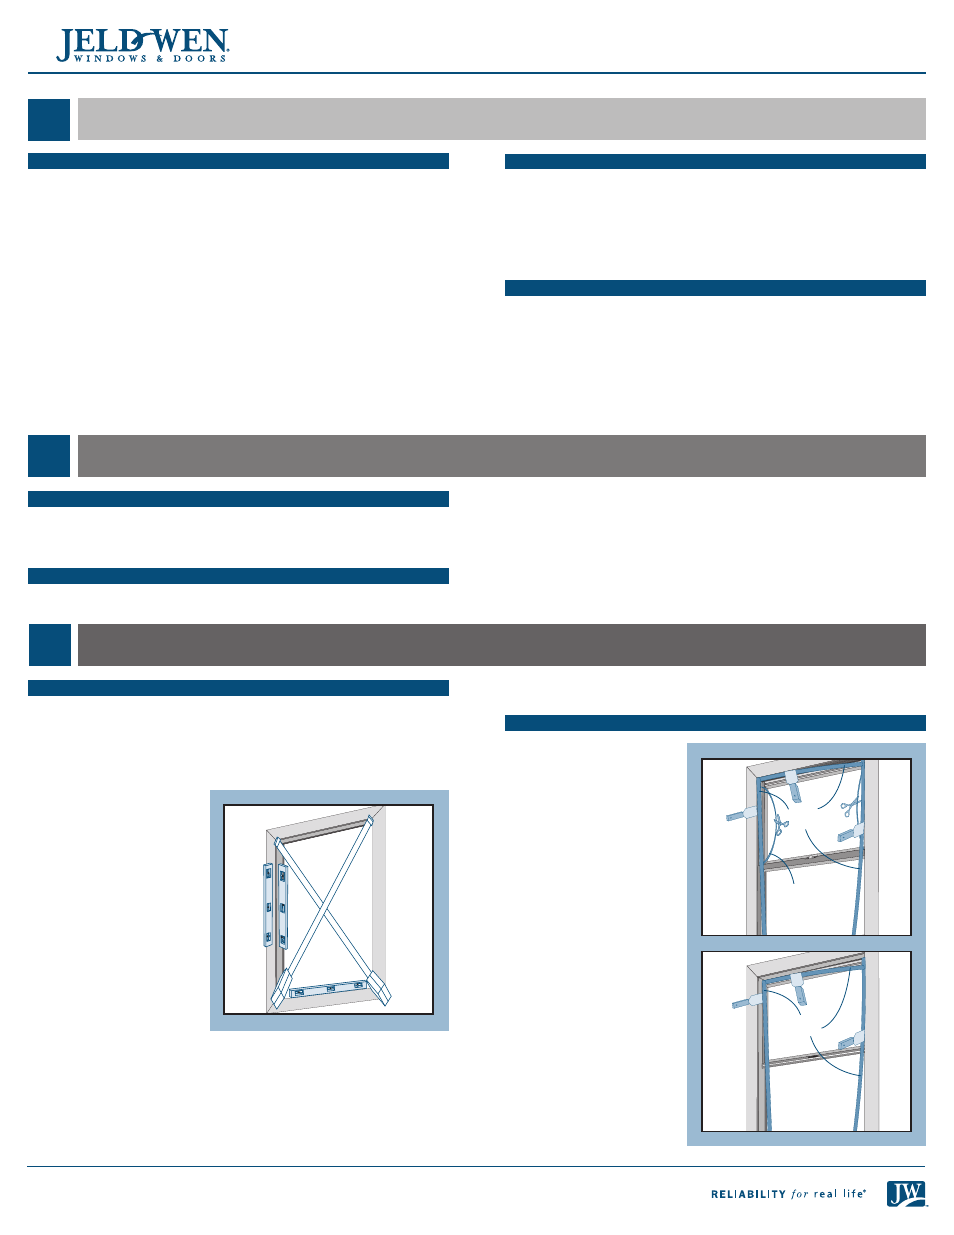
INSPECT EXISTING WINDOW FRAmE
ImPORTANT:
This kit is designed to be installed into a structurally
sound, plumb and square opening. Failure to do so will negatively
impact the fit and performance of this product.
• Verify and correct any problems with the existing frame such as wood
decay and water leaks prior to installing replacement sashes.
• Verify the existing window
frame is square. The (a) and
(B) measurements should
be the same. maximum
allowable deviation from
square is 1/8" for windows
20 sq. ft. and smaller, and
1/4" for windows larger
than 20 sq. ft.
• Verify the existing window
frame is level and plumb
(C) and (D). The maximum
allowable deviation is
1/16" for every 2' of rough
opening (not to exceed
1/8").
• The existing window sill must not be crowned or sagged (D).
• The interior face of the existing window frame must be in a single
plane (E) with less than 1/8" twist from corner to corner.
Do not install the new replacement system unless the existing window
frame meets the above conditions. Professional assistance may be
necessary to correct problems before installation.
ImPORTANT:
The replacement sash should be finished either before
installation or immediately after (whichever is more convenient).
REmOVE EXISTING BALANCE SySTEm AND SASHES
1. Remove any interior trim
stops at head or sides
flush with jambs. Interior
trim stops may be reused
if not damaged.
2. Remove existing lower
sash and balance system.
If the balance system has
balance cords, cut cords
and gently lower weights
into frame.
3. Remove existing head
and jamb parting stops.
Remove upper sash in the
same manner as the lower
sash.
4. Unscrew pulleys and
remove, or tap into frame
until flush with the jamb.
Fill any holes left by the
balance system with
loose-fill insulation or low
expansion foam.
a
B
D
C
e
Interior
stops
Balance
cord
parting
stops