Mezzanine card option, Installing a mezzanine card option (a-side) – HP ProLiant BL680c G7 Server-Blade User Manual
Page 61
Hardware options installation 61
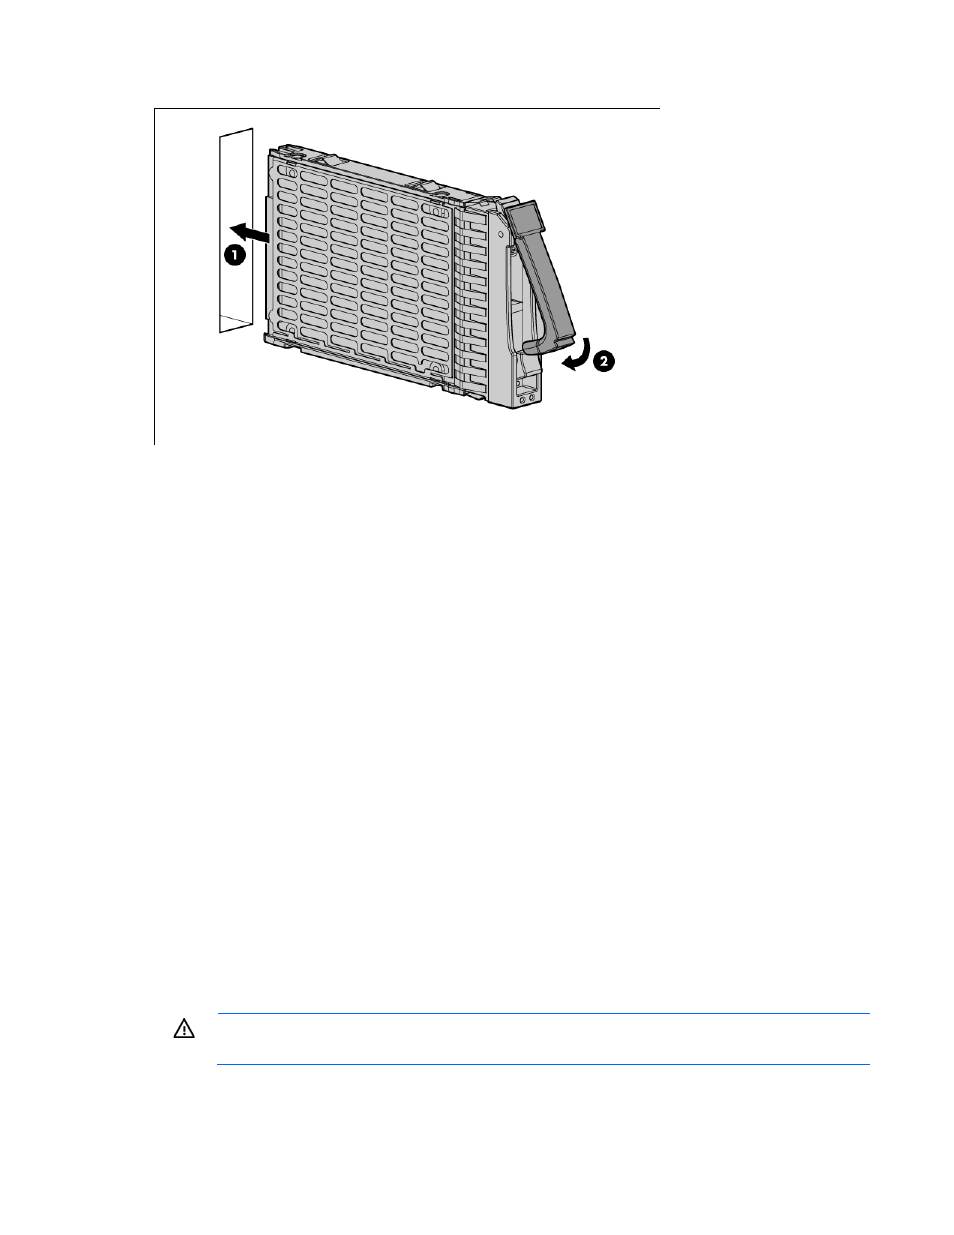
3.
Install the hard drive.
4.
Determine the status of the hard drive from the hot-plug hard drive LEDs ("
" on page
5.
Resume normal server blade operations.
Mezzanine card option
Optional mezzanine cards provide additional network connectivity or provide Fibre Channel support.
•
The A-side of the server blade contains mezzanine connectors 1, 2, and 3. For A-side mezzanine card
locations, see "System board components (A-side) (on page
)."
•
The B-side of the server blade contains mezzanine connectors 4, 5, 6, and 7. For B-side mezzanine
card locations, see "Interposer board components (on page
)."
For mezzanine card signal mapping, see "Interconnect bay numbering and device mapping (on page
)"
and the installation instructions that ship with the server blade.
Optional mezzanine cards are classified as Type I mezzanine cards and Type II mezzanine cards. The card
type determines where it can be installed in the server blade:
•
Install a Type I mezzanine card on any mezzanine connector.
•
Install a Type II mezzanine card on Mezzanine 2, 3, 4, and 6 connectors only.
Because mezzanine cards are supported on multiple server blade models, the mezzanine card may have
captive screws that are not required to secure it to the server blade. When installing a mezzanine card in this
server blade, only two captive screws are required.
Installing a mezzanine card option (A-side)
WARNING:
To reduce the risk of personal injury from hot surfaces, allow the drives and the
internal system components to cool before touching them.