HP Color LaserJet 9500 Multifunction Printer series User Manual
Page 53
ENWW
Send to Fax 47
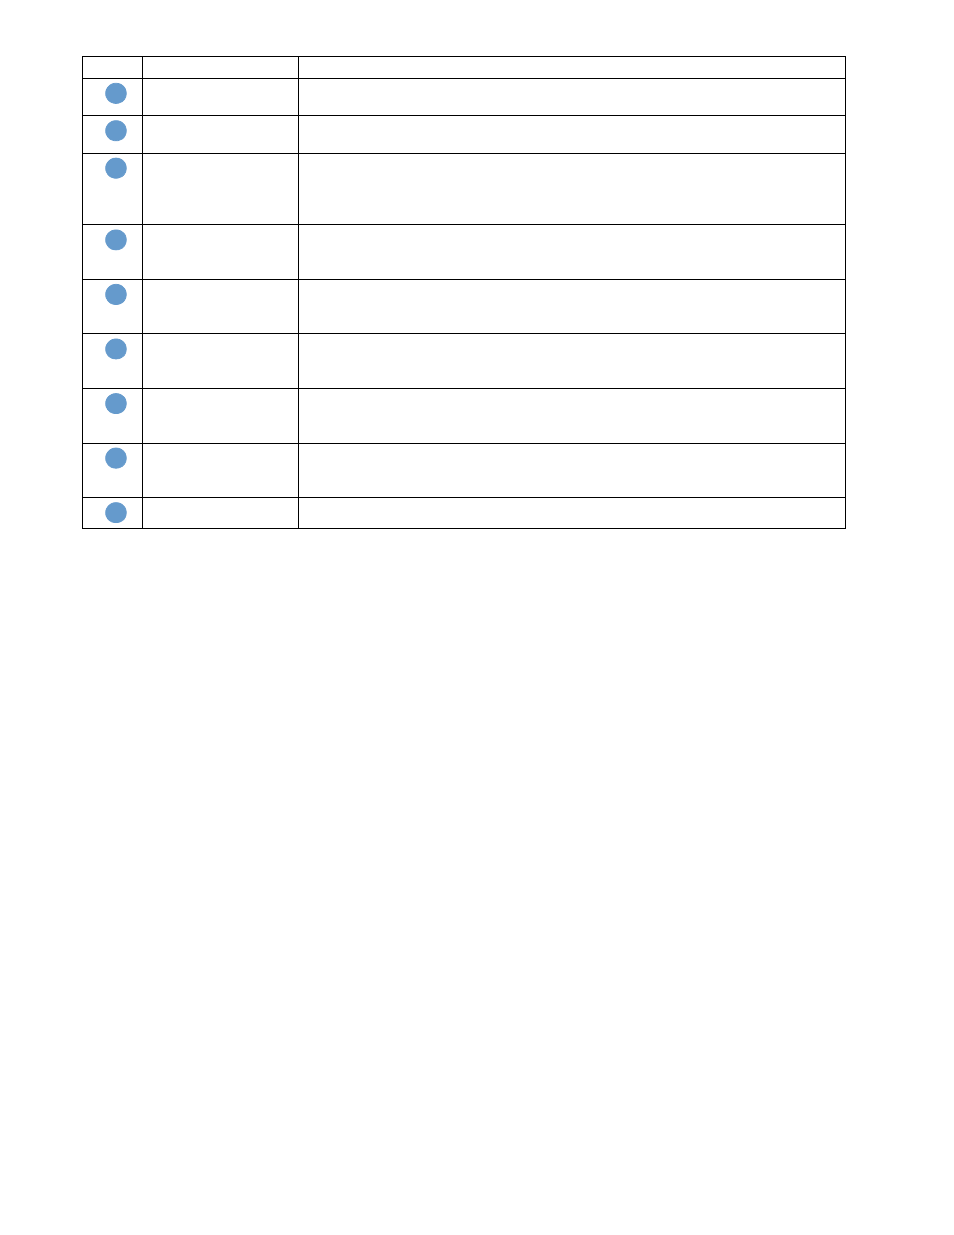
Callout Area on the screen
Information or capability that the area provides
EWS tabs and menus
For more information, see
“Navigating through the HP Embedded Web Server” on
.
Help
Click to open a help file that contains information about the screens on the Digital
Sending tab.
General
Select the general settings, such as modem and ringer volume and whether to turn
JBIG compression and Error Correction on or off. You can also select whether or not to
overlay the header (phone number, time, and date), so that it covers only a small part of
the top of the page.
Send
Select the settings for faxes that are sent from the product, such as dial tone and how
many times you want the product to retry if the receiving fax line is busy or does not
answer.
Receive
Select the settings for received faxes, such as which output bin the faxes are to be
delivered, if you want incoming faxes to be scaled to the size of paper in the input tray,
and the number of a another fax product to which incoming faxes can be forwarded.
Print Activity Log
Click this button to print the internal modem's fax activity log. The activity log lists all
incoming and outgoing fax calls since the log was last cleared and is printed to the
product.
Clear Activity Log
Click this button to clear all entries in the fax activity log. HP recommends printing the
fax activity log periodically for record-keeping purposes, and then clearing the fax
activity log to keep its size to a minimum.
Security
Click this button to set the security features for the internal modem. The first time you
configure the security features, you are asked to type (and confirm) a Security PIN.
Thereafter, you will need that PIN to view and reconfigure the security features.
Diagnostics
Click this button to set the diagnostic features of the internal modem.
1
2
3
4
5
6
7
8
9