Desktop mounting, Rack mounting, Desktop mounting -7 rack mounting -7 – Asante Technologies 7000 User Manual
Page 19
Mounting Configurations
Page 2-7
Desktop Mounting
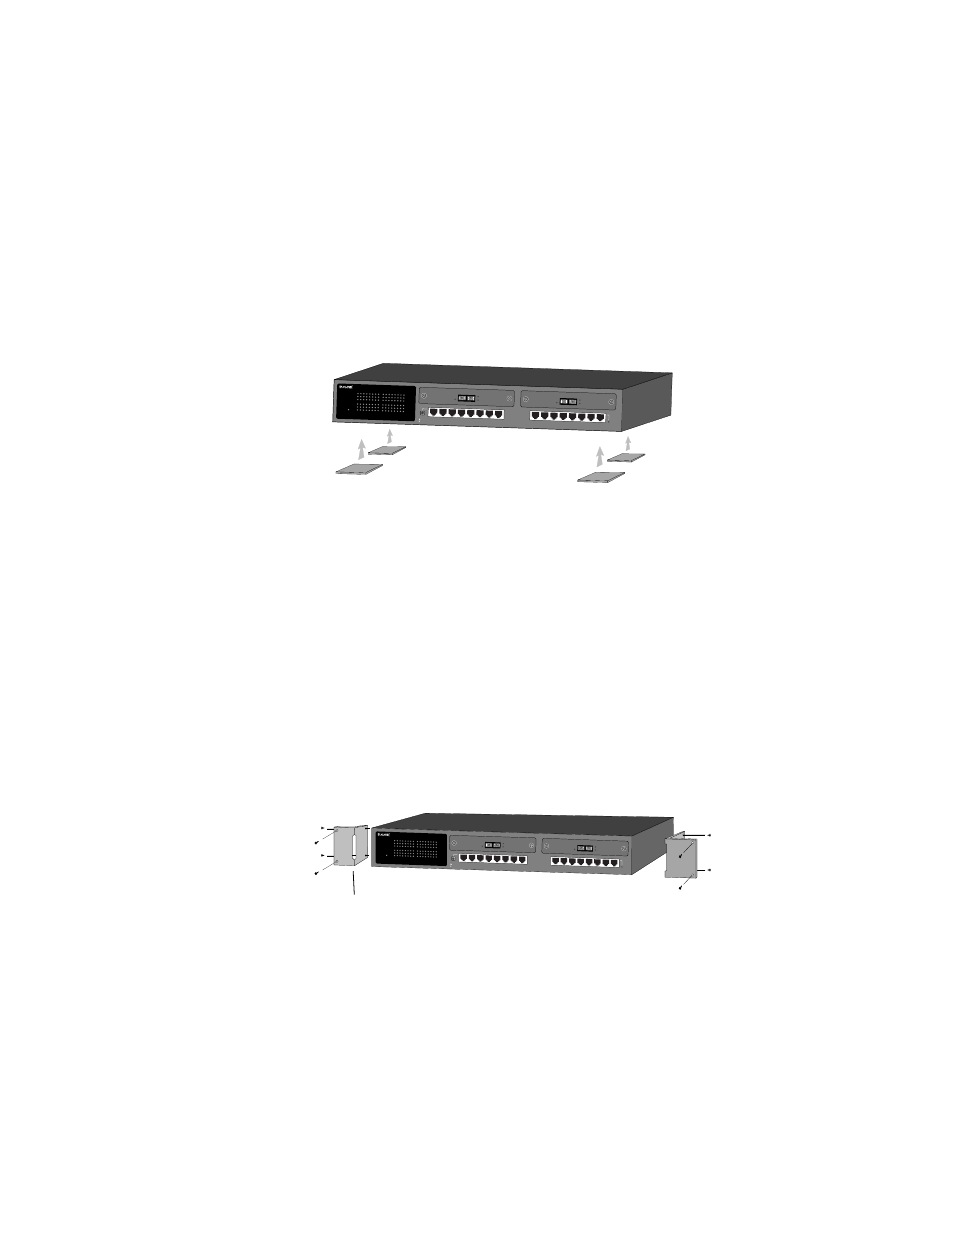
To mount the Switch on a desktop or shelf:
1
Attach the four rubber feet (supplied) to the bottom of
each corner on the Switch. See Figure 2-9.
Figure 2-9 Desktop mounting
2
Place the Switch on a flat, stable, horizontal desktop or
shelf.
Make sure you allow enough ventilation space between the
Switch and surrounding objects.
The Switch is ready for network connections.
Rack Mounting
All 7000 Series Switches come with a rack-mounting kit and can be mounted in
a standard 19-inch equipment rack. This rack can be placed in a wiring closet
with other equipment.
To install the Switch in an equipment rack:
1
Attach the two mounting brackets (supplied) on each side
of the chassis. See Figure 2-10.
Figure 2-10 Attaching mounting brackets to the FS7000
8
7
6
5
4
3
2
1
16
15
14
13
12
11
10
9
Uplink
Normal
Uplink
MII
Power
Option Slot A
Option Slot B
100/10Mbps
Full/Half
Link/Data
Power
FriendlyNET 7000 Series Gigabit Switch
1
2
3
4
5
6
7
8
9
10
11
12
13
14
15
16
100/10Mbps
Full/Half
Link/Data
A1 A2 A3 A4 A5 A6 A7 A8
B1 B2 B3 B4 B5 B6 B7 B8
Switched Gigabit Ethernet Port
Link/Data
Full Duplex/Collision
Power
Tx
Rx
Switched Gigabit Ethernet Port
Link/Data
Full Duplex/Collision
Power
Tx
Rx
8
7
6
5
4
3
2
1
16
15
14
13
12
11
10
9
Uplink
Normal
Uplink
MII
Power
Option Slot B
100/10Mbps
Full/Half
Link/Data
Power
FriendlyNET 7000 Series Gigabit Switch
1
2
3
4
5
6
7
8
9
10
11
12
13
14
15
16
100/10Mbps
Full/Half
Link/Data
A1 A2 A3 A4 A5 A6 A7 A8
B1 B2 B3 B4 B5 B6 B7 B8
Option Slot A
Switched Gigabit Ethernet Port
Link/Data
Full Duplex/Collision
Power
Tx
Rx
Switched Gigabit Ethernet Port
Link/Data
Full Duplex/Collision
Power
Tx
Rx
Rack-mount bracket