Connecting the power supply, 4 connecting the power supply – Brother QL-1060N User Manual
Page 15
9
STEP
1
STEP
2
STEP
3
Fo
r Windows
®
For Macint
osh
®
STEP
4
Connect the power cord to the
QL-1060N and then plug the power
cord into a electrical outlet.
•
Check that the electrical outlet is 120V
AC before plugging the power cord.
•
Unplug the power cord from the
electrical outlet after you have finished
using the QL-1060N.
•
Do not pull the power cord when
unplugging it from the electrical outlet.
The wire in the power cord may
become damaged.
•
Do not connect the QL-1060N to the
computer until directed to do so when
installing the printer driver.
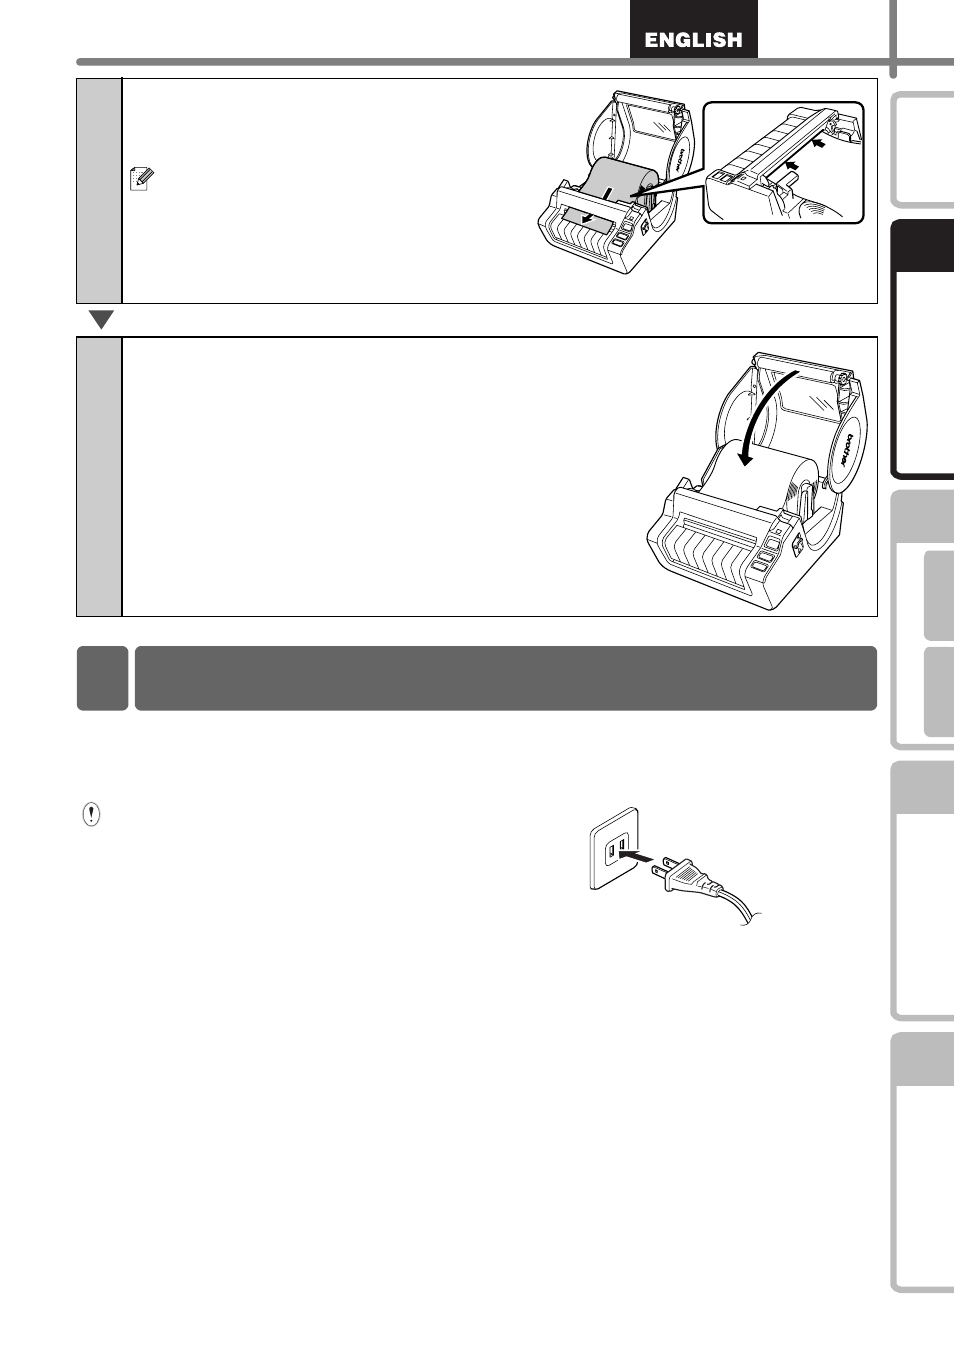
3
Thread the end of the DK Roll into
the slot until it can be seen from the
other side.
When unable to thread the end of the
DK Roll into the slot, thread it as far as
possible, and then close the cover.
Press the ON/OFF button to turn the
QL-1060N on, and then press the
FEED button to set the roll.
4
Close the DK Roll compartment cover until it
clicks right and left side.
4 Connecting the Power Supply