Brother SB4138 User Manual
Page 137
Designing a Pattern 135
—— — — — — — — — — — — — — — — — — — — — — — — — — — — — — — — — — — — — — — — — — — — — — — — — — — — —
3
g
Select
, and then press
(OK key).
• If you make a mistake while specifying a
point, press
(Cancel/clear key) so that
the point changes from
to
, and
then move (edit) the position of the point.
X
A screen for specifying the next point
appears.
h
Repeat steps
e
through
g
to specify each
point.
Up to 99 points can be entered.
■ To edit the position of a point.
The position of a point can be edited (moved) if
(Cancel/clear key) is pressed while
is displayed in the screen so that the point
changes from
to
. Each time
(Cancel/clear key) is pressed, the previous point is
selected. To select the next point, press
(OK
key).
■ To delete a point
The last point can be deleted by pressing
(0
key) while a point appears as
in the screen
where
is displayed. Each press of the
key deletes the last point in the pattern.
i
After all points in the pattern have been
specified, select
in the screen that appears
in step
g
, and then press
(OK key).
X
The sewing screen appears.
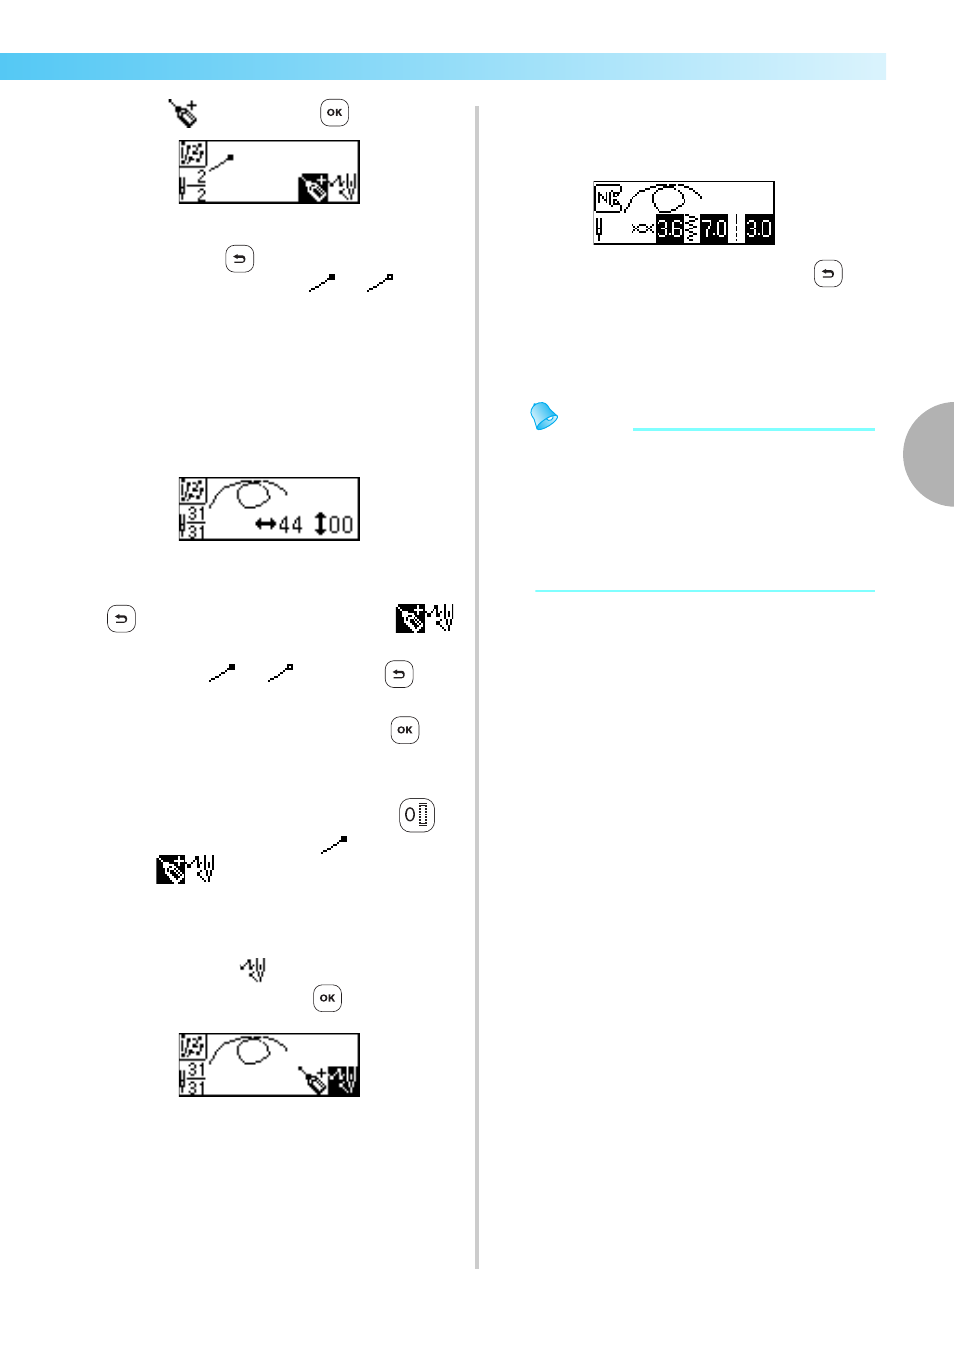
j
Specify the various stitching settings, such as
reverse/reinforcement stitching, in the same
way as with other stitches.
• With this screen displayed, pressing
(Cancel/clear key) displays the screen where
points can be edited so that points can be
added or removed.
Memo
z To save the entered pattern data, save it from
the sewing screen. For details, refer to
“Saving patterns” (page 130).
z The pattern in the LCD will appear different
from the pattern drawn in the grid sheet set
and the actual sewn stitch. Also, refer to
these when entering the design.