8 set the date and time, Set the date and time – Brother DCP-395CN User Manual
Page 8
8
8
Set the date and time
Setting the date and time allows the machine to clean
the print head regularly and maintain optimum print
quality. It also allows the machine to name files
created when using the Scan to Media feature.
a
Press Menu.
b
Press a or b to choose Initial Setup.
Press OK.
c
Press a or b to choose Date&Time.
Press OK.
d
Press a or b repeatedly to enter the last two
digits of the year, and then press OK.
(e.g. Enter 1 0 for 2010.)
e
Press a or b to enter the two digits for the
month, and then press OK.
(e.g. Enter 0 3 for March.)
f
Press a or b to enter the two digits for the day,
and then press OK.
(e.g. Enter 0 1 for the first day of the month.)
g
Press a or b to enter the two digits for the hour
in 24-hour format, and then press c to enter the
minutes.
(e.g. Enter 1 5 for 3:00 P.M.)
h
Press a or b to enter the two digits for the
minute, and then press OK.
(e.g. Enter 2 5 for 3:25 P.M.)
i
Press Stop/Exit.
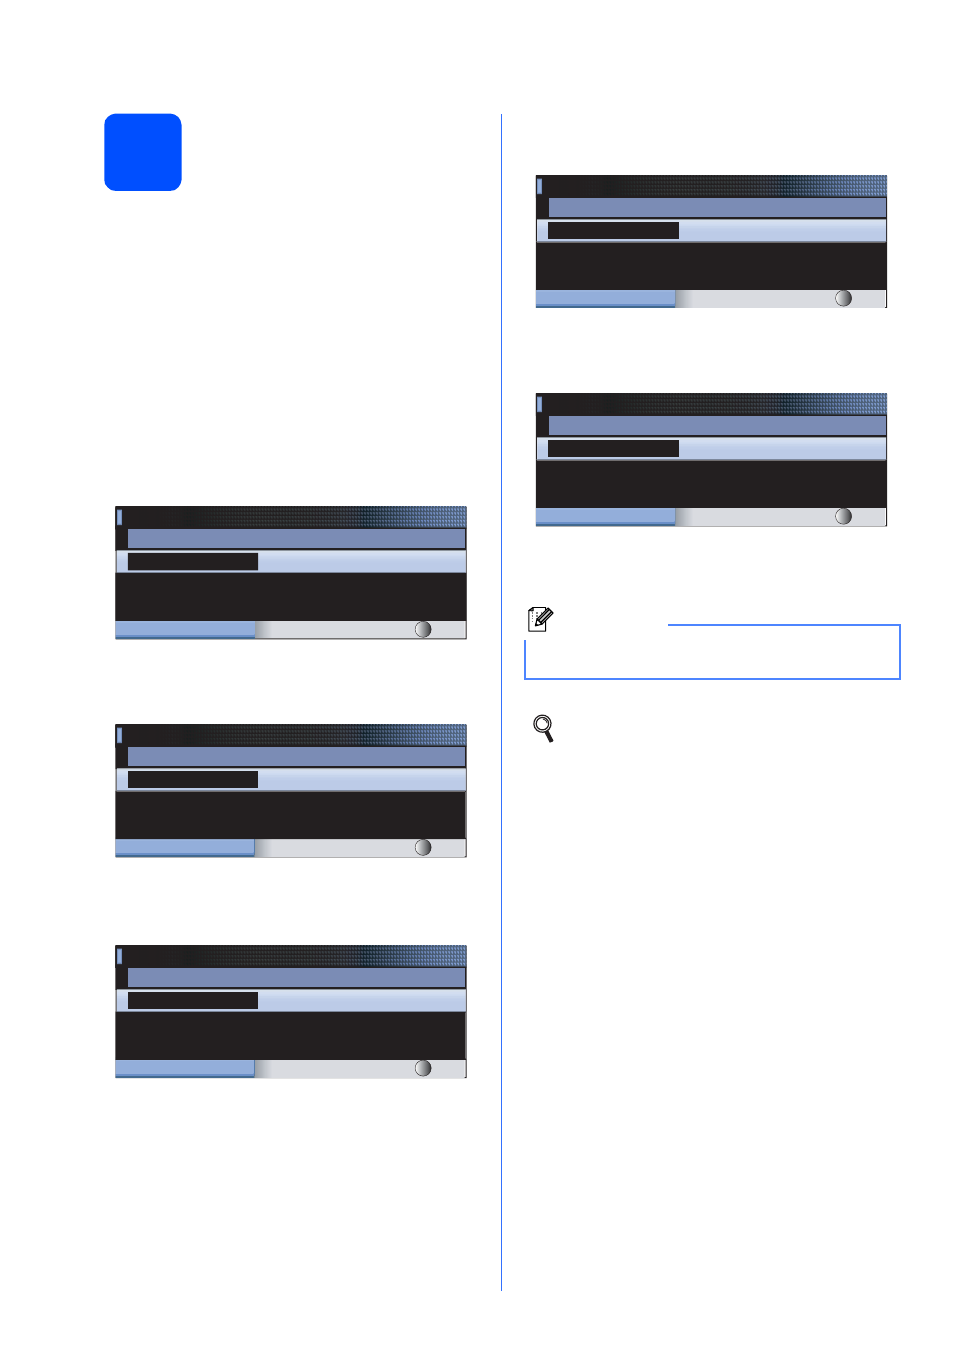
Date&Time
Year:20
10
MENU
Input & Press OK
Date&Time
Month:
03
MENU
Input & Press OK
Date&Time
Day:
01
MENU
Input & Press OK
Note
You can increase or decrease the number rapidly
by holding down a or b.
To confirm the current date and time, print
out the User Settings report. (See Printing
Reports in Chapter 3 of the User's Guide.)
Date&Time
Time:
15:00
MENU
Input & Press OK
Date&Time
Time:
15:25
MENU
Input & Press OK