Amerex 05606 User Manual
Page 9
8
TROUBLESHOOTING GUIDE
WARNING:
Before attempting to correct any leakage problem, be sure that the agent
cylinder and hose are completely depressurized. Check to determine the
source of a leak before the extinguisher is depressurized. Leakage repairs
will require depressurization and removal of the valve assembly. Use Getz
HR-1 or other approved recharge/recovery system to depressurize
extinguisher.
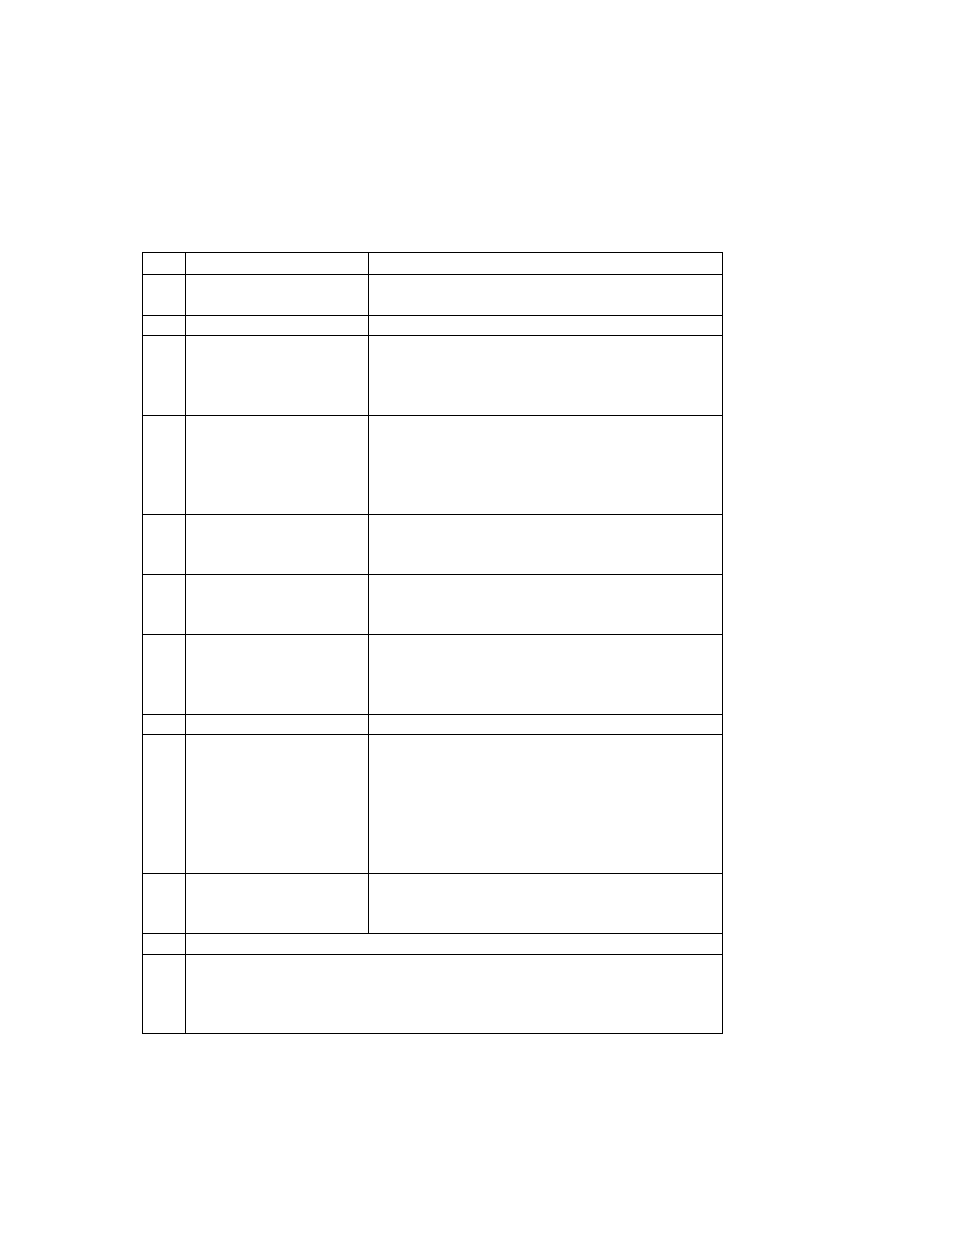
PROBLEM
CORRECTIVE ACTION
1.
Pressure gauge
reads high or low
Temperature may have affected pressure
–
see temperature/pressure relationship chart.
2.
Leak through valve
Remove valve assembly, downtube, spring
and valve stem assembly. Install new valve
stem assembly. Check valve seat for
scratches or foreign matter.
3.
Leak at collar o-ring
Remove valve assembly, clean collar o-ring
seating surface thoroughly and lubricate
lightly with V-711 or equivalent. Install a
new collar o-ring after lubricating with V-711
or equivalent.
4.
Leak around gauge
threads
Remove gauge*, and install a new Halon
1211 gauge (see parts list) using Teflon
tape on the gauge threads.
5.
Defective gauge
Remove defective gauge* an install a new
Halon 1211 gauge (see parts list) using
Teflon tape on the gauge threads.
6.
Visible deterioration
of discharge hose
Replace hose assembly. Extinguishing
agent has been stored in hose for a
prolonged time. see Caution in Shut-Down
procedures
MODEL 600 ONLY
1.
Leak at safety disc
assembly
Inspect safety outlet for tightness or
damage. If loose, remove entire assembly
and reinstall using Teflon tape on the
threads. If damaged, replace with new P/N
03787 Safety Disc Assembly using Teflon
tape on the threads. Tighten only the large
hex nut.
2.
Agent level gauge
not functioning (if so
equipped)
Remove agent level gauge and discard.
Replace agent level gauge with Amerex P/N
06370
* Pressure gauge threads are coated with a special epoxy at the
factory. For easy removal, soak the valve assembly in hot water
(180°F/82°C) for two to four minutes. Remove gauge with a 7/16"
open end wrench.