6 calibration mode, 1 resistivity calibration, 7 advanced set-up mode – Thermo Fisher Scientific Alpha RES 1000 User Manual
Page 17: Calibration mode, Esistivity, Alibration, Advanced set-up mode, 6calibration mode, 7advanced set-up mode
Operating Instructions
Alpha RES 1000
10
6
Calibration Mode
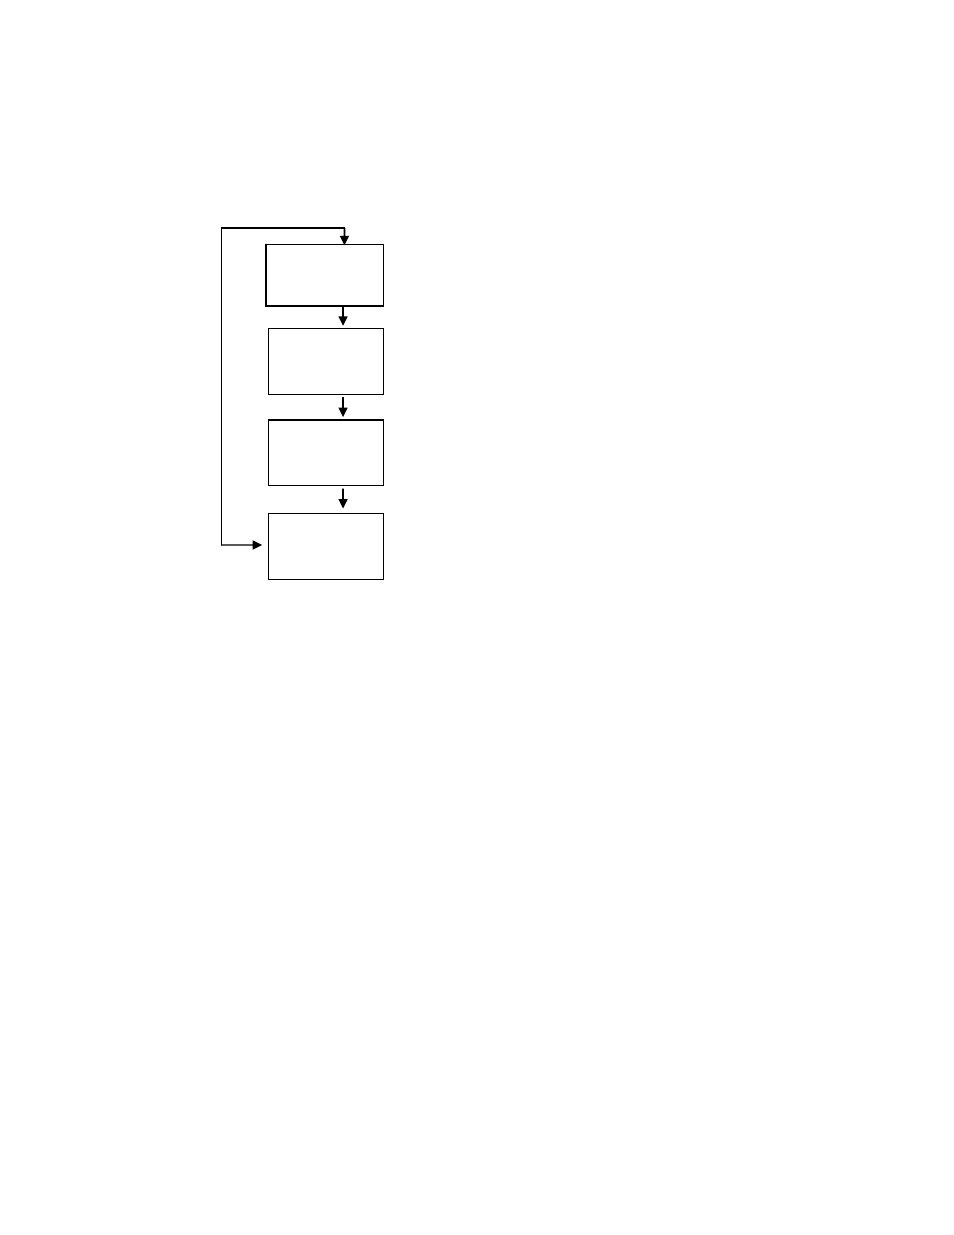
Calibration mode can be accessed directly from Measurement mode by pressing CAL key and entering the
Calibration security code; or from the Advanced Setup mode.
6.1
Resistivity Calibration
Calibration is always carried out in the specific range selected. The Resistivity Controller allows a one-point
calibration.
1) Enter Calibration mode. While in Measurement mode, press CAL
key and scroll to Calibration code “11”. Press ENTER key. The
upper display reads “CAL” and lower display, “rES”.
2) Press the ENTER key. The controller displays its last set Cell
Constant (k) of the cell as a percentage of the theoretical value.
Using the up and down key, the value can be set to anywhere from
80 to 120%. Press the ENTER key again to carry out calibration.
3) Immerse the Conductivity cell in a suitable standard solution,
whose value is within the measurement range selected in the
controller. Agitate the Cell in the solution to remove any trapped air-
bubbles. Note: The calibration standard should have a value that is
between 20% to 100% of the range selected. For example, if the
range in the controller is selected to be 19.99 m
Ω (range 1), then
the calibration standard value should be 4.00 m
Ω to 19.99 mΩ.
4) Once the reading has stabilized, use the
Δ or ∇ keys to adjust the
measured value to that of the standard solution. Press the ENTER
key to accept the value and the controller displays the revised
condition of the probe The lower display shows the factor “FCt”
while the upper display shows the ratio of ideal to adjusted
calibration value.
Note: The acceptable calibration window is
±40% of the displayed
(default) value. If the displayed is 10.00 m
Ω standard, the values to
which it can be adjusted is 6.00 to 14.00 m
Ω. If there is a
calibration error, the controller displays “ERR” annunciator. To recalibrate repeat step 3. To exit from
calibration, push both
Δ and ∇ keys (escape) to resume to Measurement mode.
5) Press ENTER key. If you entered calibration mode using CAL key, controller will return to Measurement
mode. If you entered calibration mode from Advanced Set-up mode, controller will return to sub-function
menu.
Note: When calibrating with manual temperature compensation, controller automatically changes from preset
process temperature to calibration temperature. After leaving the Calibration mode, controller switches back to
process temperature (for setting calibration temperature and process temperature, see section 7.2).
7
Advanced Set-Up Mode
CAL
S
rE
HOLD SETUP
100.0
CEL
HOLD CAL
HOLD C
AL
18.20
m
Ω
25.0
o
C
ATC
1.01
FCt
HOLD CAL
1
1
1
1
%