Mounting, Flush-mount installation – Revo RELPTZ22-3 User Manual User Manual
Page 15
REVO America
www.revoamerica.com
RELPTZ22-3
13
Mounting
WARNING
Never work with power on. You should always disconnect electrical power prior to
installation or removal of any equipment.
The camera may be flush or surface mounted depending upon your requirement. A flush-mount
installation will provide a more compact installation with ceilings where you can easily cut a hole in
the ceiling and mount the Camera Set into the ceiling. Surface mounting works better with hard
ceilings, where the best solution is to mount the camera Surface Case to the ceiling.
Instructions for installing the camera using either method are provided below.
Flush-Mount Installation
NOTE
Make sure that you run your power, video and signal cabling for the camera prior to
installing it. See the Wiring section.
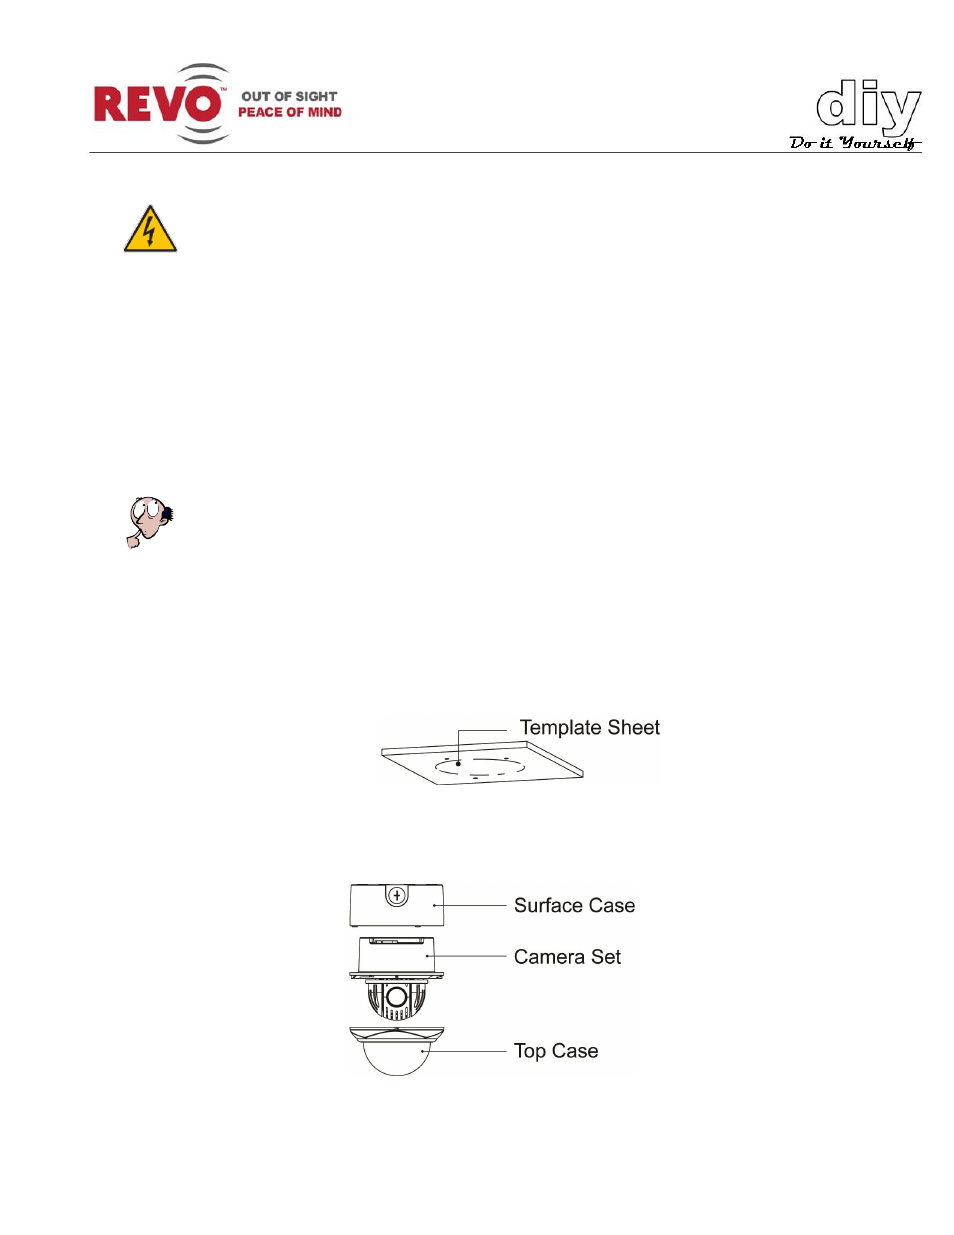
1. Using the supplied template sheet, mark holes in the ceiling for the Camera Set and the
anchors that you will secure the camera to the ceiling with the screws. Cut out the hole for
the Camera Set and use a suitable sized drill bit or punch to make the holes for the
anchors.
2. Disassemble the Surface Case, Camera Set and Top Case as shown below.