Search – Revo R4-8-16DVR3 User Manual
Page 42
User’s Manual
36
NOTE: The Camera Menu also can be displayed by clicking the right mouse button on each camera screen.
Edit Group: Selecting Edit Group supports the active cameo function. (8- and 16-ch models only)
Select Edit Group and choose a camera that you want to change the display position (e.g., Camera A).
Then, click the right mouse button to display the menu. If you choose another camera in the menu
(e.g., Camera B), the screen displays Camera B instead of Camera A. Clicking the right mouse
button and selecting Exit Group Edit in the menu exits the Active Cameo mode.
Alarm:
Resets the DVR’s outputs including the internal buzzer during an alarm. Selecting the icon is the
same as pressing the ALARM button on the remote control.
Panic:
Starts panic recording of all cameras. Selecting again stops panic recording. It is the same as pressing
the PANIC button on the remote control.
Exit:
Exits the Search mode and enters the Live Monitoring mode.
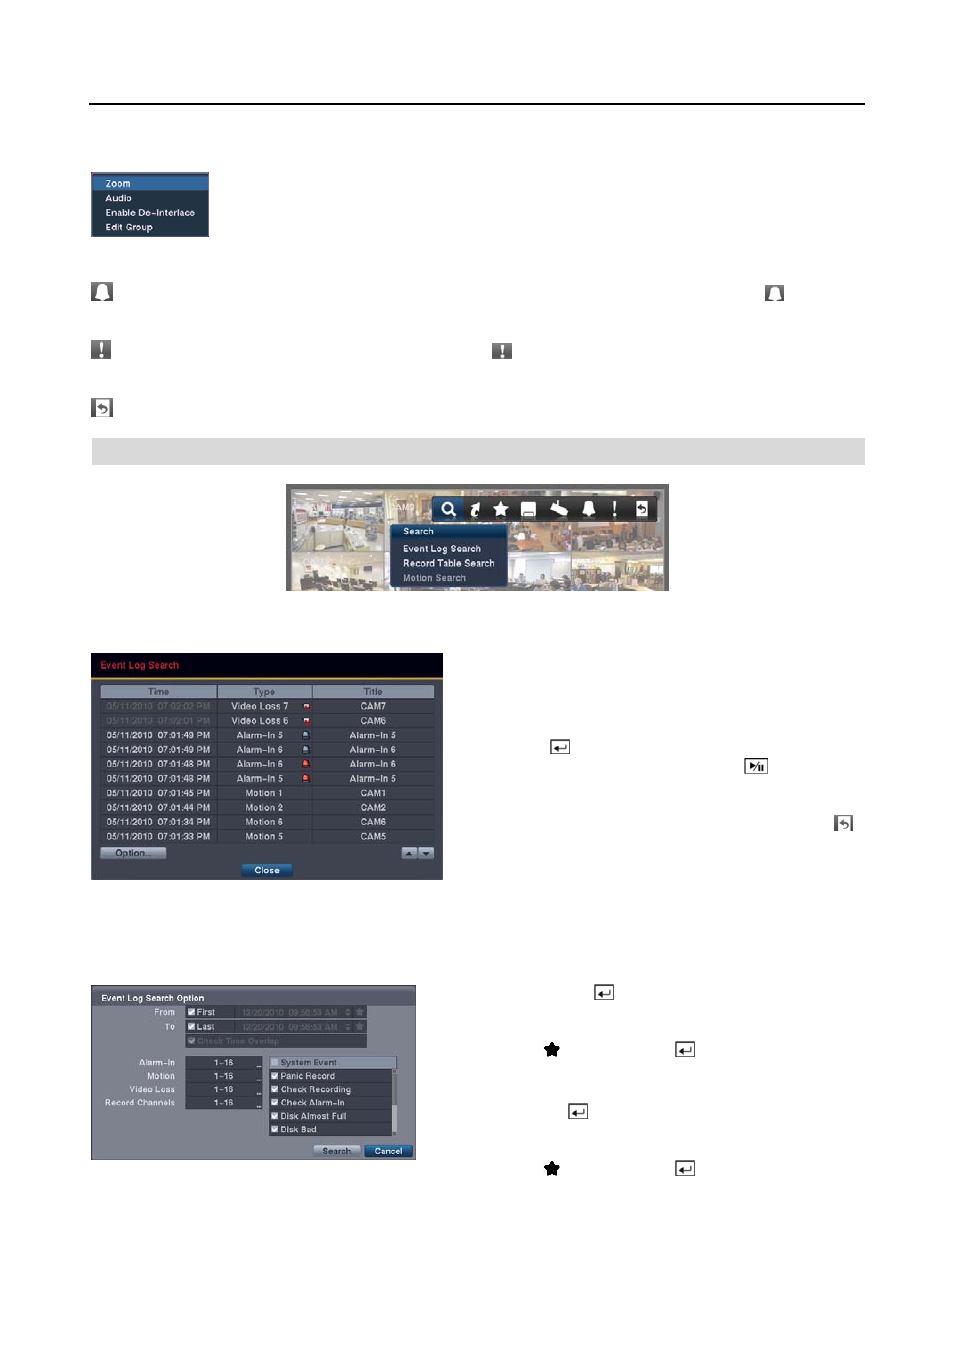
SEARCH
Event Log Search
The DVR maintains a log of each time the Alarm Input port
is activated. The Event Log Search screen displays this list.
Use the arrow buttons to highlight the event for which you
would like to see video.
Pressing the
button will select the event video and display
the first image of the event. Pressing the
(Play/Pause)
button on the remote control button will start playing the “event”
video segment. If you want to return to live monitoring, press
the MENU button on the remote control and select the
(Exit) icon at the top of the screen.
NOTE: It is possible no recorded image displays on the current screen. Press the LAYOUT button on the remote
control and change the screen mode to 4x4 for the 16-channel DVR, 3x3 for the 8-channel DVR and 2x2 for the
4-channel DVR. You will be able to easily see which cameras have recorded video for target time.
You also can narrow your event search by selecting Option… and setting up the new search condition.
From: Pressing the button toggles between On and Off.
When set to Off, you can enter a specific Date and Time. When
set to On, the search will be from the first recorded image. When
highlighting and pressing the button the bookmark list
displays and the bookmark point you selected will be the starting
date and time (16-ch model only).
To: Pressing the button toggles between On and Off. When
set to Off, you can enter a specific Date and Time. When set
to On, the search will be to the last recorded image. When
highlighting and pressing the button the bookmark list
displays and the bookmark point you selected will be the ending
date and time (16-ch model only).