Martel Electronics BetaGauge 330 User Manual
Page 15
13
2. Before generating pressure make sure you have the 330 configured for your
application. If needed review section 2 of the manual again to select the proper
configuration.
3. Make sure that the pressure vacuum knob is set for the function you want to perform
(+ for pressure and – for vacuum).
4. Close the vent knob.
5. Press the pump key (or manually stroke the pump on the 300psi/20 bar model) and
watch the pressure (or vacuum) increase until you reach the desired pressure.
Note: On the electric pump version the motor speed will start slowly when
pressure is low (<15psi) to allow better control at low pressures.
6. Use the fine adjustment vernier to fine tune the pressure/vacuum reading as needed.
7. To reduce or bleed off the pressure entirely slowly rotate the vent knob to the open
position. Doing this step carefully will allow you to control the pressure bleed rate to a
high degree and will facilitate taking down-scale pressure readings.
3.1 Electric Pump Considerations
The BetaGauge 330-30 and 330-150 incorporate a small, lightweight, battery powered
pneumatic pump that allows the user, in the case of the 330-150 to build relatively high
pressure up to 150psi (10Bar) quickly and with good control. Because the pump has an
upper pressure generation limit of 160psi there may be atmospheric conditions where it
cannot achieve the full scale pressure of 150psi. High altitude use (about 3000 ft or 1000
meters) or use at cold temperatures may limit the pump to about 135psi (9 Bar). In these
cases the vernier adjustment can be used to generate the additional pressure needed if
full scale pressure must be generated.
In these situations the user should begin the calibration with the vernier in the full counter
clockwise position and then when the electric pump reaches its limit turn the vernier in
the clockwise direction to raise the pressure and to set the desired reading.
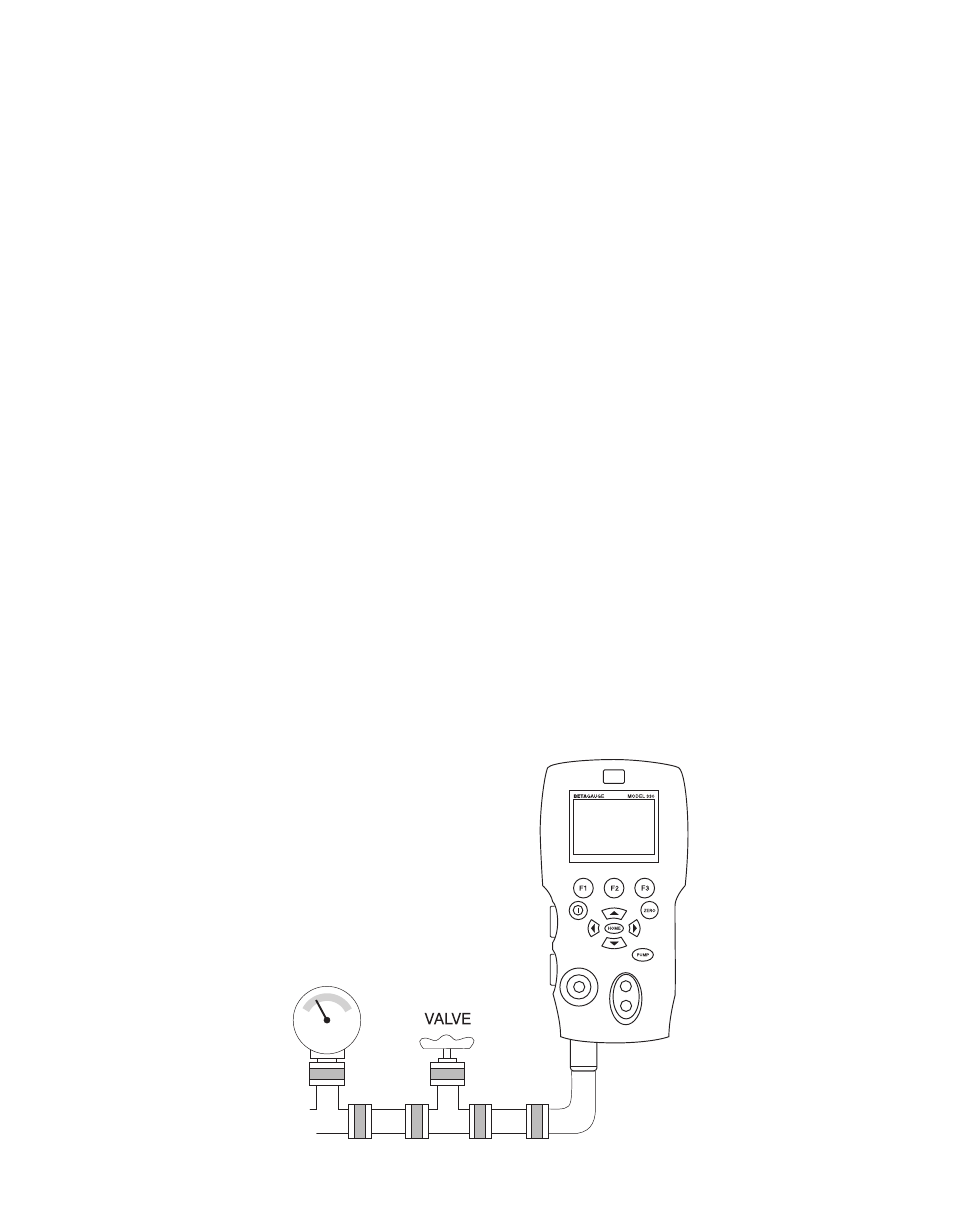
Figure 5