Main cover installation – Rhino Shelter ROUND-14W X 24L X 10H User Manual
Page 7
Assembly Instructions Boat/SUV Storage 14x24x10
Note: Adjust the end door panel by turning the
turnbuckles or repeating step 3 on a regular basis
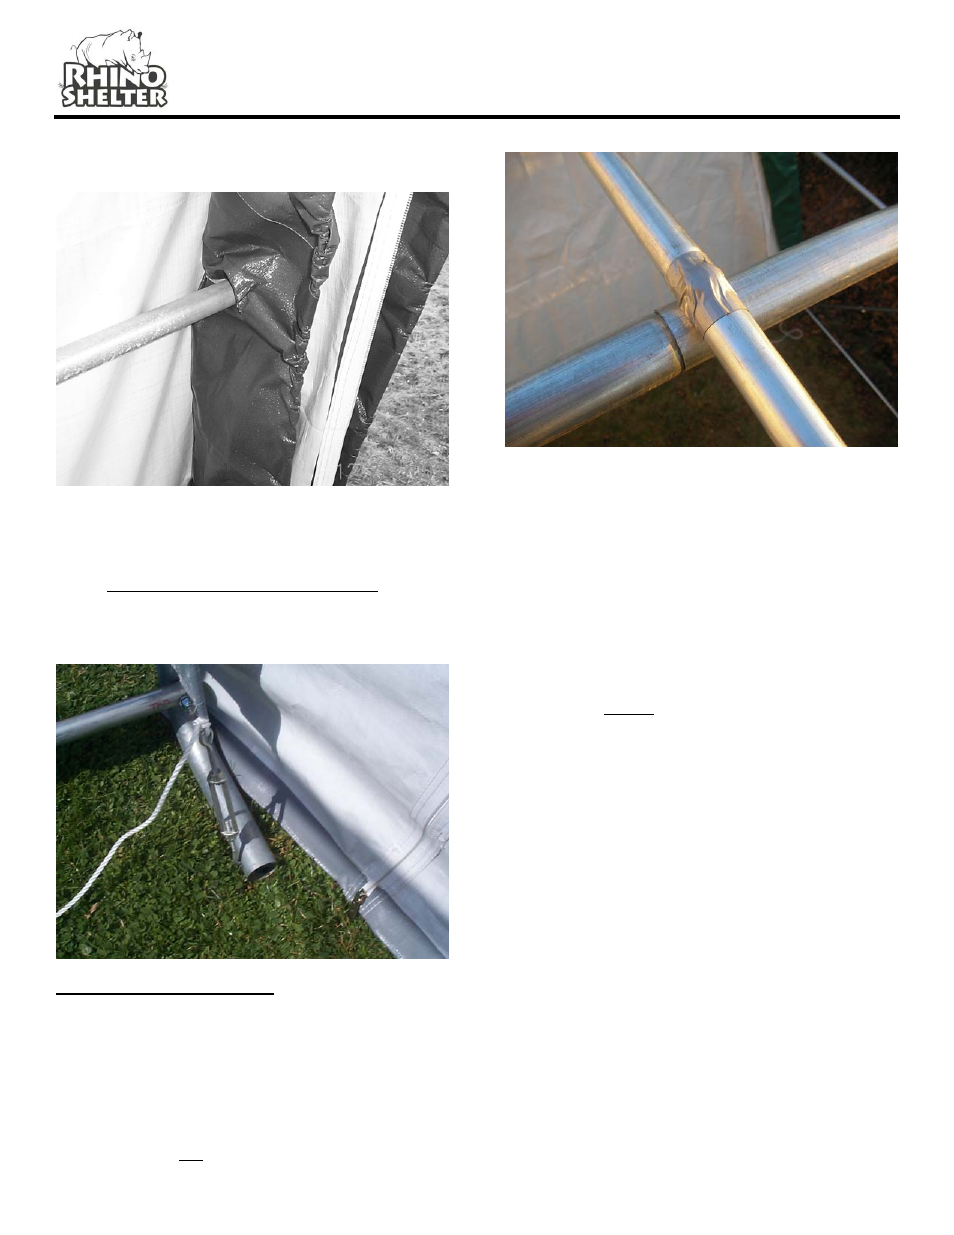
End Door Panels have pre-cut slots that allow frame
members to pass through so rope pocket is inside unit.
When putting on the doors, adjust the length to make
certain the doors do not drape onto the ground. If pulling
them up puts too much stress on the slit where it goes
over the wind brace, use a sharp knife to cut slit another
inch or two to relieve it.
Assembly Instructions V2.2
Please Do NOT Return Assembly to Dealer or Store. For All Assembly Questions or Shortages Please Call MDM Products Directly
Customer Service 800-447-7079 or 203-877-7070
7
MAIN COVER INSTALLATION
Step 1. To elongate the life of Main Cover, put a small
square of duct tape (field supplied) over each bolt head
on frame that comes in contact with cover. The cushion
of the tape will avoid rubbing damage to the cover over
years.
Unpack the Main Cover #RUC-7000 from the protective
plastic packaging. The line of grommets on the inside
(white) of the cover on the tie Down Flap run parallel to
the sides of the frame assembly for positioning. Once
cover is oriented properly to the Frame Assembly, pull
Main Cover over top of frame assembly from the side,
being careful not to snag the cover on any member, bolt,
or other obstruction. Center the Main Cover over the
Frame Assembly with the Main Cover colored side
showing from the outside of the unit.
Step 2. Loosen the 4 remaining turnbuckles completely.
Place the turnbuckles into hole in the foot of the end
arches on the outside of the end panel. Tie off the rope
coming out of the Main Cover rope slot on either side to
the turnbuckles. After tying off one end of the rope in the
Main Cover, pull the excess slack out of the rope and
cover. Hold the end of the rope and push directly down
with a foot onto the excess rope. Temporarily tie the
other end of the rope to the turnbuckle. Go over the
entire edge of the cover and adjust the excess folds of
material around the end so it is evenly distributed around
rope slot. Once the rope is pulled tight and the cover is
adjusted evenly over frame, tie off the rope end to the
turnbuckle. All slack should be out of the rope at this
time. Tighten the turnbuckle to further tighten the cover
if necessary. Ensure the cover is centered. (this step
may need to be repeated to ensure a snug and centered
fit)
Step 3. When the cover is completely aligned, lace
each side of the cover to the bottom cross rail inside the
unit using the ropes provided. Start at one end and tie
off the rope to the cross rail. Lace the rope through the
grommets in the cover and back under the tie-down