Align & measure each arch assembly with string – Rhino Shelter ROUND-14W X 24L X 10H User Manual
Page 4
Assembly Instructions Boat/SUV Storage 14x24x10
Step 5. Begin the Top Ridge Rail by placing a Plain End
Cross Rail underneath the End Arch Tube. Secure the
Cross Rail loosely with a Carriage Bolt#CBN-3000-2 with
washer and nut facing the interior of the unit. Refer to
picture.
Assembly Instructions V2.2
Please Do NOT Return Assembly to Dealer or Store. For All Assembly Questions or Shortages Please Call MDM Products Directly
Customer Service 800-447-7079 or 203-877-7070
4
As each interior arch is added, add a #SCR-5030
swedged end cross rail to complete assembly. Make
certain rail is underneath both end arch assemblies.
Step 6. Add remaining 4 middle arches and rear end
arches in the same fashion. Note that the Top Cross
Rail should fasten under the End Top Crest Arch and
over the interior Top Ridge arches.
NOTE: Do not completely tighten bolts that connect the
Cross Rails to the End Arches. They must be removed
for proper for End Panel Zippered Door installation
Step 7. Move the frame assembly into its final
installation location. This should be done with at least
one person lifting each arch to avoid bending or
stressing any frame members. An important step in
setting up your Rhino Shelter unit is to make certain the
frame is square before anchoring and putting on the
fabric components. Frame must be squared up in its
final position. Begin by stretching a string from end to
end inside frame. Align each arch base to create a
straight side. Measure from side to side on each arch at
the base. Outside dimension of each arch should be
14’. Measure carefully to make certain the frame width
is proper
When both sides are measured and straight, measure
diagonally from inside corner to inside corner of frame.
Both diagonal measurements should match. Adjust
frame and support as necessary to bring frame into
square. A frame that spreads out will put undue stress
on the zippers of the doors, possibly causing failures.
Failure to square frame of unit will result in poor
cover fit and reduced strength and rigidity.
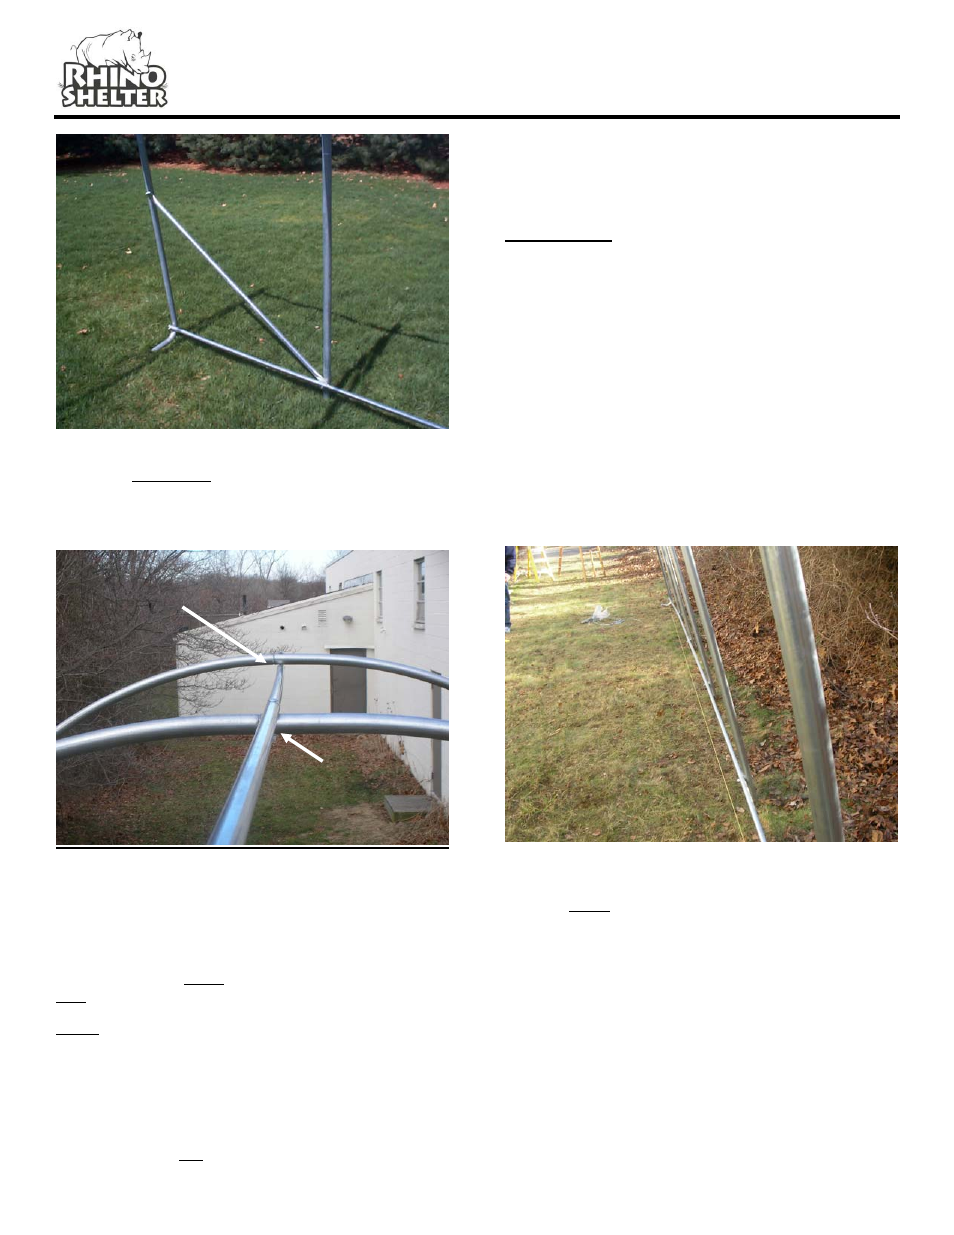
Ridge Rail
UNDER End
Arch
Align &
Measure
Each Arch
Assembly
with String
Over
Interior
Arch
Once the unit frame is square, the anchors will be put in
before putting on the fabric parts. By putting the anchors
in on the inside of the unit frame, they will prevent the
frame from spreading out over time.
Step 8. Once frame is square and properly supported,
tighten carriage bolts on all frame members, except for
End Arch members to Cross Rails along base, side, and
top. Support End Arch feet with patio blocks or bricks as
needed if ground is soft and will not support weight well.
After hardware is tightened, insert plastic end plugs
#EP-1000 & EP-1001 into all open ends of frame
members.