Calibration, Warning, Procedure – Lincoln Electric IM573 POWER WAVE CALIBRATION PROCEDURES User Manual
Page 14
CALIBRATION
14
14
POWER WAVE CALIBRATION
ROBOTIC PW450 QUICK VOLTAGE CALIBRATION (continued)
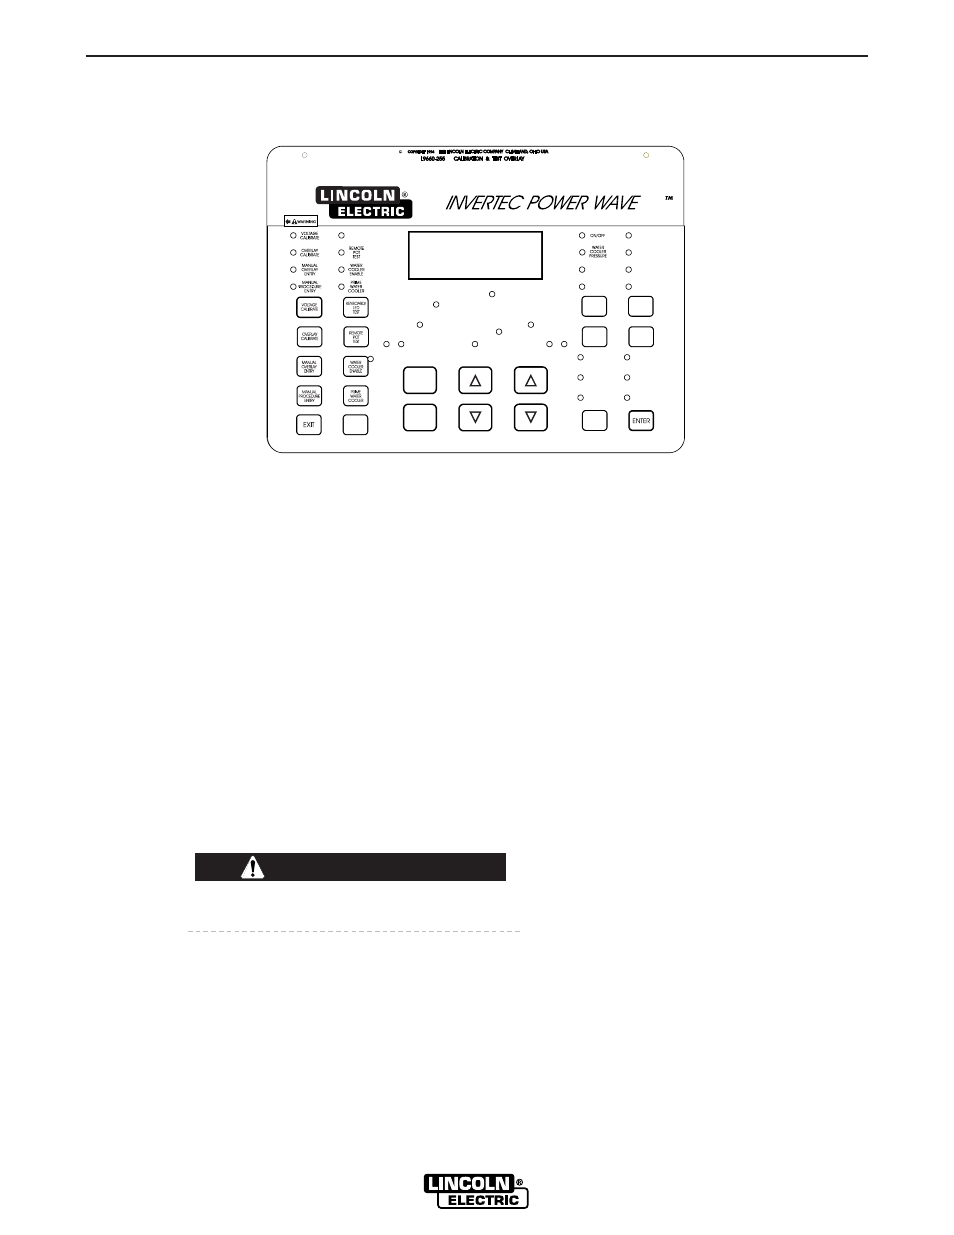
Figure 5 - TEST AND CALIBRATION OVERLAY
(32)
(34)
(36)
(64)
(33)
(35)
(37)
(65)
(67)
(96)
(97)
(98)
(99)
(100)
(101)
(132)
(133)
(128)
(130)
(129)
(131)
PROCEDURE
1. Before changing or disturbing the defective
display board, power up the machine with
the L9660-255 Test and Calibration overlay
in place. See Figure 5.
2. Press the Voltage Calibration function (32).
The machine should display the following:
VOLTAGE WIRE
+ POLARITY (+67A)
3. Press the Enter Key (133) on the lower right
side of the overlay. The machine should
display the following:
ADJUST TO 30V
CALIBRATION #=XX
NOTE: Here “XX” indicates a particular cali-
bration number for a given voltage sensing
point.
The machine’s output terminals will be electri-
cally “HOT” when the Enter Key is pressed.
4. Record the number displayed for the +67
wire and press the Enter Key (133) again.
5. Repeat the process by pressing the Voltage
Calibration function again. The next sens-
ing lead may be selected by pressing the
down Arrow Key (101). The above proce-
dure must be repeated four times to obtain
and record the calibration number for four
different voltage sensing points. These four
points are the following:
+ Polarity (+67A)
- Polarity (+21A)
+ Polarity
- Polarity
6.
Install the “new” replacement display
board.
7. With the L9660-255 overlay installed, apply
power to the machine. Press the Voltage
Calibration function (32). Enter the re-
corded calibration numbers for each of the
six voltage sensing points. The calibration
numbers are entered by selecting the prop-
er sensing point (lead), pressing the Enter
Key (133) and obtaining the display that
reads:
ADJUST TO 30V
CALIBRATION #=XX
The calibration number is changed using the
up/down Arrow Keys (100, 101). Press the
Enter Key when the desired number is dis-
played.
8. Repeat the process for all six sensing
points (leads).
9. Perform the Sensor Calibration Test.
WARNING