Alamo Axtreme 02983328C User Manual
Operator’s manual, Boom arm mower, Alamo industrial
©2009 Alamo Group Inc.
$0.00
Published 03/09
Part No. 02983328C
OPERATOR’S MANUAL
ALAMO INDUSTRIAL
®
1502 E. Walnut
Seguin, Texas 78155
830-372-3551
Email: [email protected]
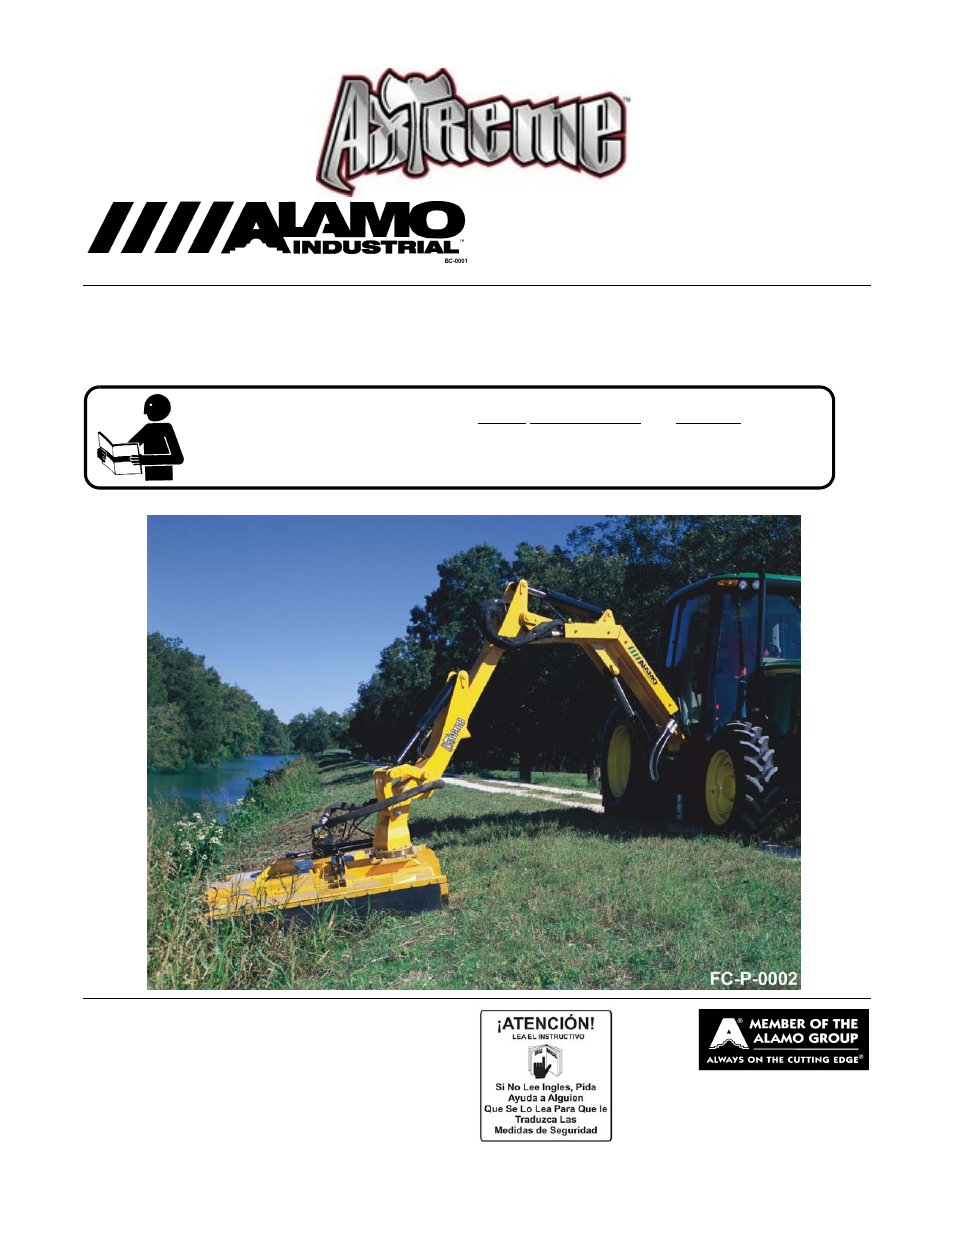
BOOM ARM MOWER
This Operator's Manual is an integral part of the safe operation of this machine and must
be maintained with the unit at all times. READ, UNDERSTAND, and FOLLOW the Safety
and Operation Instructions contained in this manual before operating the equipment. C01-
Cover
Table of contents
Document Outline
- OPERATOR’S MANUAL
- To the Owner/Operator/Dealer
- Table Of Contents
- General Safety Instructions and Practices
- Operator Safety Instructions and Practices
- Connecting & Disconnecting Implement Safety Instructions & Practices
- Equipment Operation Safety Instructions and Practices
- Maintenance and Service Safety Instructions and Practices
- Transporting Safety Instructions and Practices
- Concluding Safety Instructions and Practices
- Decal Location
- 1. D377 1 INSTRUCT Boom Mower Safety Booklet
- 2. 03200347 1 REFLECT SMV
- 1. 000678 1 INSTRUCT Grease Fitting Inside
- 2. 02971943 1 LOGO Alamo Industrial 2-7/8x20
- 1. 00757139 2 LOGO Alamo Group
- 2. 00757140 1 LOGO Alamo Industrial
- 3. 02958241 1 DANGER Tractor Operator Safety
- 4. 02967668 1 DANGER Thrown Objects
- 5. 02925100 1 IMPORTANT Replacement Parts
- 6. 02967827 1 DANGER Multi Hazard
- 7. 02967867 1 DANGER Safety Shield
- 8. 2738332 1 REFLECT Red Reflector
- 9. 2738333 1 REFLECT Yellow Reflector
- 10. 02962764 2 WARNING Pinch Points
- 11. TB1011 1 WARNING Do not Remove Shields
- 12. 24028 1 WARNING Replace Worn Rubber Deflectors
- 13. D138 1 INSTRUCT CW Blade Rotation
- 14. 22839 1 CAUTION Hand Gun Grease Only
- 15. D375 1 WARNING Replace Blades in Pairs
- 1. 02983263 2 Name Logo, 18’ Axtreme
- 2. 02962764 6 Pinch Points
- SAFETY SECTION
- Decal Description
- Federal Laws and Regulations
- Attention Owner/Operator
- ALAMO INDUSTRIAL AXTREME BOOM MOWER
- OPERATING INSTRUCTIONS
- 1. OPERATOR REQUIREMENTS
- 2. GETTING ON AND OFF THE TRACTOR
- 3. STARTING THE TRACTOR
- 4. CONNECTING ATTACHING HEADS TO THE BOOM
- 5. PRE-OPERATION INSPECTION AND SERVICE
- 6. OPERATING THE MANUAL CONTROL VALVES
- 7. Boom Joystick Control - Optional Equipment
- 8. OPERATING THE BOOM JOYSTICK CONTROL
- OPTIONAL
- 8.7 Head Swivel
- 9. DRIVING THE TRACTOR AND IMPLEMENT
- 10. OPERATING THE BOOM UNIT AND ATTACHED HEAD
- 11. TRACTOR, BOOM, AND ATTACHED HEAD STORAGE
- 12. TRANSPORTING THE TRACTOR AND IMPLEMENT
- 13. Placing Boom Arm on Boom Arm Rest - For Standard Equipment
- 14. Placing Boom Arm on Boom Arm Rest - For Optional Equipment
- Service of Spindle Housing (FIGURE Mnt-0006)
- ROLLER BEARING REPLACEMENT
- 1. Remove roller and both bearing and bracket assemblies from mower. Lift the mower only high enough to remove the roller assembly.
- 2. Slide bearing and bracket assemblies off each end of roller. If replacing with new bearing and bracket assemblies, proceed to step 9.
- 3. Remove roller bearing and housing assembly attaching hardware. Remove assembly from bracket. Inspect seal between assembly and bracket for brittleness, cracks, wear and tear. Replace if necessary. If replacing with new roller bearing and housing a...
- 4. Remove grease fitting from the top of bearing housing.
- 5. Remove bearing from housing by rotating Bearing 90O sideways and line up with notches in Bearing Housing then pull out.
- 6. Install new bearing into housing. Bearing must be installed with grease hole in bearing aligned with grease fitting hole in housing.
- 7. Reinstall grease fitting to housing. Grease Fitting must have locking pin installed which inserts into grease hole in bearing when installed. If Grease Fitting does not have a pin, order a new grease fitting. Grease fitting must be tight and seate...
- 8. Attach roller bearing and housing assembly to bracket with seal between housing and bracket.
- 9. Slide bearing and bracket assemblies on each end of roller.
- 10. Check bearing for proper installation in housing by gently rocking bearing and bracket assembly in end of roller. Play should be slight to none at all.
- 11. Install roller and bearing and bracket assemblies on mower.
- 12. Lubricate roller bearing until lubricant can be seen coming out between roller and bearing housing.
- TIMBER CAT HEAD
- Buzzbar Head
- General Information on Flail Mower Vibration
- FLAIL MOWERS
- INFORMATION BULLETIN NO. 5
- 1. Wire, rope, string, rags, etc., around the cutter shaft, are holding the knives in a folded back position. Remove such foreign objects and be sure all knives are free to swing to the extended position.
- 2. Knives are missing or broken. Replace missing or broken knives.
- 3. Knife hanger lugs are broken off shaft. This condition usually results from continued operation in contact with large hard objects where the knife hanger lugs themselves are hitting the hard objects. Lugs should be replaced using arc welding equip...
- 4. Cutter shaft ball bearings are worn enough to have radial "play" in them. Replace ball bearing and other worn parts to eliminate "play".
- 5. Shaft is bent. The shafts are straight within a couple of thousandths of an inch when they are made. It is possible that they will become bent in use, such as if the shaft is hooked on a stump while the tractor is moving forward at a good speed.
- 6. Shafts are operated at improper speed. Rotating shafts have what is known as a natural period of vibration. The same is true of the cutter shafts on the Flail Mowers.
- Start up Procedure
- 1. Read all safety instructions. Decals on the Boom warn you of particular and multiple hazards. Many decals are attached close to part of the Boom where there is a possible hazard. Read and make sure you understand the safety messages before you ope...
- 2. Before operating, read all the safety and operating instructions in the Operators Manual for both the tractor and mower.
- 3. When the hydraulic tank has been filled and the mower unit properly assembled, the unit should be started up. NOTE: Make sure that no materials, tools, or jacks, have been left under the mower head. Make sure the front and rear of the mower are pr...
- 4. Start the tractor and idle at a slow engine speed until oil is being pumped.
- 5. Engage the Cutter Control Valve at low engine PTO speed and run the mower slowly for a short period until all air is removed from the hoses. Keep all persons WELL CLEAR of mower since Blades can THROW OBJECTS with great velocity for a considerable...
- 6. With the area clear of any ground and overhead obstructions, work each cylinder on the boom one at a time, several times, to expel any air in the Hoses and Cylinders.
- 7. Run the Mower Head for 5 minutes. While the tractor is idling, blocked, wearing protective clothing and eye protection, CAREFULLY check for leaking hydraulic fittings, hoses and ports at this point with a piece of cardboard, DO NOT USE YOUR HAND! ...
- 8. Check the fluid level in the Hydraulic Tank on the Tractor, and add oil if required. As the air has been forced out of the Cylinders and Hoses, it goes into the Hydraulic Tank and reduces the oil level. Check your Tractors Operators Manual for the...
- Lubrication Information
- Hydraulic Oil, Filters, and Components
- Blades
- Proper Torque for Fasteners
- TO THE OWNER/OPERATOR/DEALER
- ALAMO-INDUSTRIAL
- LIMITED WARRANTY
- 1. LIMITED WARRANTIES
- 1.01. Alamo Industrial warrants for one year from the purchase date to the original non-commercial, governmental, or municipal purchaser (“Purchaser”) and warrants for six months to the original commercial or industrial purchaser
- 1.02. Manufacturer will replace for the Purchaser any part or parts found, upon examination at one of its factories, to be defective under normal use and service due to defects in material or workmanship.
- 1.03. This limited warranty does not apply to any part of the goods which has been subjected to improper or abnormal use, negligence, alteration, modification, or accident, damaged due to lack of maintenance or use of wrong fuel, oil, or lubricants, ...
- 1.04. Except as provided herein, no employee, agent, Dealer, or other person is authorized to give any warranties of any nature on behalf of Manufacturer.
- 2. REMEDIES AND PROCEDURES.
- 2.01. This limited warranty is not effective unless the Purchaser returns the Registration and Warranty Form to Manufacturer within 30 days of purchase.
- 2.02. Purchaser claims must be made in writing to the Authorized Dealer (“Dealer”) from whom Purchaser purchased the goods or an approved Authorized Dealer (“Dealer”) within 30 days after Purchaser learns of the facts on which the claim is based
- 2.03. Purchaser is responsible for returning the goods in question to the Dealer.
- 2.04. If after examining the goods and/or parts in question, Manufacturer finds them to be defective under normal use and service due to defects in material or workmanship, Manufacturer will:
- (a) Repair or replace the defective goods or part(s) or
- (b) Reimburse Purchaser for the cost of the part(s) and reasonable labor charges (as determined by Manufacturer) if Purchaser paid for the repair and/or replacement prior to the final determination of applicability of the warranty by Manufacturer.
- 2.05. Purchaser is responsible for any labor charges exceeding a reasonable amount as determined by Manufacturer and for returning the goods to the Dealer, whether or not the claim is approved. Purchaser is responsible for the transportation cost for...
- 3. LIMITATION OF LIABILITY.
- 3.01. MANUFACTURER DISCLAIMS ANY EXPRESS (EXCEPT AS SET FORTH HEREIN) AND IMPLIED WARRANTIES WITH RESPECT TO THE GOODS INCLUDING, BUT NOT LIMITED TO, MERCHANTABILITY AND FITNESS FOR A PARTICULAR PURPOSE.
- 3.02. MANUFACTURER MAKES NO WARRANTY AS TO THE DESIGN, CAPABILITY, CAPACITY, OR SUITABILITY FOR USE OF THE GOODS.
- 3.03. EXCEPT AS PROVIDED HEREIN, MANUFACTURER SHALL HAVE NO LIABILITY OR RESPONSIBILITY TO PURCHASER OR ANY OTHER PERSON OR ENTITY WITH RESPECT TO ANY LIABILITY, LOSS, OR DAMAGE CAUSED OR ALLEGED TO BE CAUSED DIRECTLY OR INDIRECTLY BY THE GOODS INCLU...
- 3.04. NO ACTION ARISING OUT OF ANY CLAIMED BREACH OF THIS WARRANTY OR TRANSACTIONS UNDER THIS WARRANTY MAY BE BROUGHT MORE THAN TWO (2) YEARS AFTER THE CAUSE OF ACTION HAS OCCURRED.
- 4. MISCELLANEOUS.
- 4.01. Proper Venue for any lawsuits arising from or related to this limited warranty shall be only in Guadalupe County, Texas.
- 4.02. Manufacturer may waive compliance with any of the terms of this limited warranty, but no waiver of any terms shall be deemed to be a waiver of any other term.
- 4.03. If any provision of this limited warranty shall violate any applicable law and is held to be unenforceable, then the invalidity of such provision shall not invalidate any other provisions herein.
- 4.04. Applicable law may provide rights and benefits to purchaser in addition to those provided herein.
- ALAMO INDUSTRIAL
- LIMITED WARRANTY
- Safety Video.pdf