Step 4, Step 5, Step 6 – Ramsey Winch SILVERADO/SIERRA 2500HD/3500 295952 User Manual
Page 4: Step 8
3
Step 4
Note: You will need assistance for this step.
Have someone hold the center unit (Item #3) while you insert the winch mounting channel (Item #2)
between side plates of center unit (Item #3). Secure the channel using (4) 3/8” capscrews (Item #17),
four (4) 3/8” washers (Item #22), and four (4) 3/8” locknuts (Item #17).
Step 5
Attach center unit (Item #3) to lower frame mounting brackets (Item #5) using six (6) ½” bolts (Item
#14), six (6) ½” washers (Item #20), and six (6) ½” locknuts (Item #18). (Figure 7)
Figure 7
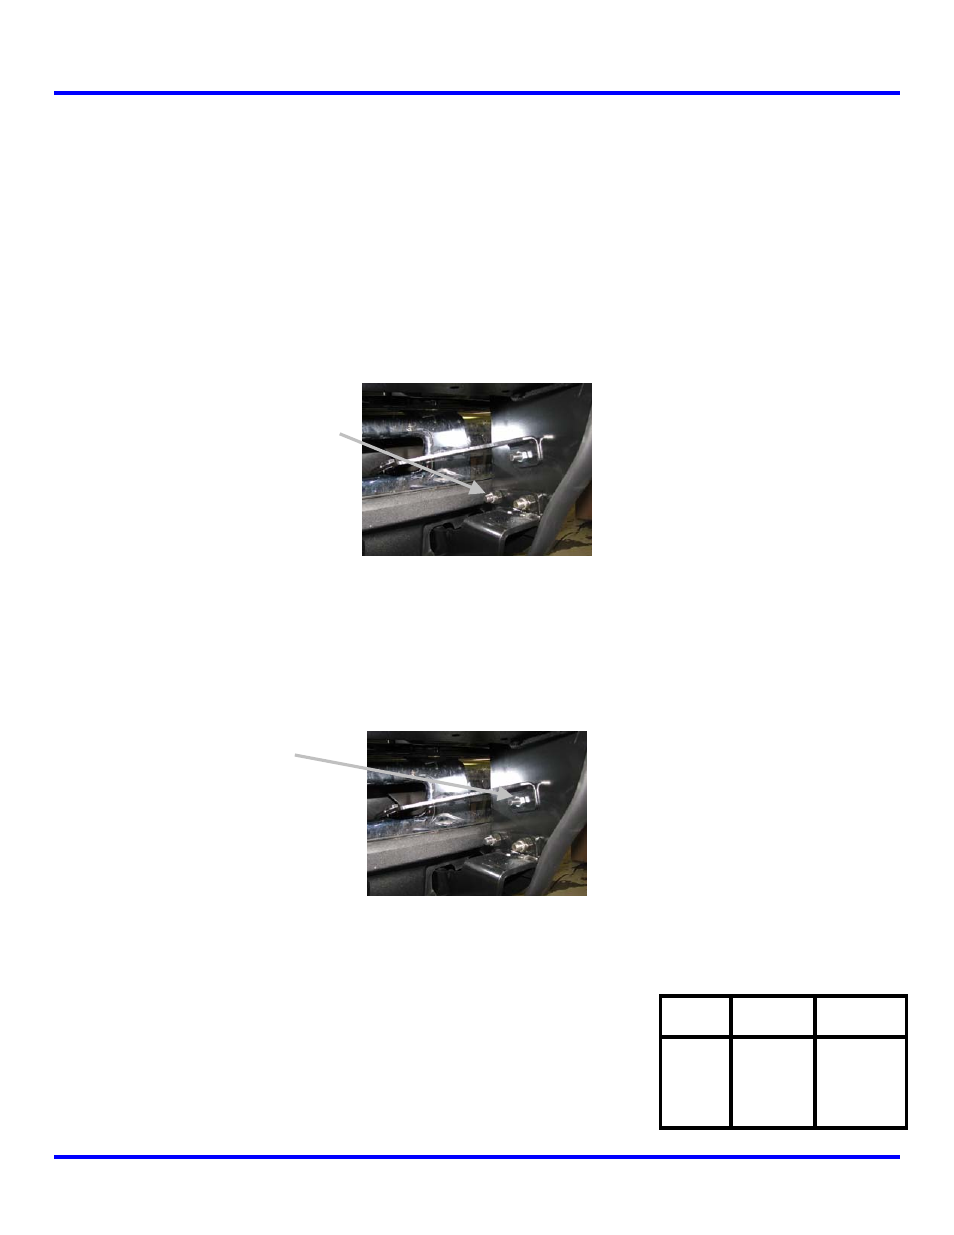
Step 6
Attach upper support bracket (Item #6) to vertical side plate of center unit (Item #3) using two (2) 3/8”
bolts (Item #13), two (2) 3/8” washers (Item #22), and two (2) 3/8” locknuts (Item #17). Do not tighten
hardware. (Figure 8)
Figure 8
Step 8
Properly align the assembly with the front of the vehicle. Starting with
the lower mounting brackets and working up, tighten all hardware to
proper torque. Refer to Torque Value Chart for proper torque values.
If needed, install License Plate Mounting Assembly to bottom of
channel using two (2) 1/4 x 1” capscrews #14 and 1/4” locknuts #19.
Refer to winch Owner’s Manual for instructions for installing winch and
fairlead using hardware supplied with winch.
TORQUE VALUE CHART
BOLT
SIZE
TORQUE
(FT. LBS.)
TORQUE
(Nm)
1/4-20 5
7
3/8-16 34
46
1/2-13 87
118
12mm 39
53