0 operating procedures, Operating procedures dmom-100 – Vanguard DMOM-100 User Manual
Page 13
Operating Procedures
DMOM-100™
7
5.0 OPERATING PROCEDURES
(Refer to Tables 4.0 through 12.0)
5.1 Operating Overview
(See Figure 5.0, for step-by-step flow.)
Procedures for operating the DMOM-100
are presented in tabular format, with a
different table for each of the main menus
(START and SETUP) procedures. Each
procedural step is indexed by number and
indicates an operator action, followed by a
description of the result or what should be
observed to confirm the action (setting the
stage for the next step). All operations are
described in step-by-step sequences and
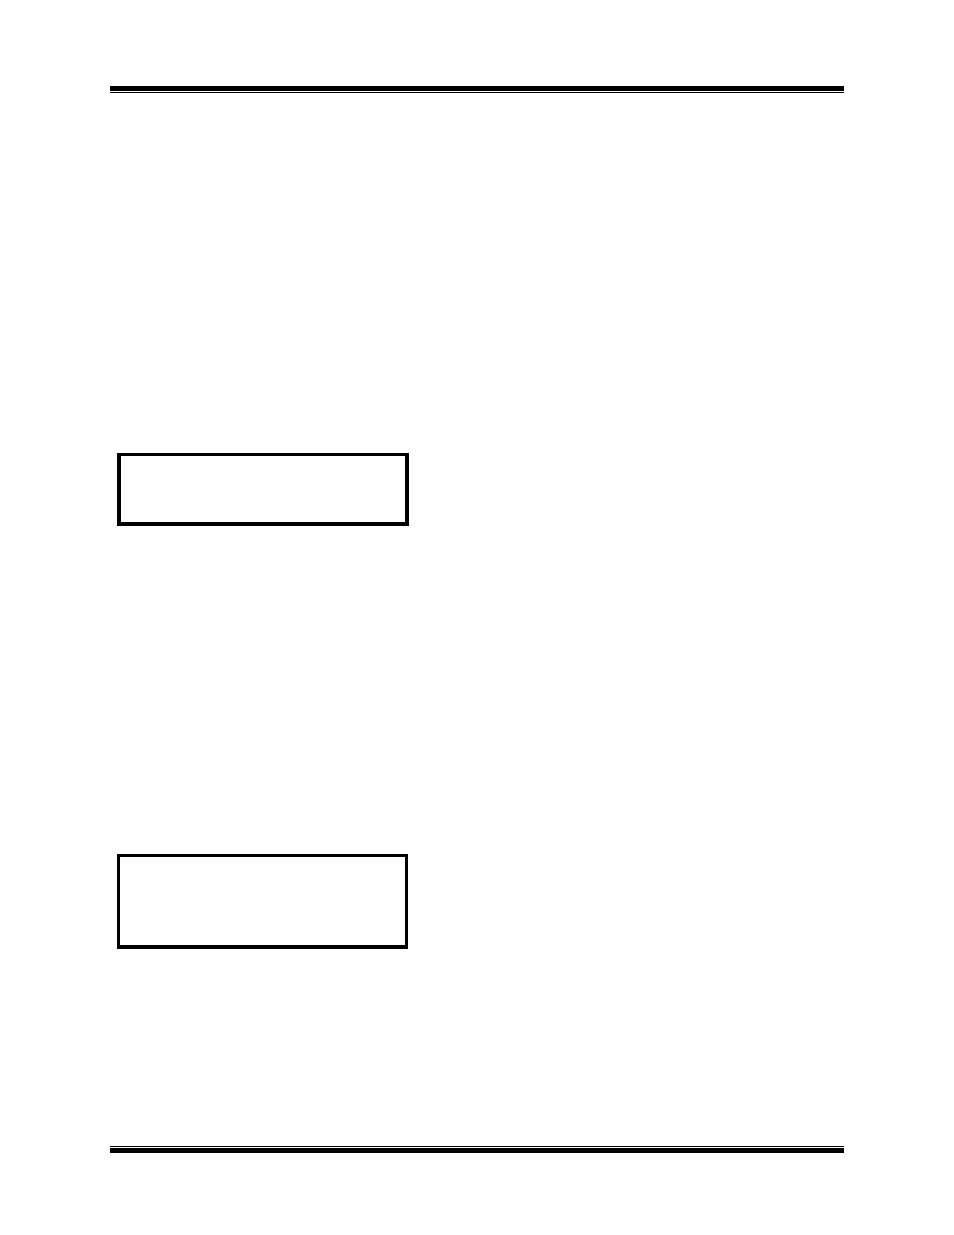
begin with the start menu (shown below):
START MENU
1. RUN TEST 06/11/01
2. SETUP 12:23:01
3. CAL CHECK
Item 1 on this menu (RUN TEST) is the
procedure for measuring an unknown
resistance. Item 2 (SETUP) is for record
identification in the DMOM-100
. Item 2
(SETUP) expands into a menu of support
functions. Item 3 (CAL CHECK) is a
performance-verification procedure for
checking key circuit functions (refer to table
11). All operator procedures begin with the
START MENU and may continue on the
SETUP MENU, with each step-by-step
procedure presented in tabular form.
SETUP MENU
1. ENTER ID
2. REVIEW RECORD
3. RESTORE RECORD
4. NEXT PAGE
The SETUP MENU lists 4 user options:
Item 1 (ENTER ID) is used to specify
identification record data (please observe
instructions in note 2 on Figure 5.0, Step-by-
Step Procedures for DMOM-100
Operations). Item 2 (REVIEW RECORD)
is used to review store records. Item 3
(RESTORE RECORD) is used to erase or
restore test records or to print a directory of
test records in stored memory. Item 4
(NEXT PAGE) is used to put the DMOM-
100
under PC control or to set the time
and date clock.
5.2 Preparation
Plug unit power plug into power service
outlet. Set unit main power switch to ON
position. Plug test-lead cable plugs into red
jacks on control panel (ensure current and
voltage-sensing cables are plugged into
companion jacks). Connect current and
voltage-sensing test lead clamps to opposite
terminals of resistance to be measured.
5.3 Keying-in Data Characters
Unless otherwise prompted by the display,
keyed-in data is loaded by pressing the
ENTER key (which also changes the display
to go to the next screen). When using the
alpha/numeric keys (like telephone dial-in
pushbuttons; see item 5 of Figure 1.0) to
specify data characters: Press the key once
to set the number marked on the key. Press
the key a second time to set the first letter
marked on the key. Press the key a third
time to select the second letter marked on
the key. Press the key a fourth time to select
the third letter marked on the key.
Additional key presses will repeat the
selection cycle (e.g., 2, A, B, C, 2 . . .).
When the character of choice is selected,
press the
∧ key to advance to next character
space; press the
∨ key to back-space. Press
CLEAR to delete a selected character
(cursor must be on character to be deleted).
Again, press the “ENTER” key to load all
character selections.