General information, Tool preparation, Crimping procedure – Harwin M22520/2-01 User Manual
Page 2
IS-01 Issue: 5 Date: 19.07.12 C/Note: 11782
Page 2 of 3
GENERAL INFORMATION
The Hand crimp tool M22520/2-01 consists of a basic hand tool, which should be used with a
positioner.
The contact is correctly crimped when the tool is free to open at the fully closed position, i.e.,
when the ratchet releases. The tool cannot be opened without completing the cycle.
TOOL PREPARATION
1.
Check that the tool is in the open position. Remove the safety clip from the positioner
guide (do not discard).
2.
Insert the Positioner into the positioner guide and turn it 90° in the direction shown on the
tool, until the bayonet pins lock.
3.
Install the safety clip back into the positioner guide (optional).
4.
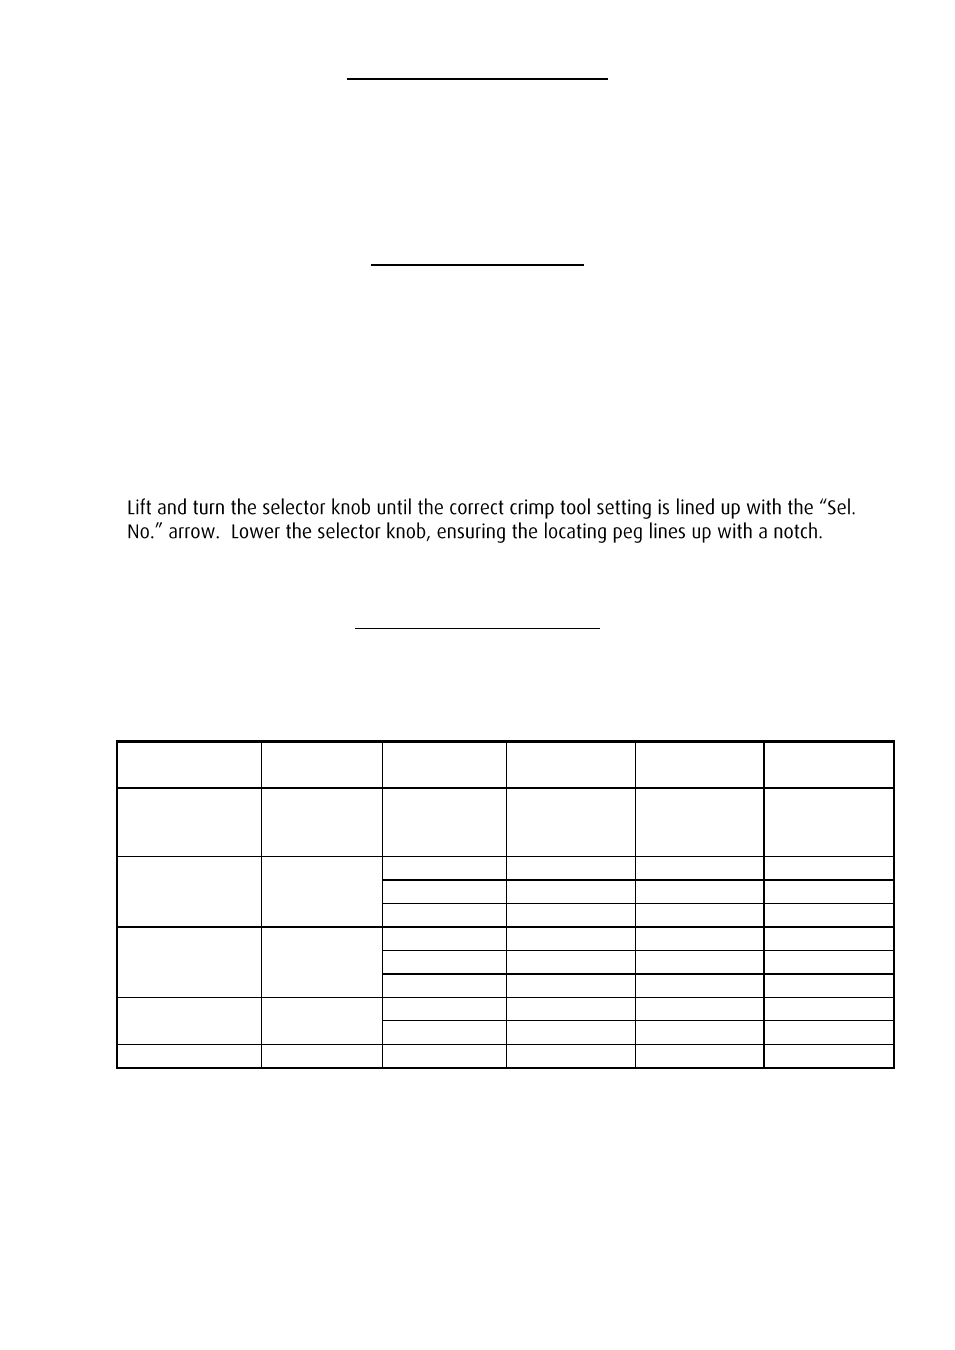
Check Table 1 for the correct crimp tool setting of the wire size you wish to crimp.
5.
Remove the safety clip from the selector knob (do not discard).
6.
7.
Install the safety clip back into the selector knob.
CRIMPING PROCEDURE
1.
Ensure that the wire to be crimped is within the specified range of sizes for the contact and the
crimp tool. Failure to use the specified wire size will result in poor quality crimps and possible tool
damage.
Table 1
Contact
Crimp Type
Wire Gauge
(AWG)
Stranding
(mm)
Crimp Tool
Setting
Minimum
pull-off force
M80-01100XX
M80-04000XX
M80-19400XX
Large Bore
22
19/0.15
6
50N
M80-01300XX
M80-04100XX
M80-19500XX
Small Bore
24
7/0.2
6
44N
26
7/0.15
6
25N
28
7/0.12
6
12.5N
M80-01900XX
Extra small
bore
28
7/0.12
5
12.5N
30
1/0.25
4
7N
32
7/0.08
4
4N
M80-05500XX
Power Crimp
20
19/0.2
8
85N
18
19/0.26
8
140N
K36XX-46
Power Crimp
18
Variable
8
142N
2.
Cut the end of the cable to be terminated so that there is a clean cut end (Figure A). Strip the cable
to the correct length (Figure B) using a PTFE Wire stripper, preferably with adjustable rotating cutter.
This should result in all the strands lying together neatly. If the lay of the strands is disturbed, it
may be re-imposed with a slight twist.