Presto gigabit pro pcie quick start guide, About the presto gigabit pro pcie card, System configuration steps—windows users – Sonnet Technologies Presto Gigabit Pro PCIe User Manual
Page 4
4
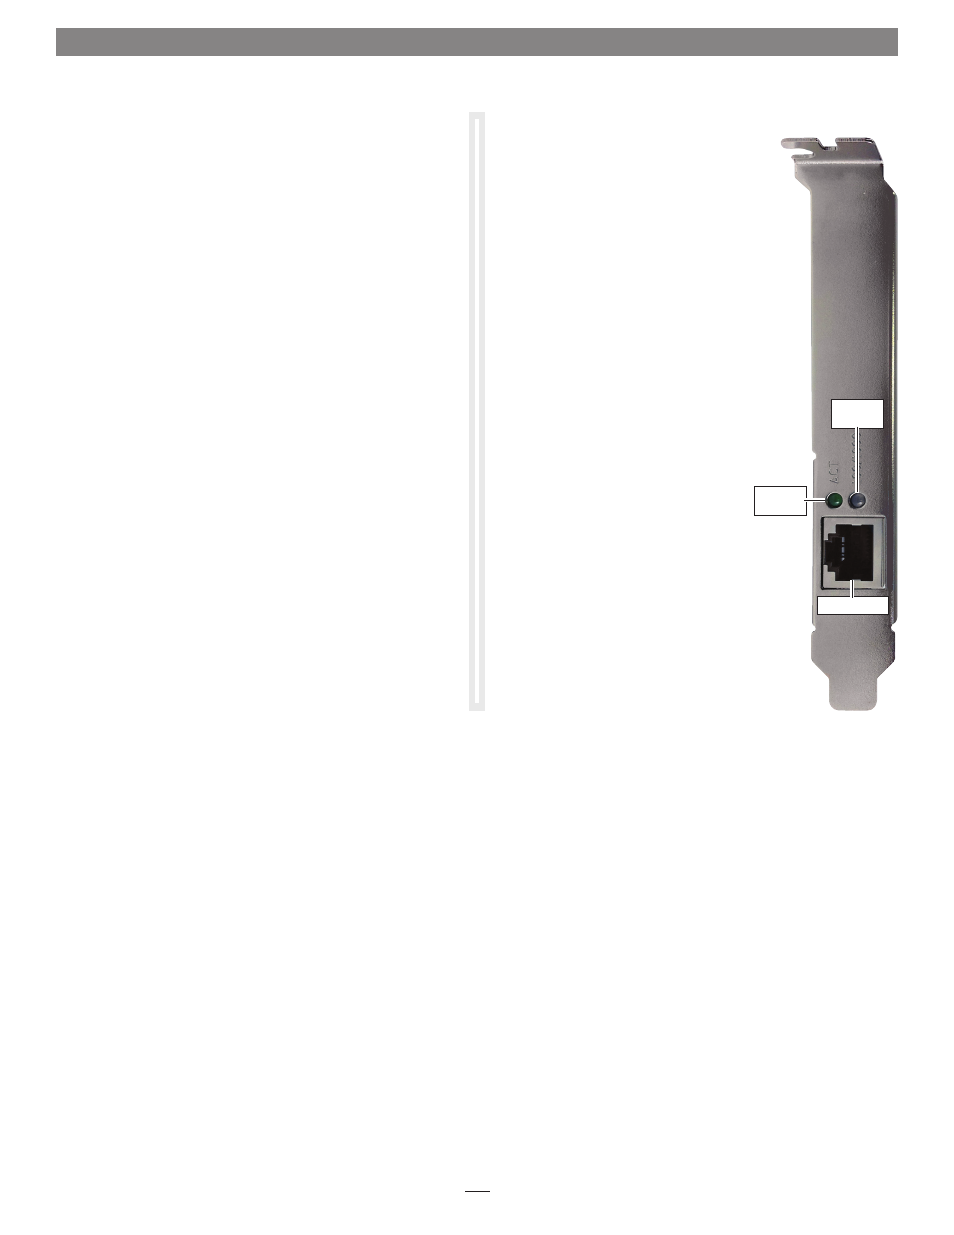
About the Presto Gigabit Pro PCIe Card
ACT Indicator - This LEd displays
the link status.
• When the LED is off, there is no traffic
on the network.
• When the LED is flashing, there is traffic
on the network to which the Presto card
is connected.
100/1000 Indicator - This LEd displays
connection status.
• When the LED is on, a link is established.
Ethernet Port - Plug in any Category
5 or 6 unshielded twisted pair (UTP)
cable with RJ-45 connectors.
• Use standard cables when you are
connecting your computer through
a hub.
ACT
indicator
Ethernet port
100/1000
indicator
System Configuration Steps—Windows Users
Listed below are the basic steps necessary to add the Presto Gigabit
Pro PCIe for use as one of your computer’s network connections.
1. Plug in one end of an Ethernet cable to the Presto adapter’s
Ethernet port. Connect the other end to a cable or dSL
modem, or a network.
2. With your computer turned on, depending on your setup,
Windows may configure itself automatically to work with
the Presto adapter. Launch a Web browser and browse a
Website to verify.
3. If your system did not configure itself, access the network
and Sharing Center to make necessary changes.
Presto Gigabit Pro PCIe Quick Start Guide