Test procedures, Preventive maintenance – Ransburg DR-1 Plastic Fluid Regulator 75902 User Manual
Page 15
DR-1 Plastic Fluid Regulator - Maintenance
12
Aerobell 33R (Robot Mount)
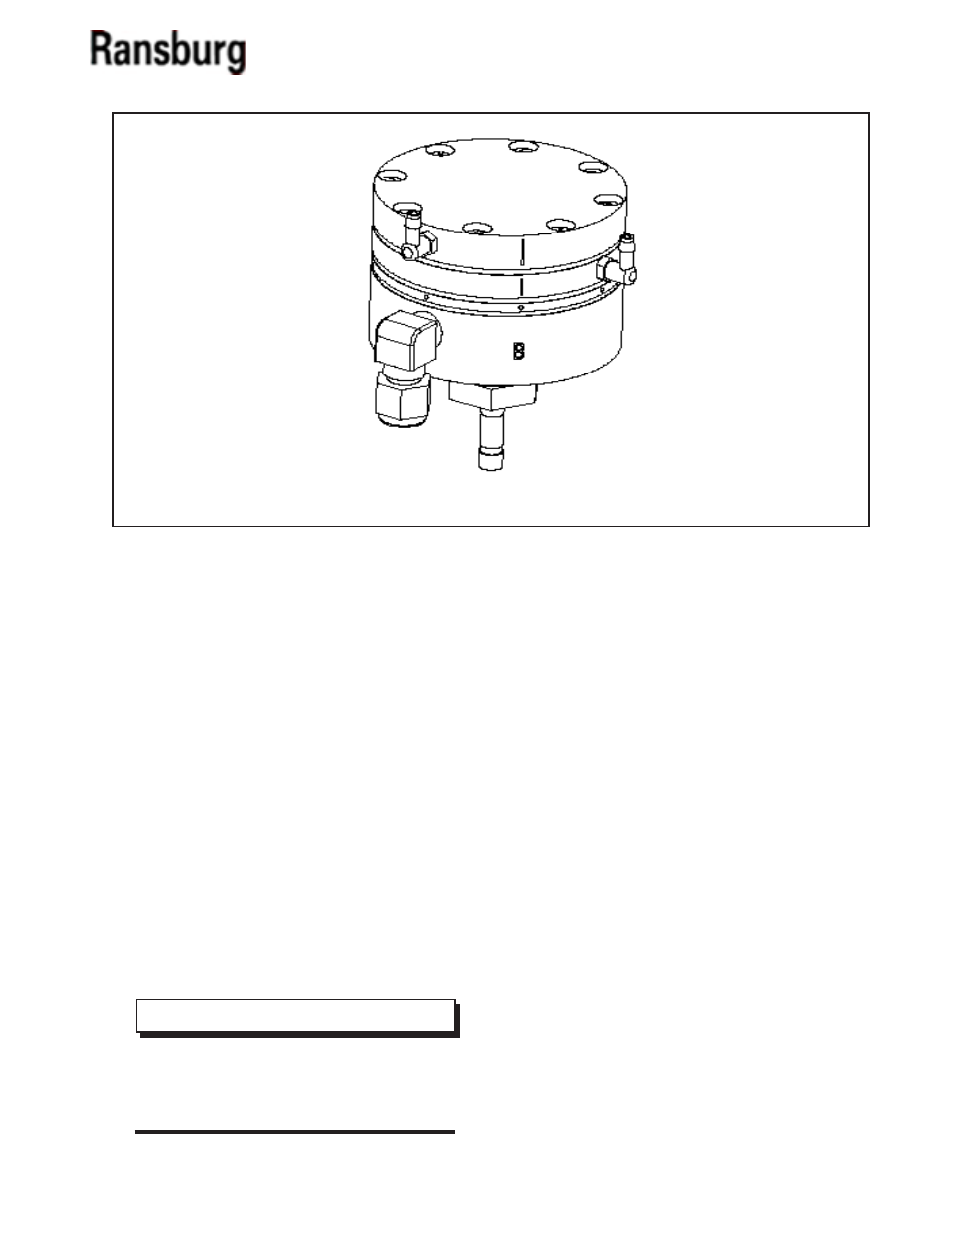
Figure 2: Fitting Alignment
>
If water or solvent is used for testing, it
is normal for minor leakage to occur at the
fluid output port, due to the low viscosities
of these fluids.
NOTE
TEST PROCEDURES
(Refer to Figure 1)
After repair is complete, test the regulator in the
following manner:
1. Set air and fluid regulators to zero and attach air
and fluid lines to the regulator.
2. Gradually increase air pressure to the regulator
to 80 psi, visually checking for leaks. Tighten Item 4
(screws) if leakage occurs.
3. Set air regulator to zero. Gradually increase fluid
pressure to 80 psi, visually checking for leakage.
Clean or replace Item 11 (needle and seat) if leakage
at outlet port.
PREVENTIVE MAINTENANCE
1. Rebuild with 73913-01, repair kit, and 74160-00,
needle and seat, at 6 months minimum, 12 months
maximum.
2. Retorque eight (8) screws at the following inter-
vals:
- 2 days after rebuild
- Immediately before installation
- 6 month intervals
4. Gradually increase air pressure on either of the air
lines and visually observe a gradual increase in fluid
flow. If regulator does not perform satisfactorily,
inspect components for damage and replace where
required.
LN-9228-00.3