Setting time display, Viewing on a tv monitor, Viewing photos/videos – General Tools and Instruments DCS1800 User Manual
Page 7: Setting time/date
User Guide
User Guide
5.Press for next adjustment.
6.Repeat step 4 and 5 until the correct time/date are set.
7.Press OK/MENU to complete the set up.
Setting Time Display
1.Press OK/MENU
2.Press or to move to “Date/Time” command.
3.Press OK/MENU
4.Press or for “Display” option.
5.Press to switch the “Display” function between ON/OFF.
Image Status: Press once for ON, press again for OFF.
6. Press OK/MENU to complete set up.
7. Press ESC to return to Preview mode.
Viewing on a TV monitor
1. Plug the included AV cord into the AV socket located on the right side of the console.
Notice: Please plug the other end of the AV cord into the “AV in” socket on the external monitor.
Note: User may return to Preview mode anytime by pressing button regardless of working under Browse mode
or Manual mode.
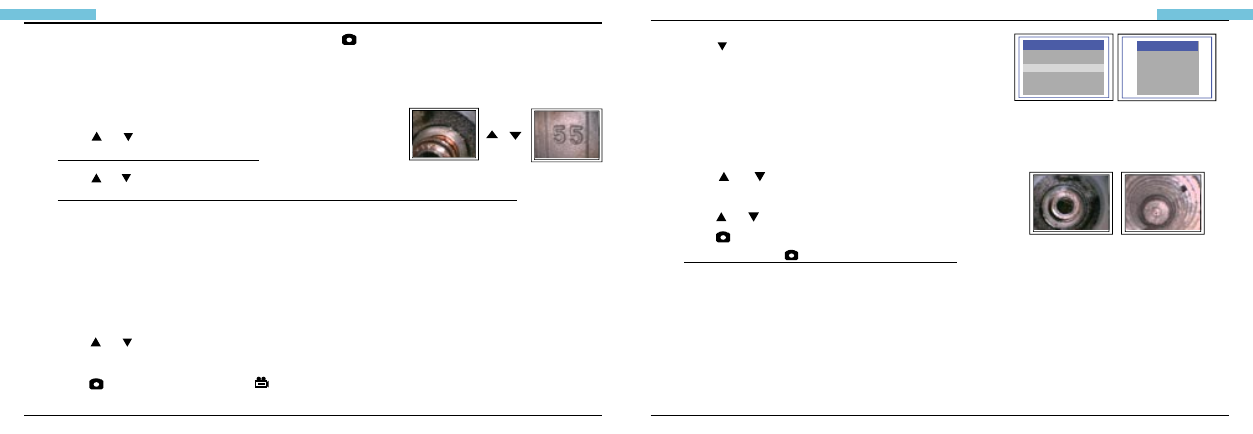
Viewing photos/videos
1. Press or during preview mode.
Image Status: Display the latest photo/video.
2. Press or again to view the oldest or second to last photo/video.
Image Status: All files will be stored according to the time sequence of photo capture/video recording.
Note: When viewing videos, the video will be displayed automatically until it ends and then the next photo or video
will be displayed.
Setting Time/Date
1.Press OK/MENU
2.Press or to move to Date/Time command.
3.Press OK/MENU to initiate the command.
4.Press to increase the number or to decrease.
(P.9)
/
(Figure.15)
(Figure.16)
MANUAL
DELDTE ALL
VIDEO OUTPUT
DATE/TIME SETUP
LANGUAGE
VIDEO FORMAT
AUTO POWER OFF
MENU
TIME SET
TIME SET
2000/02/14
17:30:51
DISPLAY
OFF
DISPLAY
NOT DISPLAY
000/0/0 0::
(P.10)
(Figure.17)