Sm screen selections, Aud 12, 400 ch 2c – Lectrosonics SM User Manual
Page 7: Cp 400, Unloc1, Audio screen, Frequency screen, Compatibility mode screen, Lock/unlock screen, Power on timer screen
Super-Minature Belt Pack Transmitter
SM Screen Selections
Six screens are used to set up and operate the SM.
These screens are used to set the operating frequency,
adjust the audio modulation level, select the Compatibil
ity Mode or lock the control panel and power down the
transmitter.
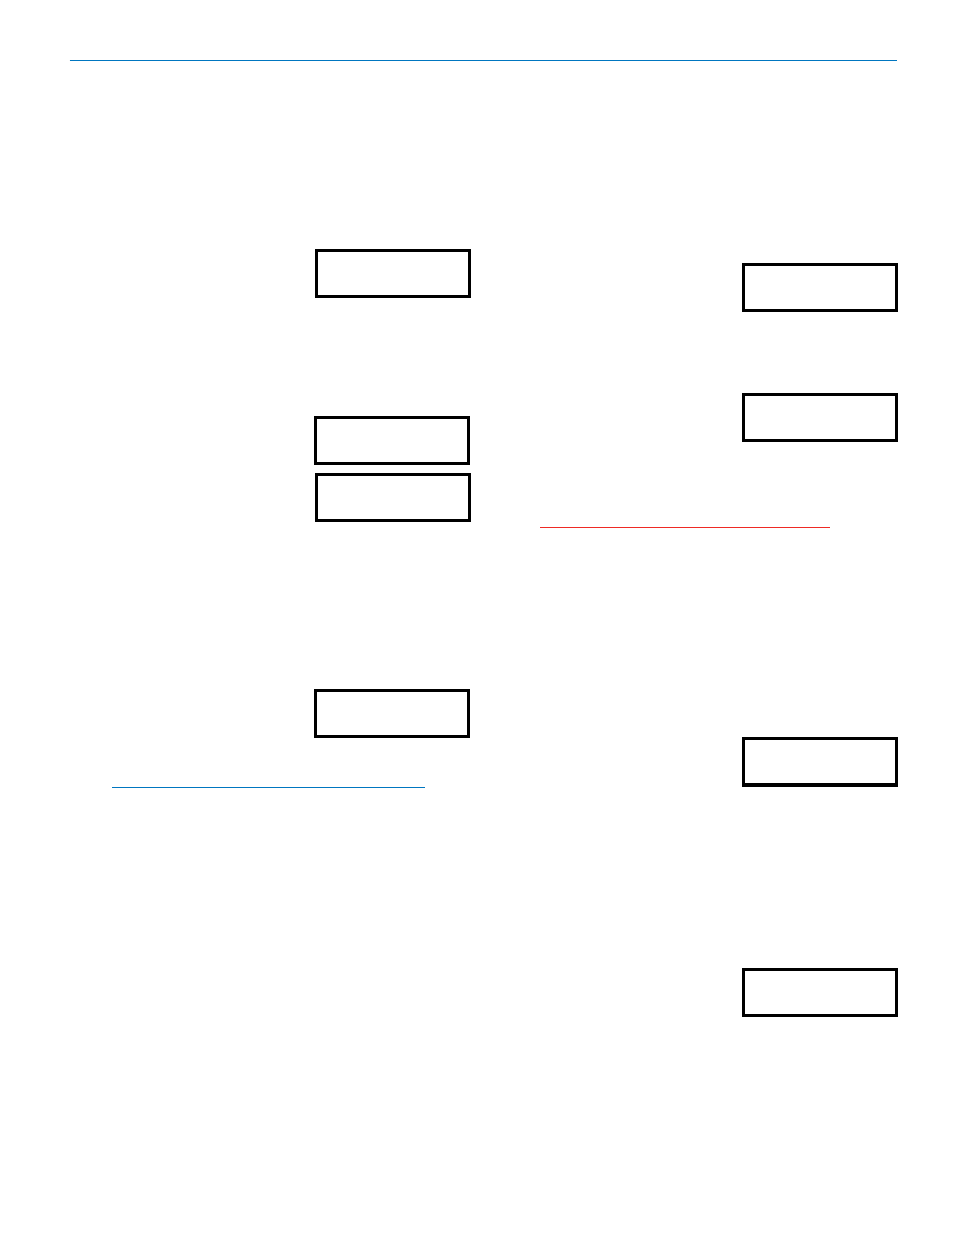
Audio Screen
The Audio screen is the default
screen at the end of the power
up boot sequence. It can also
Aud 12
be accessed by pressing the
AUDIO button during normal operation.
The Audio screen displays the current audio input level
setting.
Frequency Screen
The Frequency Screen displays
the operating frequency in MHz
or as a two-digit hexadecimal
number that corresponds to the
equivalent Lectrosonics Fre
quency Switch Setting. Press
ing the FREQ button toggles
between the two displays.
644.400
CH 2C
When the operating frequency is displayed in MHz, the
decimal point also acts as the PLL lock indicator. If the
decimal point is constantly blinking or missing, this indi
cates that the transmitter is having RF problems. (See
Troubleshooting, Receiver RF Indicator Off.)
Compatibility Mode Screen
Holding down the Up arrow but
ton while powering up the SM
opens the Compatibility Mode
CP 400
screen. By using the Up or
Down arrow buttons, the user
can select one of six compatibility modes:
Note: RF transmission is prevented while selecting
Compatibility Modes. Also, the SM exits the
Compatibility Mode screen to Standby Mode. (See
Standby Mode, page 8.)
• 400 - This is the factory default setting and works with
all Lectrosonics 400 Series Digital Hybrid Wireless
™
receivers. This mode offers the best audio quality.
• 200 - This mode works with all Lectrosonics 200
Series compatible receivers.
• 100 - This mode works with all Lectrosonics 100
Series compatible receivers.
• 3 - (Mode 3) This mode works with a number of
non-Lectrosonics analog receivers. Contact the
company for a list of compatible receivers.
• IFB - This mode works with all Lectrosonics IFB
compatible receivers.
• 6 - (Mode 6) This mode works with a number of
non-Lectrosonics analog receivers. Contact the
company for a list of compatible receivers.
While in the compatibility mode screen, pressing either
Rio Rancho, NM
the AUDIO or FREQ button exits to standby mode. To
power off from the compatibility mode screen, press
AUDIO and FREQ together.
Lock/Unlock Screen
Simultaneously pressing both the Up and Down arrow
buttons during normal operation starts the Lock timer.
The timer starts at three and
counts down to zero.
When the timer reaches zero,
Loc
the transmitter’s controls are
locked.
The LCD will display the locked condition as long as the
arrow buttons are held, then revert back to the previous
screen when either button is
released.
unLoc1
With the controls locked, the
AUDIO and FREQ buttons can
still be used to display current settings. Any attempt to
change a setting by pressing either the Up or Down ar
row button will result in a reminder that the controls are
locked.
Important: Once the transmitter is locked, it
cannot be unlocked or powered off using the
buttons. The only ways to unlock a locked
transmitter are to remove the battery or unlock
it via the remote control. The remote control
will work only if the transmitter was previsouly
configured to respond to the remote control.
Lock mode does not persist when the power is
off.
Power On Timer Screen
Simultaneously holding the AUDIO and FREQ but
tons when the unit is turned off
displays the Power ON Timer
screen. The screen counts up
On . . .1
from one and starts the Power
Initial Power On Timer
On sequence when the count
Screen
reaches three. Releasing either
button prior to the Power On Timer screen reaching
three puts the unit in Standby Mode where the user can
review transmitter frequency and audio level settings
without transmitting. (See Standby Mode, page 8.)
Power Off Timer Screen
Simultaneously holding the AUDIO and FREQ but
tons while the unit is operating
displays the Power Off Timer
screen. The screen counts
OFF . . .3
down from three and turns off
Initial Power Off Timer
the transmitter when it reaches
Screen
zero. Releasing either but
ton prior to the Power Off Timer screen indicating zero
returns the unit to normal operation and displays the
previous screen.
Standby Mode
7