5 using your audio/video da – Comprehensive CVG-3AVB User Manual
Page 6
4
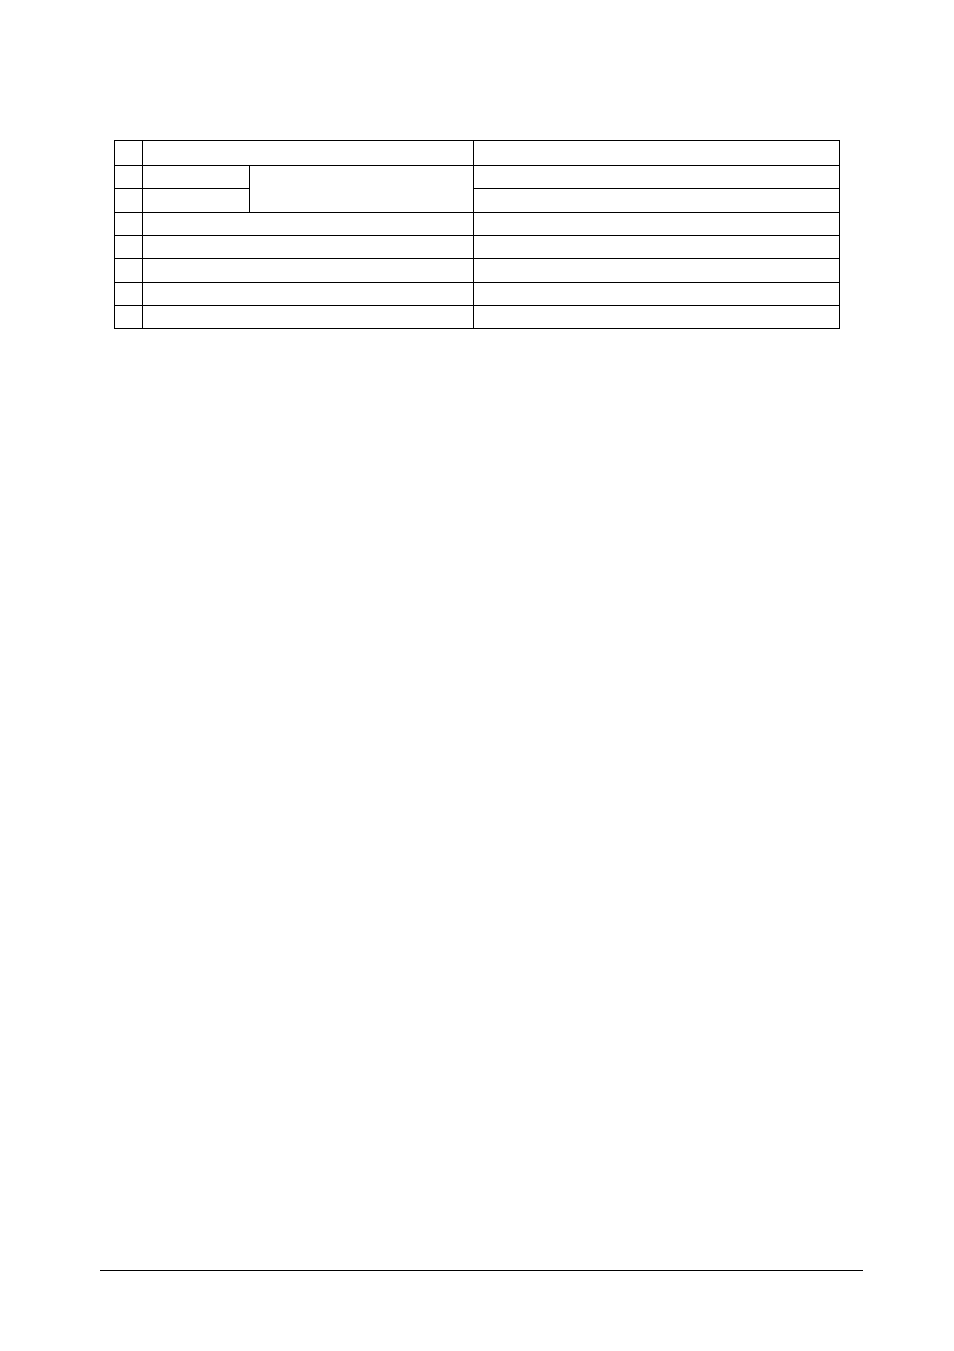
Table 2: Rear Panel CVG-3AVR and CVG-3AVB 1:3 Audio/Video DA Features
# Feature
Function
1 Video INPUT
Connects to the video source
2 Video OUT
CVG-3AVR: RCA Connectors
CVG-3AVB: BNC Connectors Connects to the video acceptor (from 1 to 3)
3 Audio INPUT (L) RCA Connector
Connects to the left audio source
4 Audio INPUT (R) RCA Connector
Connects to the right audio source
5 Audio OUT (L) RCA Connector
Connects to the left audio acceptor (from 1 to 3)
6 Audio OUT (R) RCA Connector
Connects to the right audio acceptor (from 1 to 3)
7 12 VDC 70mA
+12V DC connector for powering the unit
5 Using Your Audio/Video DA
Section 5.1 describes how to connect a
CVG-3AVR/B. Section 5.2 describes
how to configure a 1:3 Audio/Video DA for Component (YUV) or RGB. You
can also use the
CVG-3AVR/B, with its very high frequency, to process SDI
(serial digital interface) video.