2 instrument menu structure, 1 setup menu, Operation – Hach-Lange CL17 USER MANUAL User Manual
Page 34
32
Operation
5.2 Instrument menu structure
The major menus in the CL17 Analyzer consist of
ALARMS
,
RECRDR
,
MAINT
, and
SETUP
.
Press the
UP
or
DOWN
ARROW
keys to access the menus. The sections below give
information on the functions of each of the menus and the submenus within them.
5.2.1 Setup menu
Day-to-day analyzer functions are accessed from the
SETUP
menu. To enter the
SETUP
menu, press the
MENU
key, then use the
UP ARROW
key to scroll to the
SETUP
option.
Press
ENTER
.
Scroll through the
SETUP
menu options using the
UP
and
DOWN ARROW
keys. Press
ENTER
to select the displayed menu option. Arrow icons are displayed if the display is
editable. Press the
EXIT
key to back out of a menu and return to
SETUP
. The menu
information in
is in the order it appears in the
SETUP
menu.
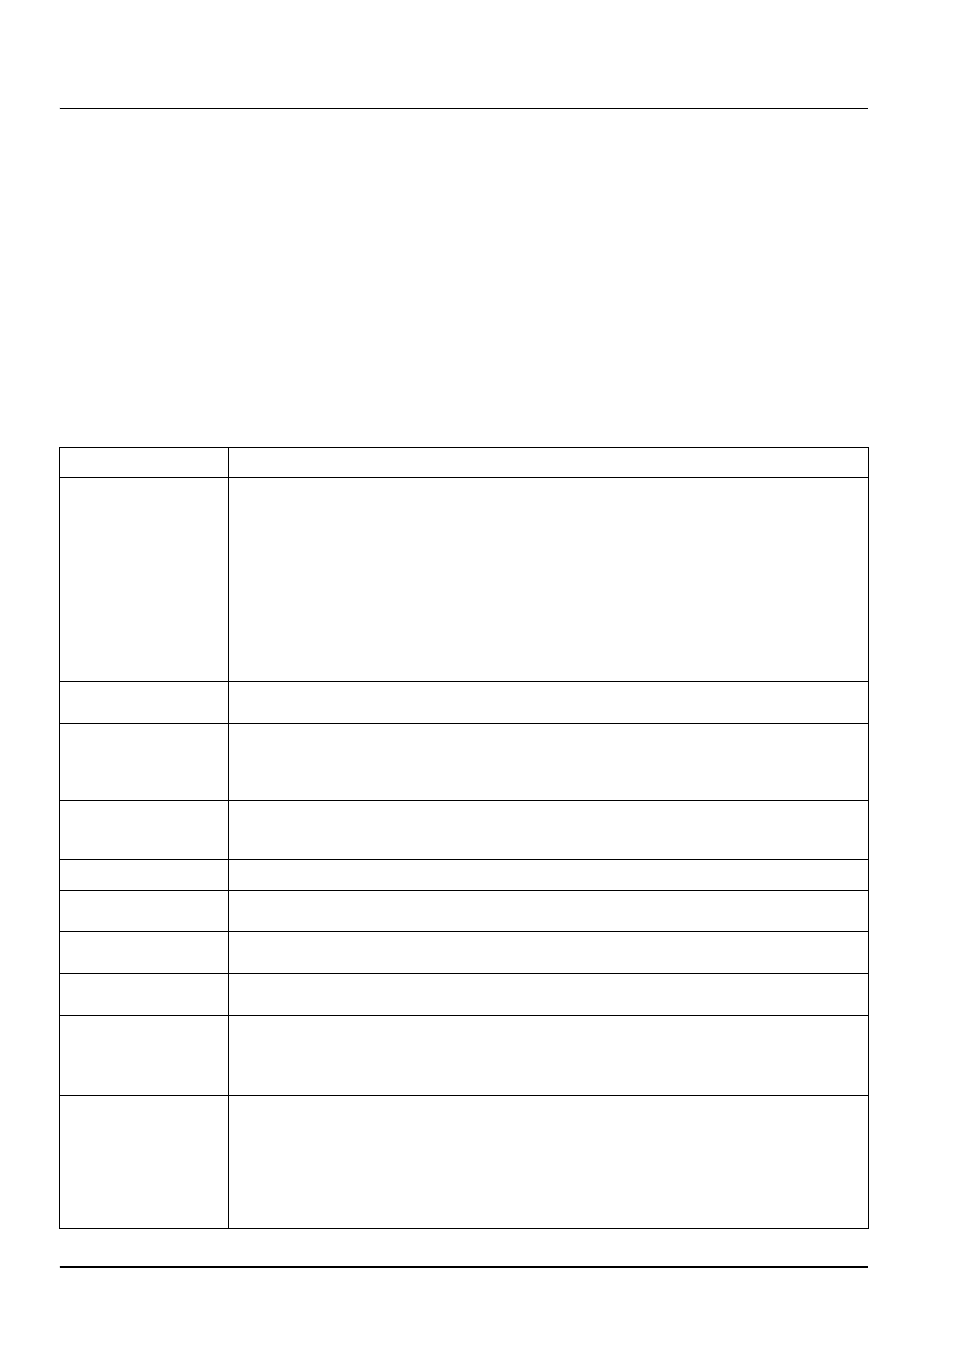
Table 6 Setup menu options
Menu option
Description
SIGAVG
The SIGAVG feature is used to average readings and prevent erratic recorder output signals.
Press
ENTER
, use the
UP
and
DOWN ARROW
keys to select 1, 2, 3, or 4, then press
ENTER
to
accept the displayed selection. Depending on the value selected, the last 1, 2, or 3 measurements
are averages and the reported concentration is the averaged values. Option 4 is a special filter,
which only reports the maximum value between the current reading and the last. This feature
reduces negative spikes due to bubbles and other abnormalities in the sample. The factory default
is 1. Press
EXIT
to return to the
SETUP
menu.
Note: A properly maintained instrument in good working condition will read within the accuracy
specifications presented in
. The calibration function should never be used
to force an analyzer that is not working correctly to display a correct reading. Calibrations are
intended for very small adjustments only.
CAL ZERO
This feature is used to offset the instrument zero using a prepared zero standard. If the offset is
too large, a marginal zero (MARG Z) warning will occur. Refer to
CAL STD
This feature is used to adjust the analyzer slope using a prepared standard. If the adjustment is
too large, the analyzer will not accept it and a marginal gain (MARG G) warning will occur. The
new standard will not be accepted and it will have to be checked again using another method to
establish a more exact reading. Refer to
CAL DEFAULTS
(Calibration Default Settings) Press
ENTER
to return the calibration settings back to factory
defaults and set the Gain to 1.0 and the Offset to 0. Use this feature to remove calibrations that
are causing a MARG G or MARG Z to be displayed.
OFFSET
Press
ENTER
to momentarily display the current Zero correction factor. The factory default is 0.
GAIN
Press
ENTER
to momentarily display the current Gain correction factor. The factory default for gain
is 1, however, readings of 0.8 to 1.25 are acceptable.
DISPLAY TEST
Press
ENTER
to momentarily display all LCD segments to visually check that the complete display
is functioning.
RECMIN
Recorder signal test. Press
ENTER
to drive the Recorder output to its minimum (normally 4 mA)
and hold it there until the next analysis is complete.
RECMAX
Recorder signal test. Press
ENTER
to drive the Recorder output to its maximum (normally 20 mA)
and will hold it there until the next analysis is complete.
Note: To hold the signal longer, press the
MENU
key then the
DOWN ARROW
key to scroll to
MAINTENANCE. Press
ENTER
then scroll down to
HOLD OUTPUTS
and press
ENTER
again.
REC ADJUST
Press
ENTER
to modify the Recorder Minimum and Recorder Maximum values. Use this feature to
offset the 4 or 20 mA output signal to force a chart recorder to read zero or full scale in case of a
small discrepancy. Use the
RIGHT
and
LEFT ARROW
keys to select
RECMIN
or
RECMAX
then use
the
UP
and
DOWN ARROW
keys to adjust the value. Press
ENTER
to select. Press
EXIT
to accept
changes and return to
SETUP
.
Note: The numbers on the display are A/D counts and cannot be used to determine the recorder
setting.