Gardner Bender CP2000 Mini Brutus User Manual
Page 3
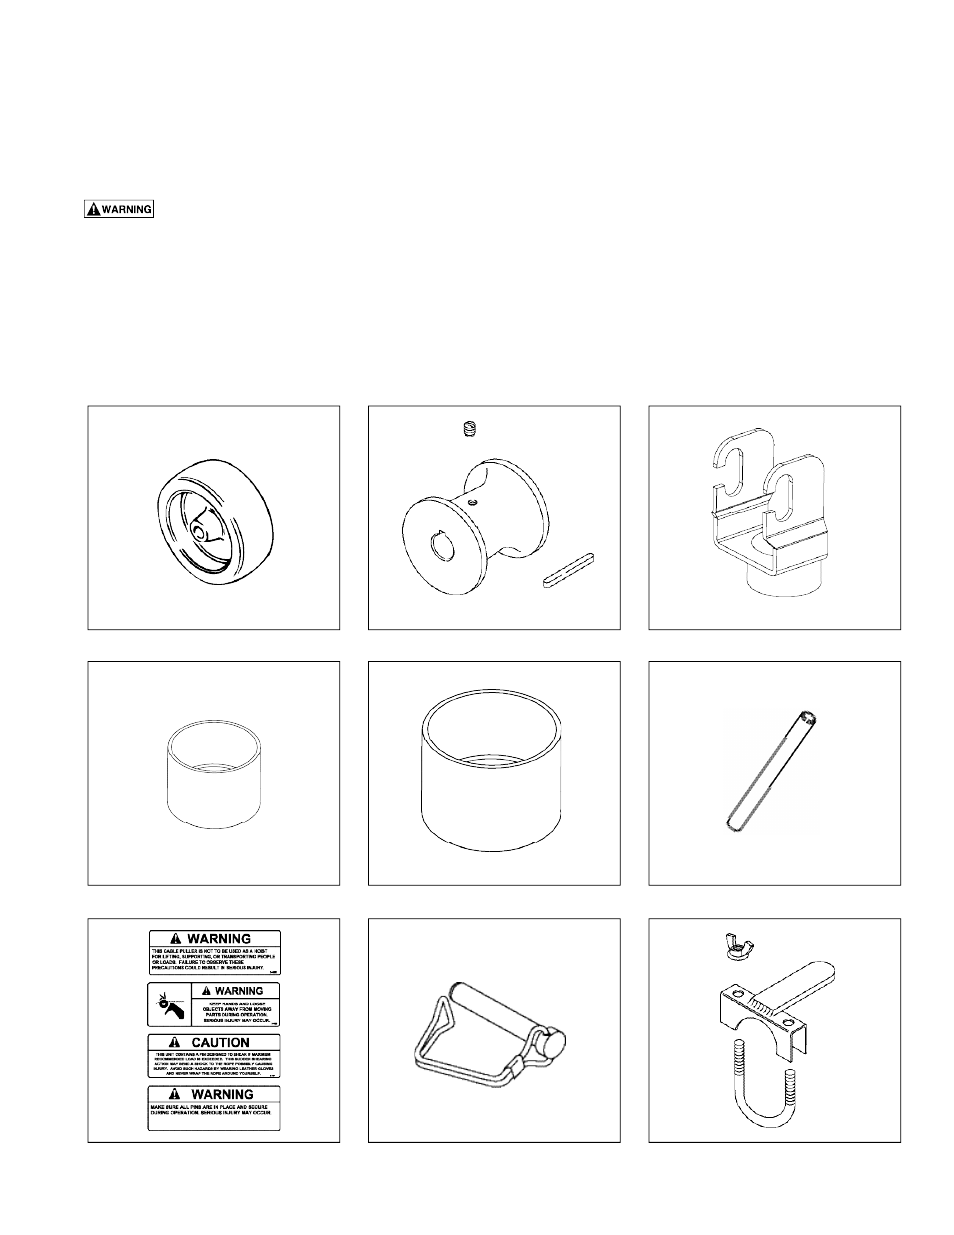
CP2000-1 Wheel Kit
CP2000-2 Capstan
CP2000-3 Conduit Adapter Arm
CP2000-4 1
1
⁄
2
" Conduit Coupling
CP2000-6 Shear Pin,
1
⁄
4
"
CP2000-7 Warning Label Kit
CP2000-8 Frame Adjustment Pin
CP2000-9 Switch Clamp Assembly
CP2000-5 2" Conduit Coupling
9.1 Shear Pin Placement
1. Remove the power drive from the CP2000 arm:
• Unthread the side handle from the power drive.
• Rotate the power drive up and slide it off the drive coupler.
2. Remove the drive coupler from the puller arm.
3. Remove the two (2) setscrews from the drive coupler.
4. Insert a small size punch into the setscrew hole and push the shear pin completely out. Be careful.
Do not damage the internal threads.
Use a wheel puller to remove the drive coupler from the shaft, if it needs replacement. Use ONLY mild steel .25 dia. 2
1
⁄
2
"
long as shear pin replacement. Use the punch to install a new shear pin and reassemble the unit.
Monthly:
• Apply EP 80/90 gear lube to the arm pivot thru the hole in the shaft.
• Apply EP 80/90 gear lube to the puller sheave thru the hole in the sheave.
• Apply high temperature bearing grease to the grease fitting in the end of the capstan.
• Use a dry silicone spray as needed to lubricate the arm extension and leg extension. This will also protect against rust.
NOTE: Lubricate the power drive as per specifications of drive manufacturer.
3