Keeping track of the hard drive, I. installing drive into the cipher tower – Addonics Technologies CIPHER RAID TOWER CRT535PES User Manual
Page 2
www.addonics.com
Technical Support (M-F 8:30am - 6:00pm PST)
Phone: 408-453-6212
Email: www.addonics.com/support/query/
IMPORTANT
There is no back door for the Cipher tower encrypted
hard drives if the Cipher keys are lost or stolen.
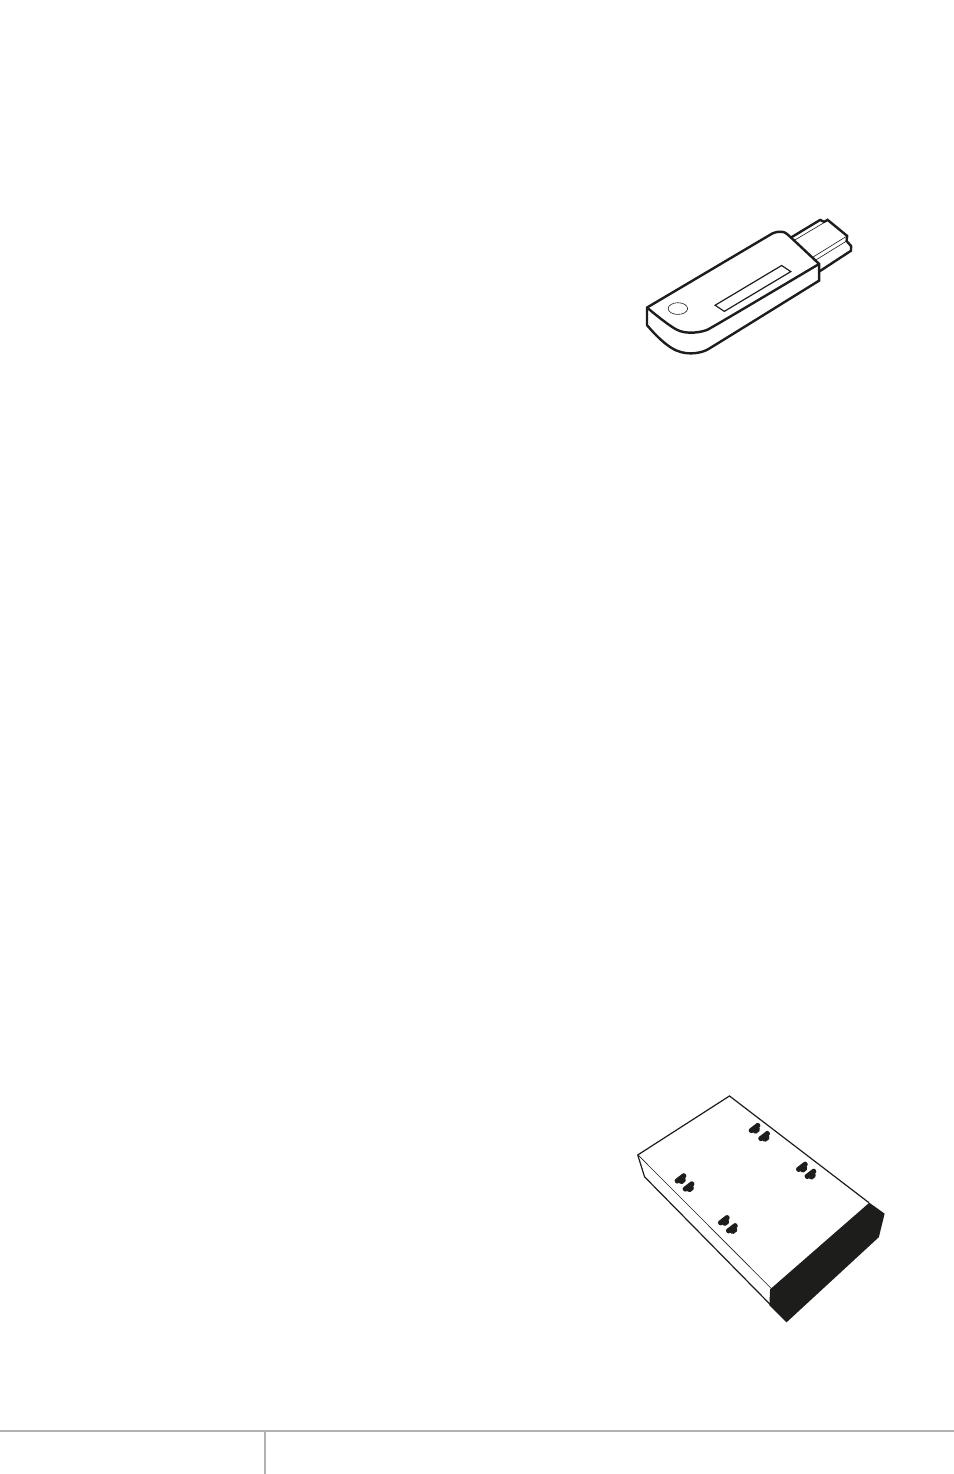
Cipher key
Check to make sure you have the correct version of the
Cipher key. A sample key is shown
Black label AES-256 stands for Cipher 256-bit key.
To ensure there is a spare key, your Cipher tower comes with a pair of Cipher keys.
These cipher keys have all identical encryption code unless you requested then to
be coded differently. One of these keys should be kept in a safe and secure location
and can be sent back to Addonics for duplicating additional keys. If you are down to
the last key, be sure to make a back up of all the data stored inside your Cipher tower
prior to sending the last key to Addonics. Addonics is not responsible for key lost in
the mail or retrieval of the data inside the encrypted hard drive.
Keeping track of the hard drive
If you are using the Cipher tower to encrypt multiple hard drives, it is important to
label your hard drive if you are taking the drive out of the Cipher tower. The hard
drive from the Cipher tower that is encrypted will look like a brand new drive when
attach directly to the SATA controller of a computer. There will be no partition or any
hint to indicate that the drive contains encrypted data. When the drive is partitioned,
all the encrypted data will be lost.
The same holds true if a hard drive already has data on it is installed into the Cipher
tower. The computer detects the hard drive as a brand new drive or a drive that is
unallocated. Once you proceed to partition the drive, the data that was on the hard
drive will be erased and cannot be recovered.
I.
Installing drive into the Cipher tower
Step 1
Use a Philips screwdriver to secure the 3.5” SATA hard
drive to the drive tray.
Step 2
Slide the tray into the Disk Array drive bay.
Note: It is recommended to fill up the Cipher Tower with
SATA drives from right to left. This is to help in identifying which
drives connect to which ports for easier troubleshooting.